S Class 2 cutter Service manual
Calibration 3-9
Start with the setting of the origin, then set the other parameters
Origin correction
If the clear cut line in test pattern 3 is to the right, then increase the value of the origin,
begin in steps of 20, and lower the steps when nearing the correct origin setting.
It helps sometimes to gently feel the pattern to find out which side has the clear-cut line.
If the clear cut line in test pattern 3 is to the left, then decrease the value of the origin,
begin in steps of 20, and lower the steps when nearing the correct origin setting.
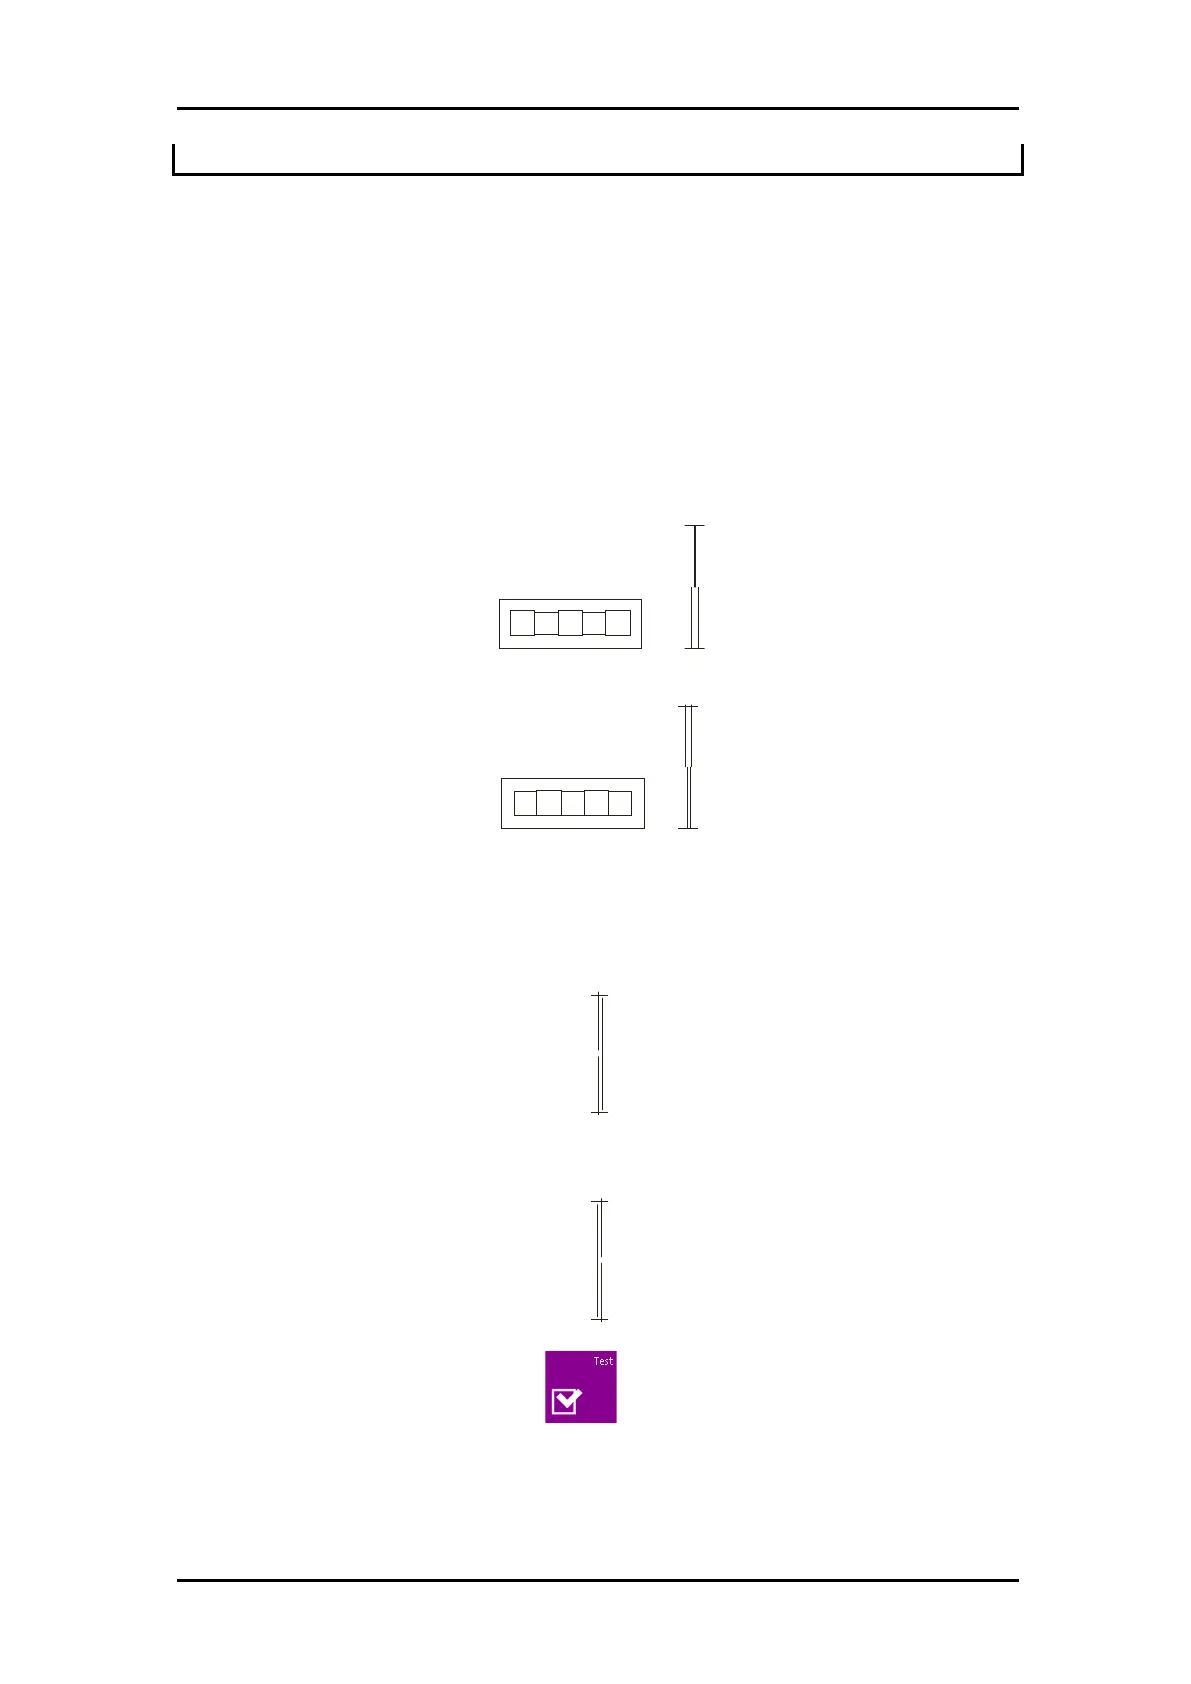
Lateral correction
Weedout (remove) the rectangle in pattern 1 and in pattern 4, if the test pattern is like the
one below, decrease the value of the lateral parameter to correct the closing lines cut.
However, if the test cut resembles the pattern below, increase the value of the lateral
parameter to correct the closing lines cut.
Longitudinal correction
Weed (remove) out the rectangle and, if you obtained a pattern like the one below,
decrease the value of the longitudinal parameter to correct the closing lines cut.
However, if the test cut resembles the pattern below, increase the value of the
longitudinal parameter to correct the closing lines cut.
Each time a parameter is changed, press to perform the internal knife calibration
test.