S Class 2 cutter Service manual
Introduction 1-4
5. Tool carriage: The tool carriage is the mount for the knife holder, pen or pouncing tool. It
has also holds the Optical POSitioning sensor (OPOS) and a cut-off knife to cut a sheet
from the roll when a job is finished.
6. Cutting strip: A self-healing orange strip helps avoid any damage to the knife tip when no
media has been loaded. Since cutting is done on the cutting strip, it is essential that the
strip remains intact.
7. Pouncing strip: An extra black strip to pounce on.
8. Tool holder: The left end cap has a rim so it can be used for tool storage.
9. Screws to secure the cutter base: Make sure all three screws are secured at each side
before the cutter is used.
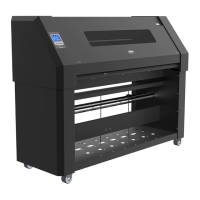
10. Media basket: The stand and linen media basket come standard with all S CLASS 2
cutters.
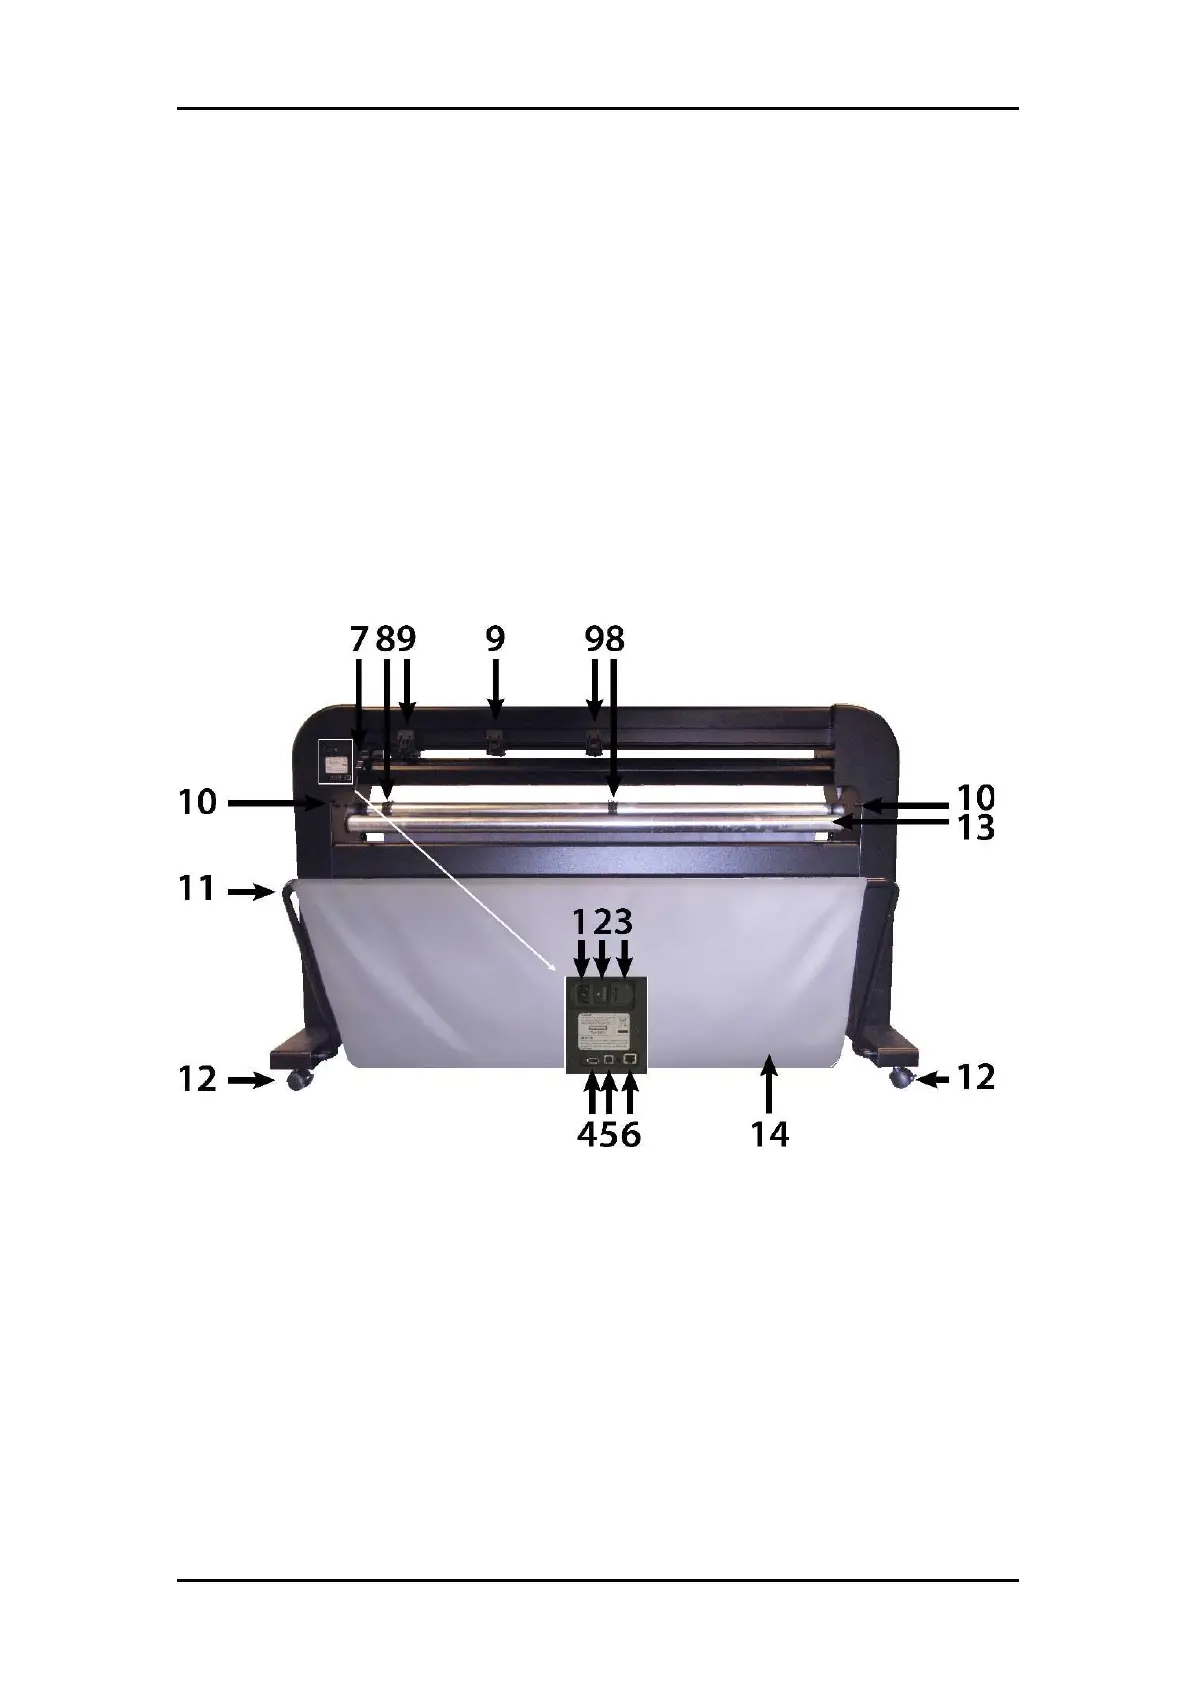
1.3.2 The Cutter as viewed from the Back
FIGURE 1-11:
S CLASS CUTTER, REAR VIEW
1. AC power cord receptacle: It is located at the left-hand side of the power entry module.
The power-up procedure is explained in detail in Section 1.3. Always use a power cord
that was delivered with your cutter.
2. Power On/Off switch: This rocker switch, in the middle of the power entry module, sets
the cutter’s power to ON or OFF. To switch on the power, press the “I” side of the rocker
switch. To switch off the power, press the “O” side of the rocker switch.
3. The fuse box: The fuse is located at the right side of the power entry module. Check the
specification section to see which fuse is used in the S CLASS 2 cutter.