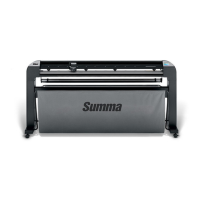
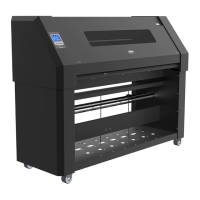
S Class 2 cutter Service manual
Replacements guidelines 2-33
2.19 Replacing the drive drum
This procedure describes how to replace the drive drum in an S Class (2) series cutter.
As all the sleeves on the drive drum are matched to each other for an equal diameter,
it is not possible to replace a single sleeve.
The new drive drum comes assembled with all necessary bearing blocks.
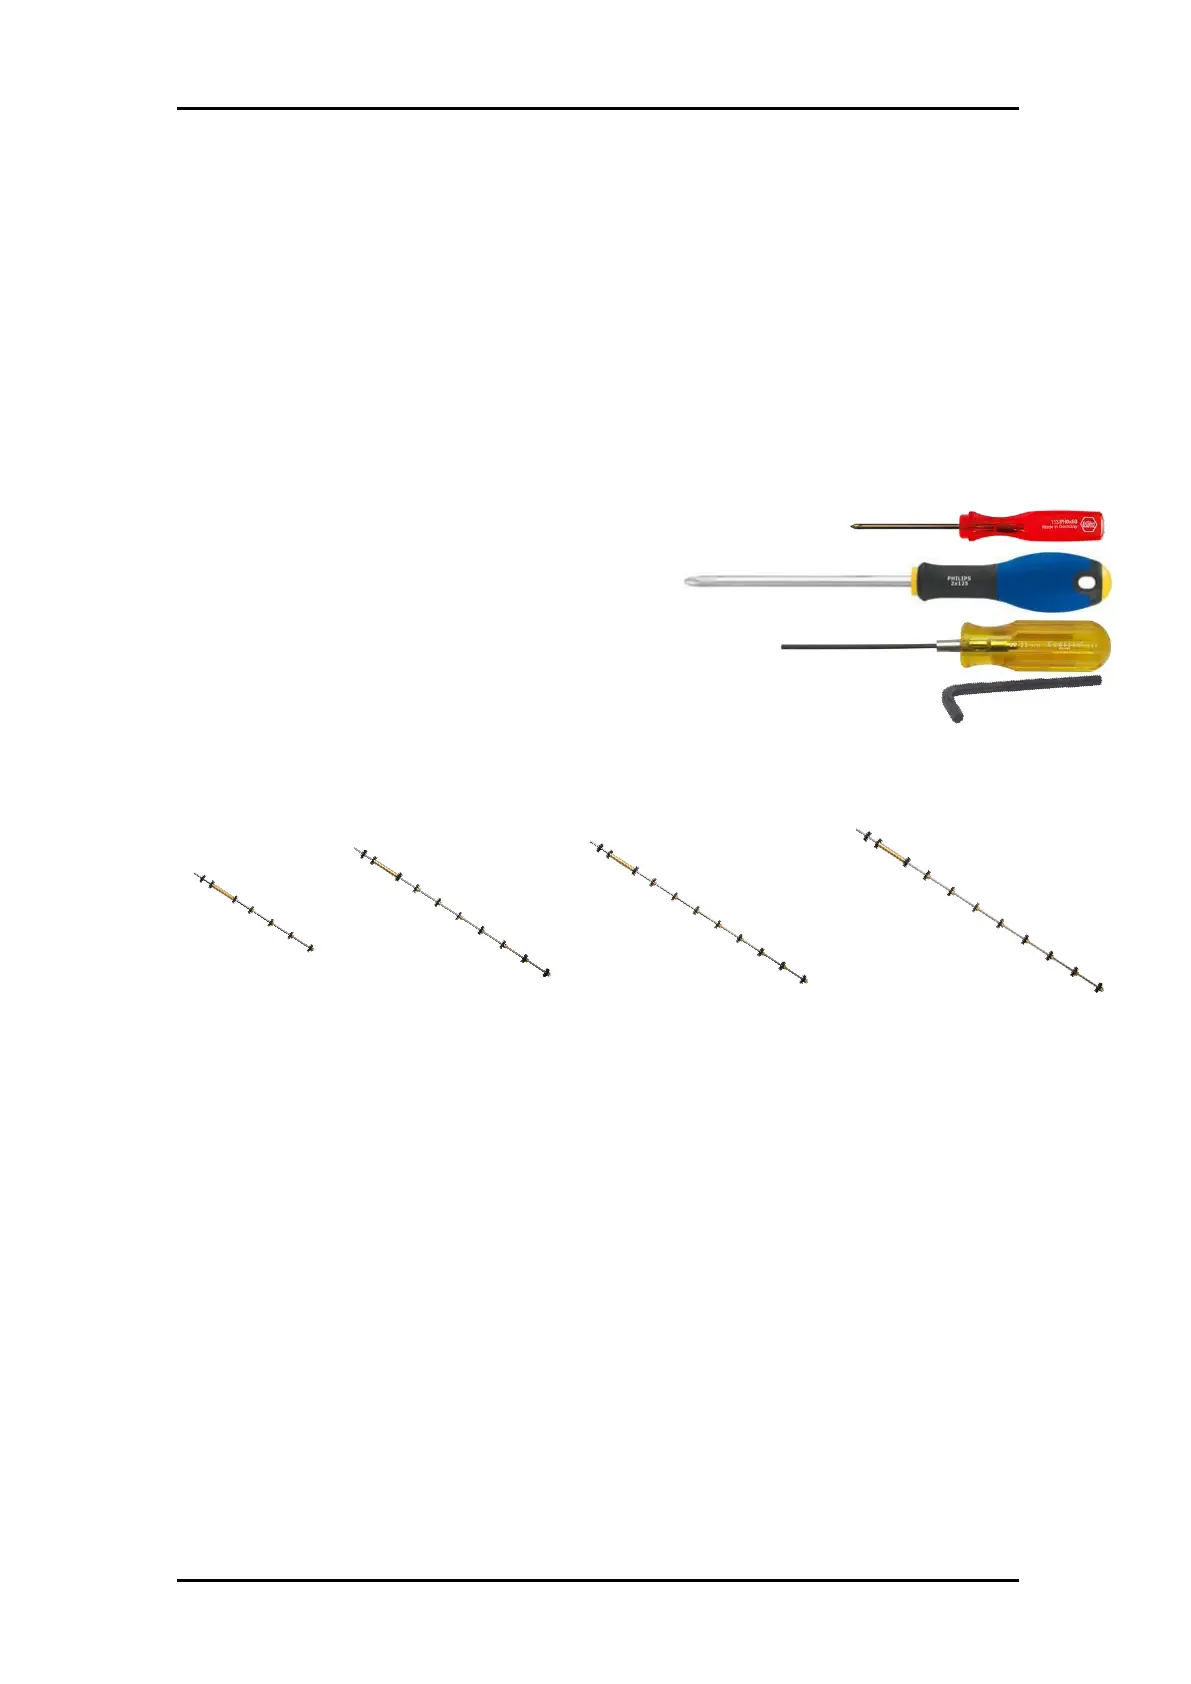
2.19.1 Required tools
Philips screw driver #0, part number MT9004
Philips screw driver #2
Hex Key 2 mm
Hex Key 4 mm, part number MT9006
2.19.2 Required parts
Depending on the machine type, you need one of below drive drums:
2.19.3 Prepare the machine
Remove the cutter from its stand:
• Disconnect from mains
• Disconnect communications cables
• Remove media from the machine
• Loose two rear screws which fix the machine on the stand, on both sides
• Remove front screw which fix the machine on the stand, left and right
• Lift machine from stand
Put the machine on a table.
Remove the right end cover. The cover is fixed by 5 screws. When sliding away the
cover, take care for the flat cable running from the display to the main board. Remove