S Class 2 cutter Service manual
Calibration 3-15
6. Put the black square underneath the sensor and turn on R7 until the readout is 1940.
7. Put the gray underneath the sensor. The readout should be between 400 and 700. If not
turn on potentiometer R3 until the value is above 400.
8. Then repeat steps 4-6 until value on gray is correct.
3.5.3 OPOS calibration
This calibration learns the cutter the exact distance between the knife tip and the senor.
1. Switch the cutter on and load black vinyl with white backing.
NOTE: Black vinyl with white backing MUST be used when calibrating OPOS.
2. Set the head’s origin above a clean, blank part of the vinyl.
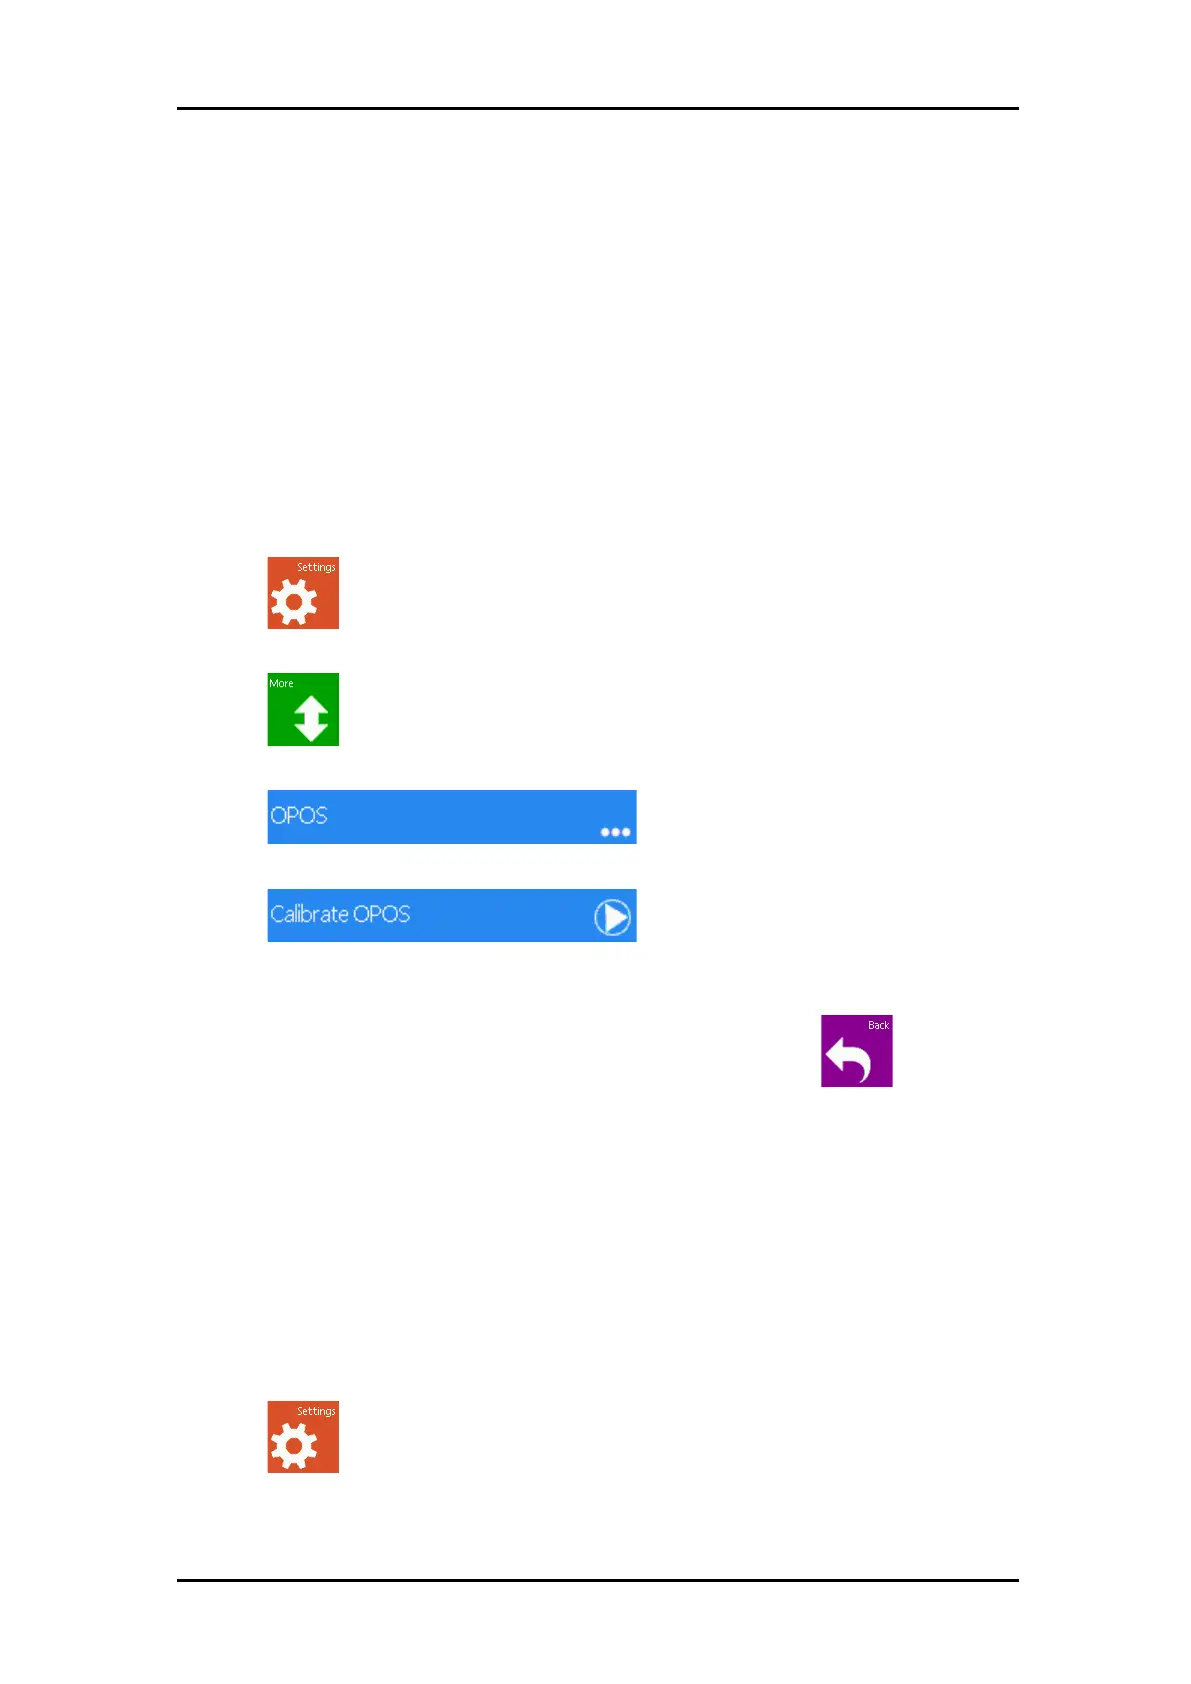
3. Press .
The main menu will appear on screen.
4. Press .
5. More menu options will appear on screen.
6. Press .
7. The different OPOS configuration menus will appear on screen.
8. Press .
The cutter will cut out a square measuring approximately 9.5x9.5mm and move the
square forward. “Weed out Rectangle” will appear on the display.
9. Carefully weed the square, making sure the edges stay intact. Press .
OPOS will read the edges of the square and calibrate itself accordingly.
3.5.4 Media calibration for OPOS
Media calibration will usually not be necessary, use this only for a specific media marker color
combination. If this media is not used any more, then set it back to default. This parameter is
NOT user depended. Print a square measuring at least 4x4cm on the media that will be used.
Be sure to use the same ink that will be used when creating the registration markers.
1. Turn on the cutter and load the vinyl with the printed square.
2. Press .
3. The main menu will appear on screen.