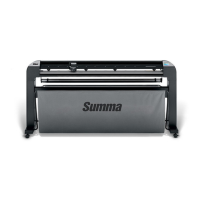
S Class 2 cutter Service manual
Calibration 3-16
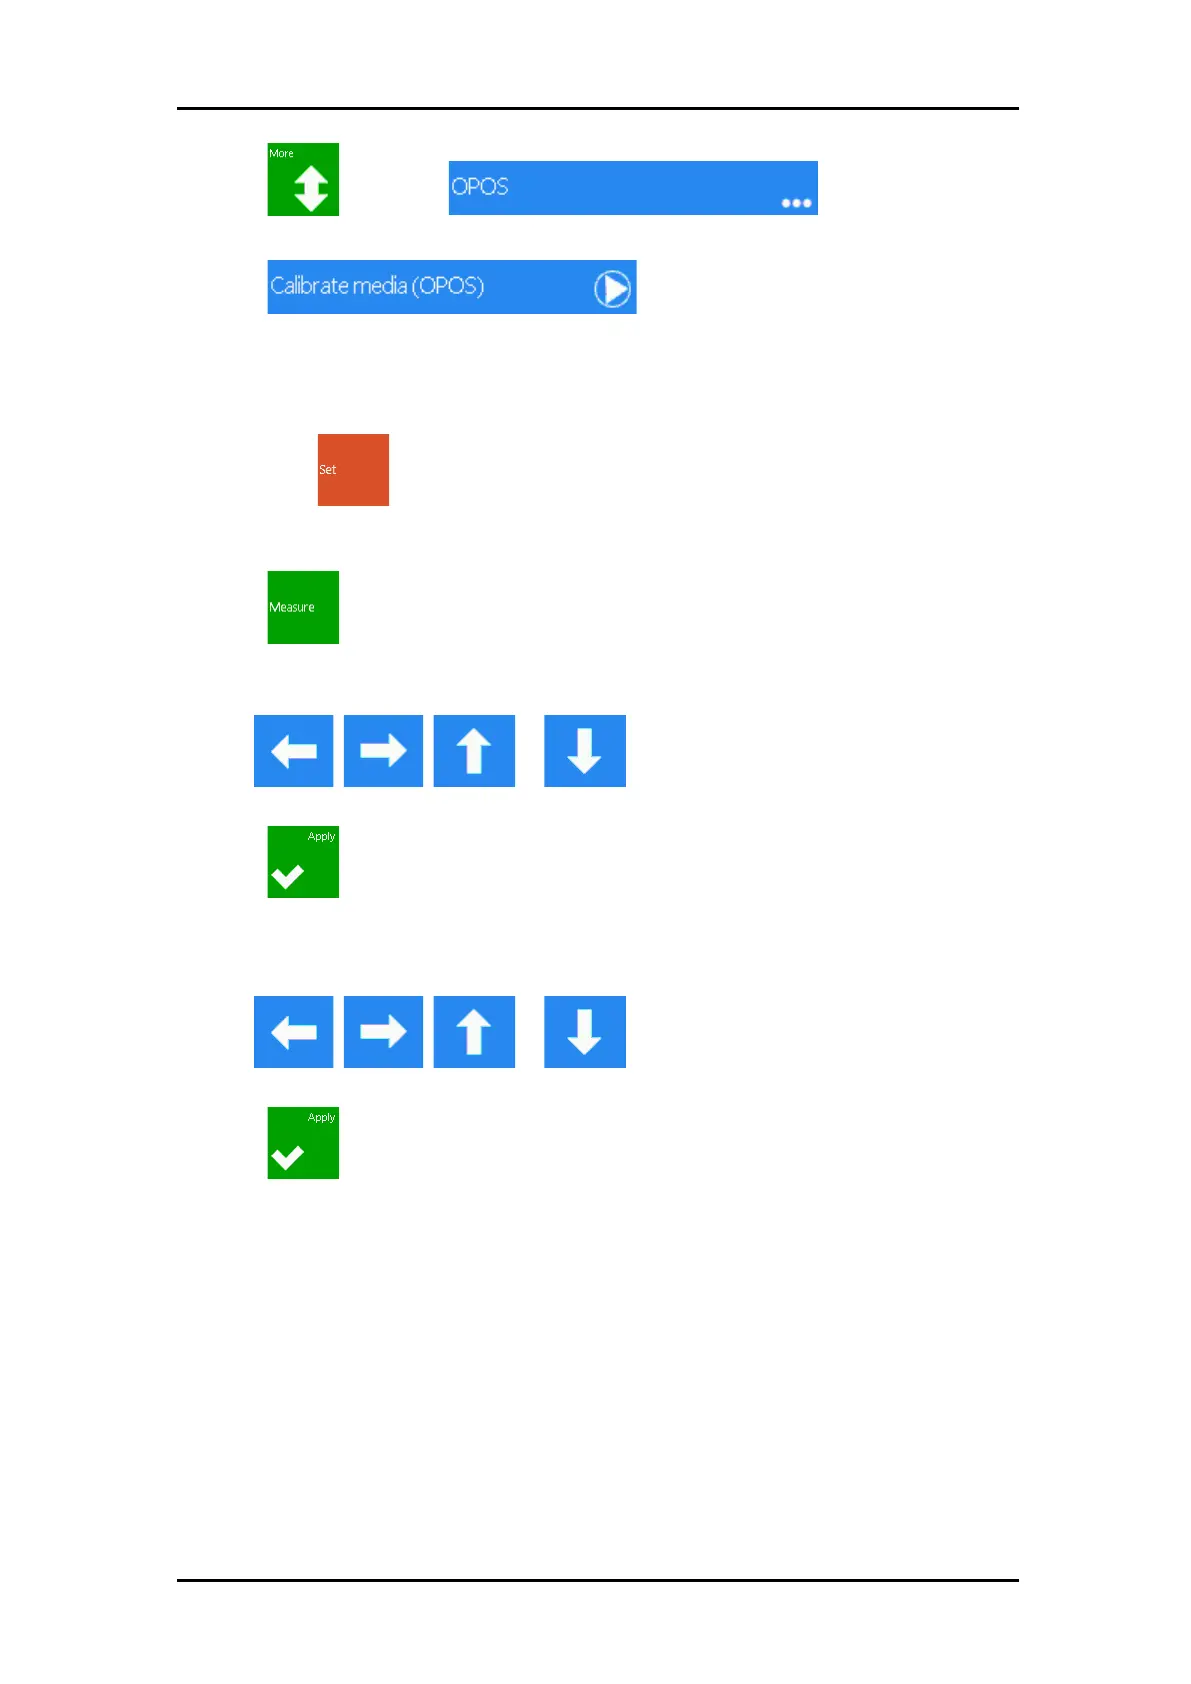
4. Press , then press .
5. The different OPOS configuration menus will appear on screen.
6. Press .
The cutter allows the user to choose to either measure the media or to fill in a previously
recorded value.
NOTE: If a combination of media color – marker color has already been calibrated and
recorded, then can be used to enter this value directly, without having to re-measure
it.
7. Press .
The cutter will lower the sensor. On the display, the message ”put knife on white area” will
appear.
8. Use , , or to maneuver the knife on top of a white
area (the area should be at least 3 by 3 cm or 1” by 1”).
9. Press to confirm.
The cutter will make a circular movement while it measures the reflection of the media. It
will briefly display the measured values and display the message “put knife on black area.”
10. Use , , or to maneuver the knife on top of a black
area (approximately in the middle and slightly to the bottom right).
11. Press to confirm.
The cutter will make a circular movement while it measures the reflection of the marker
color. It will briefly display the measured values, then it will show a value that is
characteristic for this media color – marker color combination. Store this value for future
reference.