Chapter 1 Tray Overviews 5
When the tasks in TABLE 1-1 are complete, you can install the Common Array
Manager software on an external management host, install and upgrade firmware
from the management host, and perform initial array setup and system
configuration. See the Sun StorageTek Common Array Manager Software Installation
Guide for complete information on software-related tasks. For iSCSI configuration,
see Appendix A.
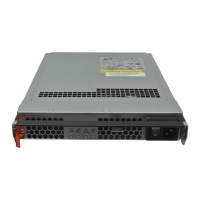
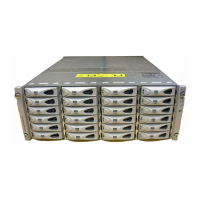
Front-Access Components of the Trays
Components that are accessed through the front of the Sun StorageTek 2540 Array,
the Sun StorageTek 2530 Array, and the Sun StorageTek 2510 Array are identical in
appearance.
The front-access components include the following:
■ End caps – Plastic, removable caps on the right and left side of the tray. Numbers
on the side of the right end cap indicate the numbering of the drives.
■ Disk drives – Twelve removable disk drives
■ LEDs (light emitting diodes) – Four LEDs located on the left-side end cap
10. Cable the controller tray and
expansion trays.
“Inter-tray Cabling” on page 45
11. Connect the management host. “Connecting the Management Host” on page 55
12. Connect the data hosts. “Connecting Data Hosts to the 2510 Array” on
page 59
“Connecting Data Hosts to the 2530 Array” on
page 63
“Connecting Data Hosts to the 2540 Array” on
page 69
13. Turn on the power. “Powering On the Storage Array” on page 78
TABLE 1-1 Sun StorageTek 2500 Series Array Hardware Installation Checklist
Step Installation Task Where to Find Procedure