T6090 Maintenance Manual
4–4
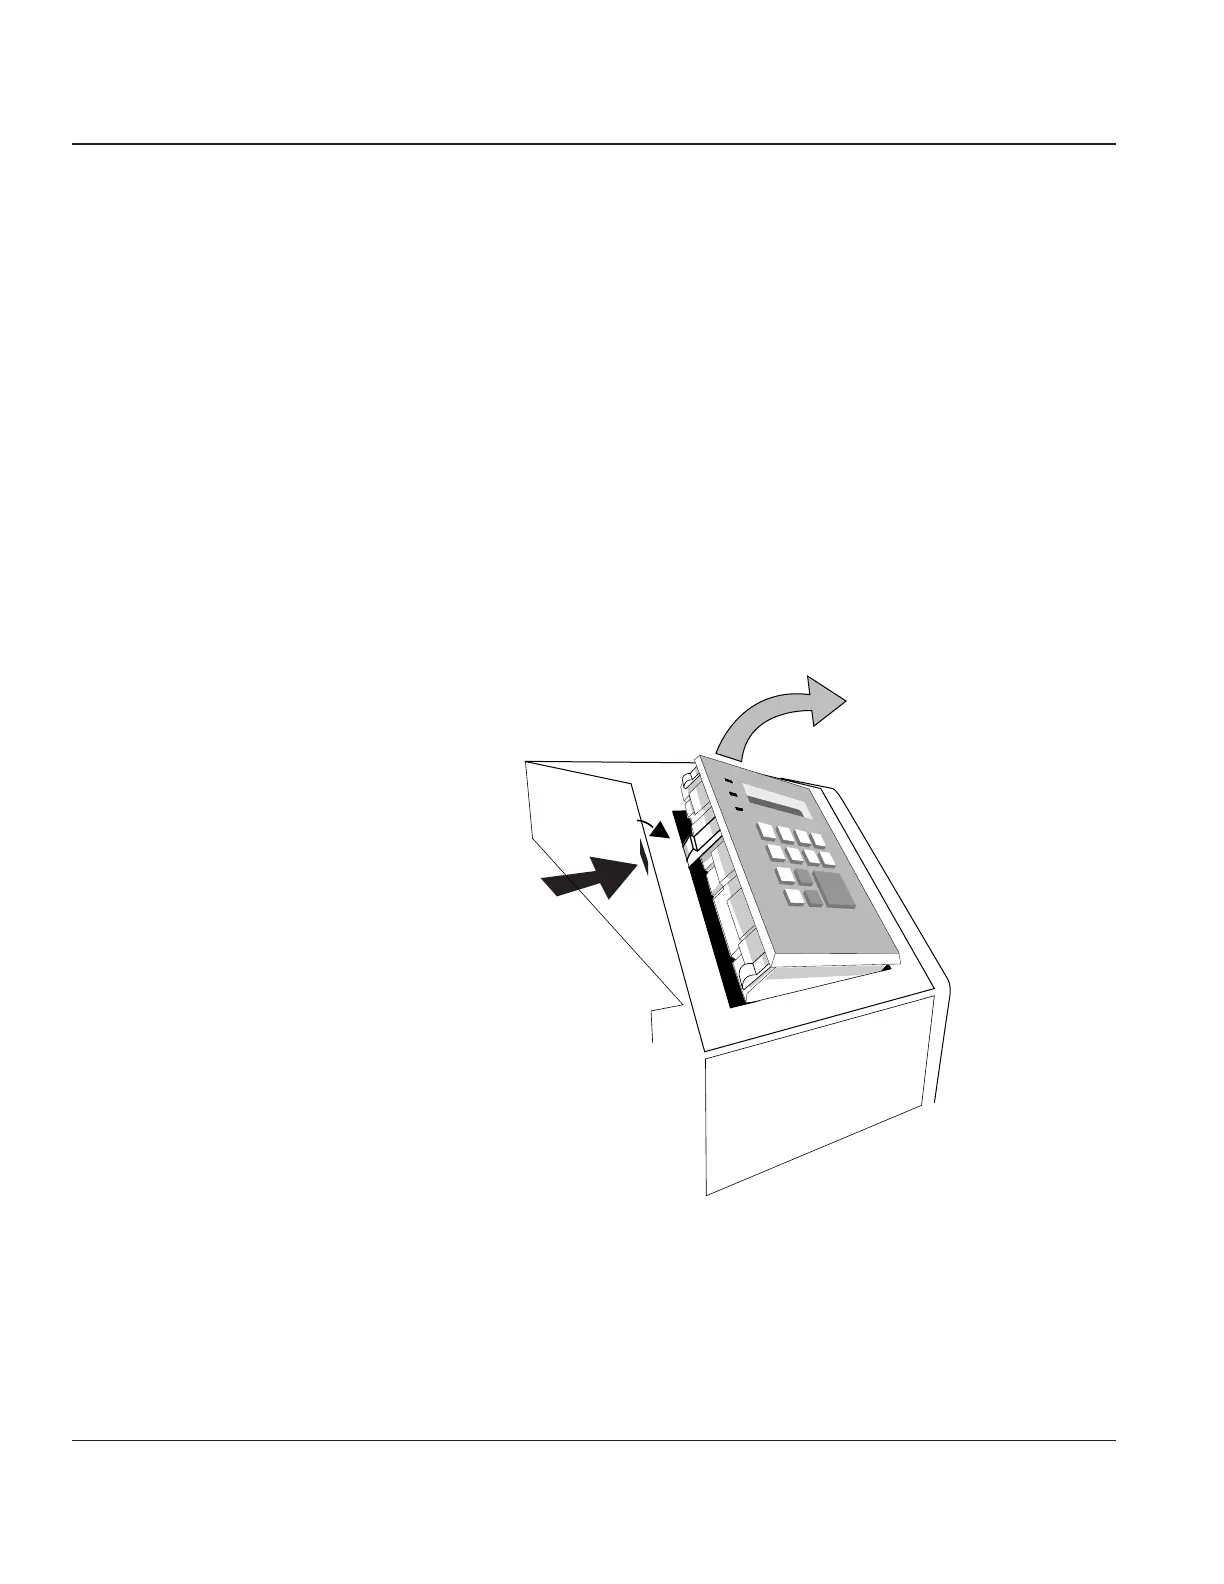
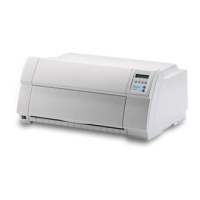
Procedure 2 – The Control Panel
Before beginning this procedure, turn the printer off and disconnect the power cable.
Removing
STEP 1. Raise the printer lid.
STEP 2. Insert a small, flat screwdriver straight into the slot located to the left of the Control Panel.
STEP 3. Push the screwdriver straight in until the Control Panel’s latch releases and the left edge of the
panel can be lifted up.
STEP 4. Lift Panel out gently, minimize any stress to the Control Panel cable.
If you are installing a new Control Panel, reach inside and unplug the Control Panel cable from
the Engine Controller CBA (J801).
If you are removing the Right End Cover, carefully insert Control Panel back through its
opening and rest it in the inside of the printer.
Panel Latch
Latch Release
Access Slot
Figure 4–3. Removing the Control Panel