Receiver Setup and Survey
HiPer+ Operator’s Manual
4-8
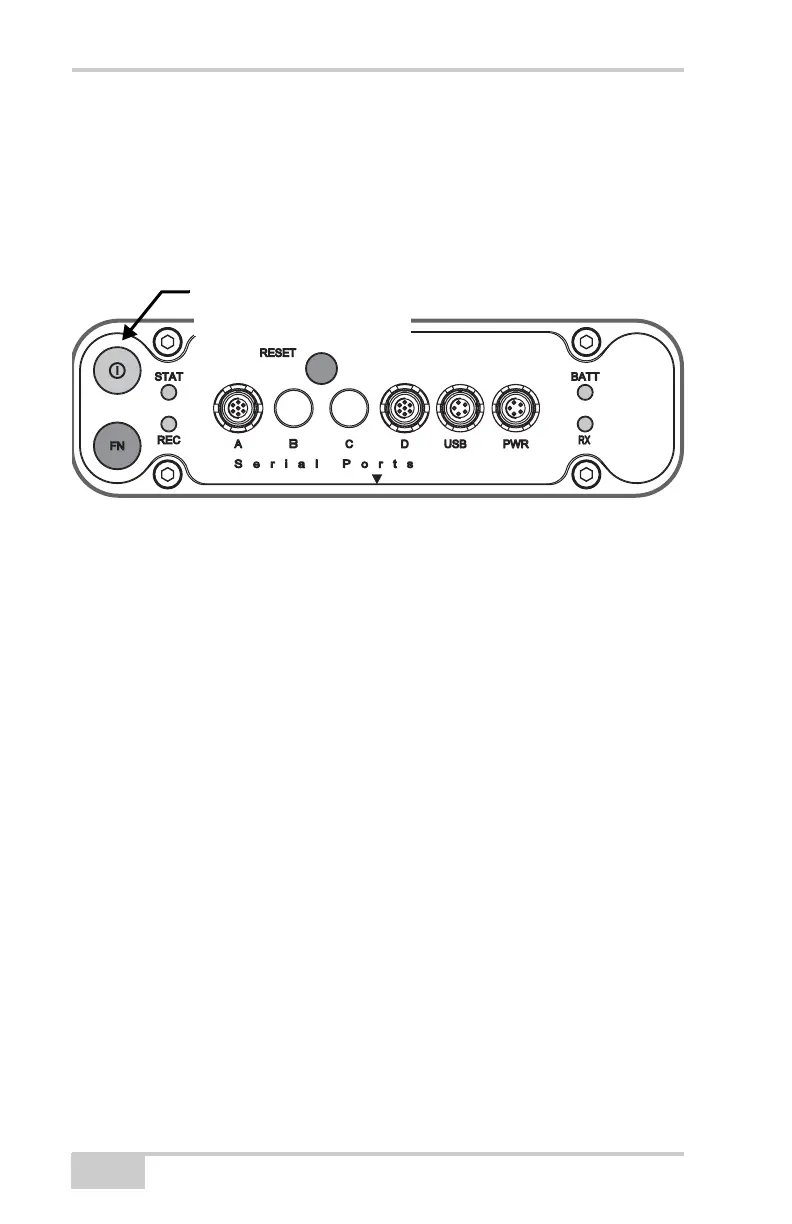
To turn on/off the receiver, press the power button (Figure 4-6).
• When turning on, press the power button until the MINTER’s
LEDs briefly flash.
• When turning off, press the power button until the LEDs go out,
then release.
Figure 4-6. Power Button Functions
To start/stop logging data, press the FN button for 1–5 seconds
(Figure 4-7 on page 4-9).
• During data recording, the REC LED is green. Use PC-CDU to
set the recording time interval. See “Recording Interval
parameter” on page 3-28 for details.
• The REC LED blinks green each time data is written to the
internal receiver’s memory.
• If the REC LED is red, the receiver has run out of memory, has a
hardware problem, or contains an improper OAF (see “Option
Authorization File (OAF)” on page 1-16 for more information).
Use PC-CDU to enable the desired FN key mode in the receiver,
either “LED blink mode switch” for static surveys or “Occupation
mode switch” for kinematic surveys. See “FN Key Mode parameter”
on page 3-30 for details.
Each time you turn off or on data recording, either a new file opens or
data appends to a particular file. See “Always Append to the File
parameter” on page 3-29 and “Files Creation Mode parameter” on
page 3-29 for information on setting these functions.
Press the power button for
about 1 second to turn the
receiver on/off.