44
EN
Bi-directional Dubbing between HDD
and DVD
You can copy the contents of the HDD to a DVD, or
vice versa.
Limitation:
• If the unit detects that the dubbing will not finish
by 3 minutes before the Timer Recording, the
dubbing cannot be started. Be noted that with
HDD to DVD dubbing (or vice versa), the
duration of the dubbing is the duration of the
dubbing title (except for the High Speed
Dubbing).
Limitations (HDD to DVD):
• You cannot dub to the finalised Video mode
DVDs.
• You cannot dub to the protected VR mode
DVDs.
• If you try to dub copy-once programmes, you
will be warned that the copy-once programmes
cannot be copied but only be moved. If you still
want to continue with the dubbing (moving),
select “Yes” and continue with the steps. Moving
of the copy-once programmes is only available
with VR mode DVD-RW (CPRM compatible)
discs.
• An error message will appear if you try to add a
programme to the Dubbing List under the
following conditions;
- When the number of programmes in the
“Dubbing List” exceeds 32 programmes.
- When the total number of titles in the DVD will
exceed 99 titles.
- When the total number of chapters in the DVD
will exceed 999 chapters for VR mode DVDs.
Limitations (DVD to HDD):
• If a copy control signal is detected during
dubbing, the dubbing will be stopped.
• The contents of the Video mode DVDs recorded
on other unit cannot be dubbed using this unit.
• An error message will appear if you try to add a
programme to the Dubbing List under the
following conditions;
- When the total number of titles will exceed 300
titles.
Preparing for dubbing (HDD to DVD):
• Insert a recordable DVD. (See pages 28 to 30.)
• Make sure there is enough space on the DVD.
Preparing for dubbing (DVD to HDD):
• Insert a disc to be dubbed.
• Make sure there is enough space on the HDD.
High Speed Dubbing:
When dubbing from the HDD Original List to the VR
mode DVD-RW, High Speed Dubbing will be
available. High Speed Dubbing offers you the dubbing
speed of 20 times the SEP mode dubbing. To perform
the High Speed Dubbing, select “High” at step 3.
Just Dubbing:
When dubbing from HDD to DVD if you select “Auto”
in the Rec Mode Menu, the unit will calculate the
duration of the dubbing material and the remaining
time in the disc and automatically select the most
suitable Rec Mode for the dubbing.
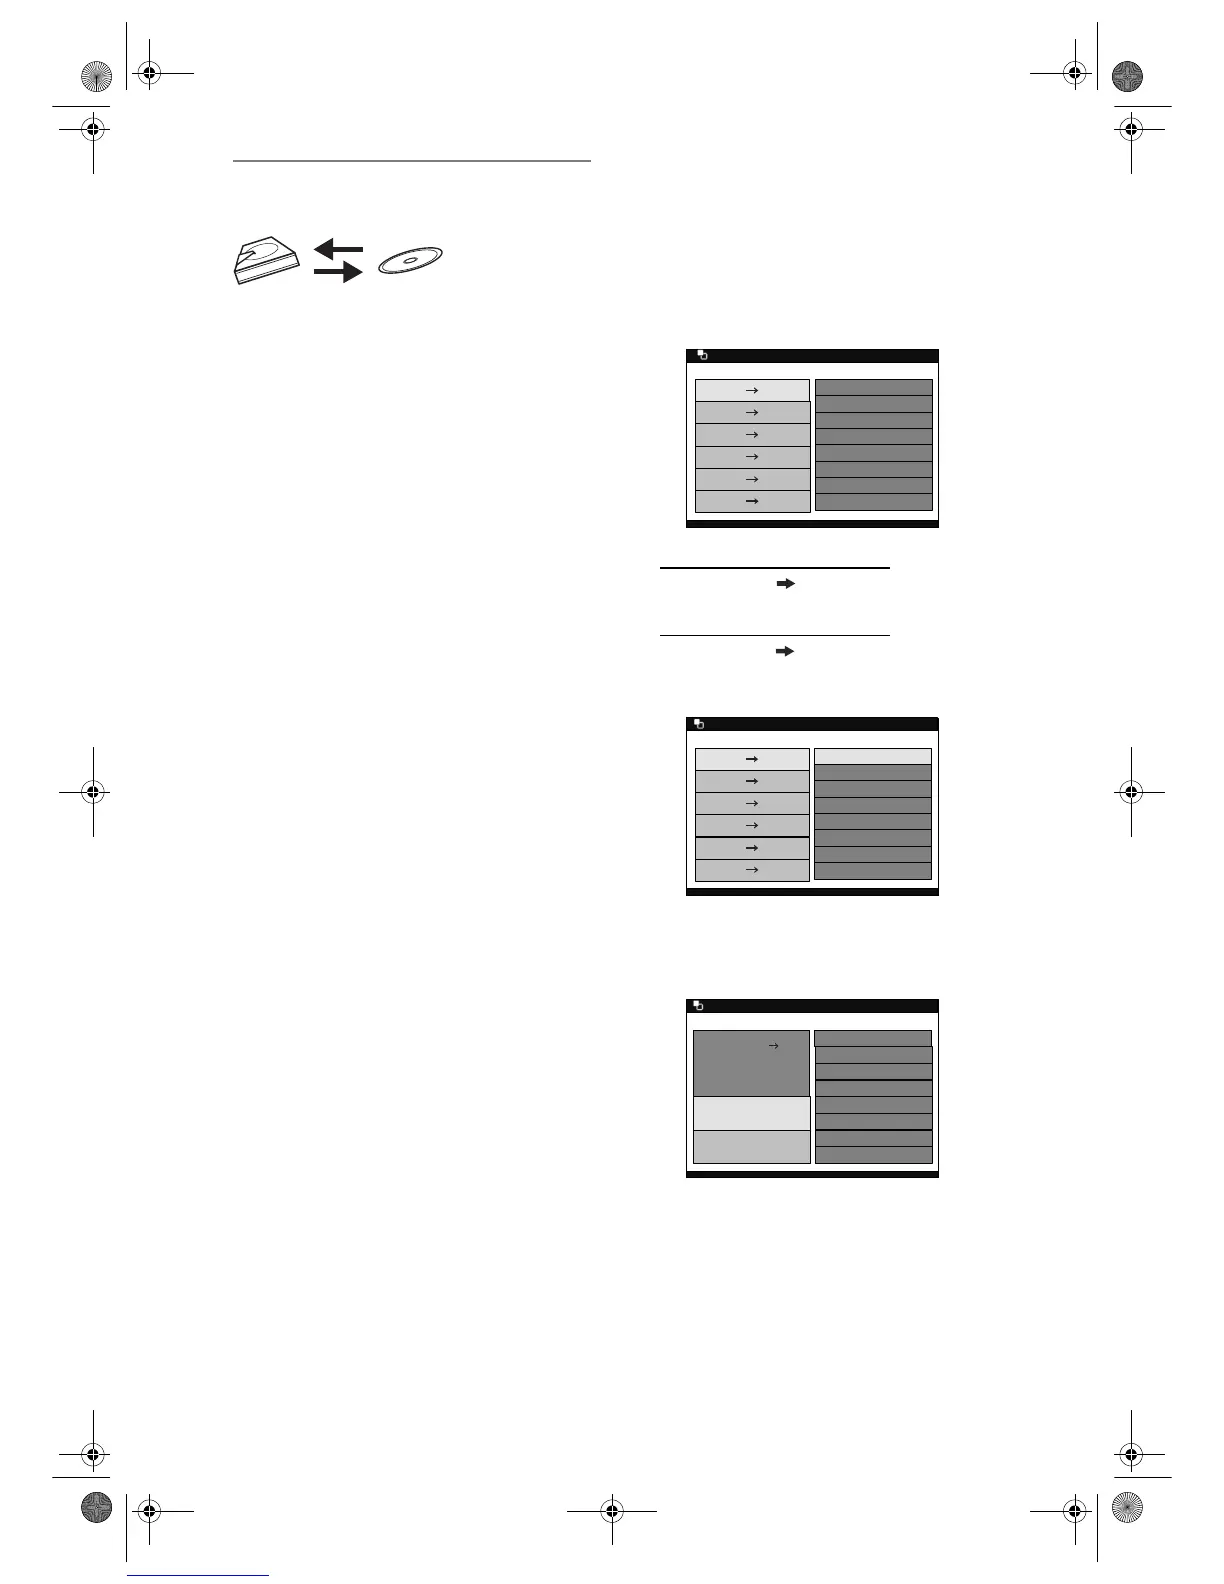
1 Press [DUBBING MODE].
The Dubbing Direction and the Rec Mode Menu
will appear.
2 For HDD to DVD dubbing:
Select “HDD DVD” using
[Cursor
U / D], then press [ENTER].
For DVD to HDD dubbing:
Select “DVD HDD” using
[Cursor
U / D], then press [ENTER].
Example: HDD ➞ DVD
3 Select a desired Rec Mode using
[Cursor
U / D], then press [ENTER].
Dubbing Top Menu will appear.
• If you select “Auto” for the Rec Mode, the unit
will automatically calculate the remaining time
and select the most suitable Rec Mode (HDD to
DVD dubbing only).
• High Speed Dubbing is available only when
dubbing the titles in the HDD Original List to the
VR mode DVD.
HDD D
 Loading...