PaX-i (PCH-2500) User Manual
99
7. Acquiring CEPH Images
A. Leave the X-Ray room and close the door. The operator must maintain
visual contact with the patient at all times during image acquisition.
B. Press and hold down exposure switch until the image is acquired.
During X-Ray irradiation, ensure that:
-
The LED lamp on top of the equipment
turns orange to indicate X-Ray
emission.
-
The warning lamp outside the X-Ray
room turns on.
-
The sound (beep or music: optional)
goes off.
-
The radiation symbol on the upper left
corner of GUI turns yellow to indicate
X-rays are being emitted.
The image appears in real time on the imaging GUI.
C. Click the
Save
button to save the acquired image. If automatic save has
been selected as a default setting, the image will be saved automatically.
D. The captured image will be automatically transferred to
EasyDent.
Clicking
the patient’s name in the patient list after imaging will refresh the image list for
that patient. The patient’s most recent image will appear on the far left of the
thumbnail image pane.
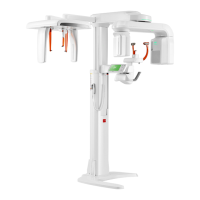
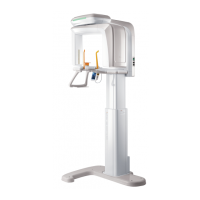
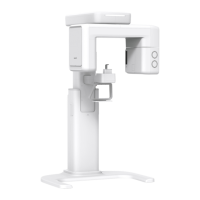
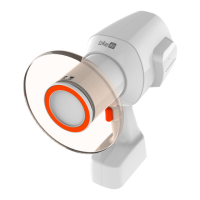
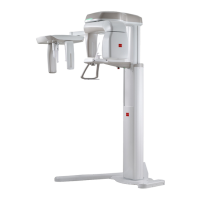
Exposure indicator
light turns orange
Orange: X-Ray On
X-Ray ON indicator
Pi_u272_en_20180514.indd 99 2018-05-14 오전 11:03:29