PaX-i (PCH-2500) User Manual
96
7. Acquiring CEPH Images
F. Place the ear rods along the patient’s ear canals. Make sure that the ear
rods are comfortably, yet rmly, in place.
30-40
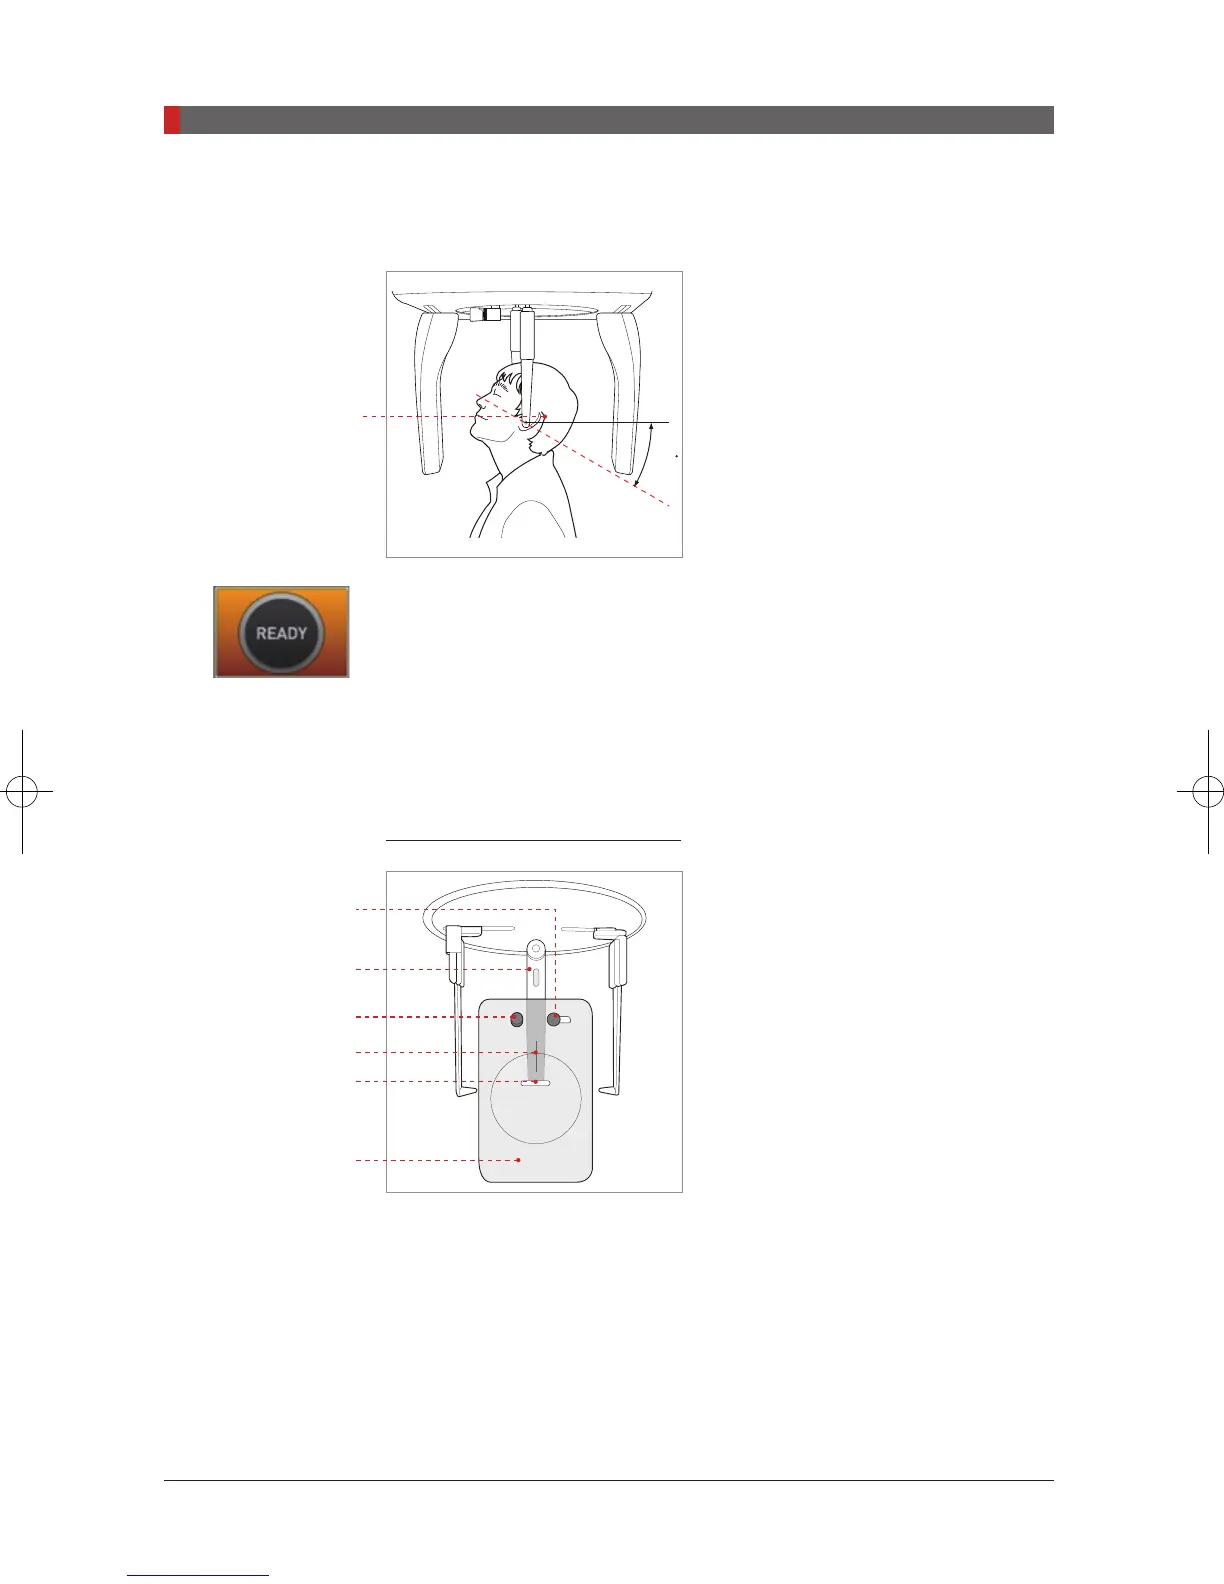
G. Ask the patient to swallow saliva and tilt
his/her neck back 35° - 40° with the mouth
closed until X-Ray exposure is complete.
H. Click the
Ready
button after the patient has been properly positioned. No
X-Ray will be emitted at this point. The CEPH sensor and the 2nd collimator will
move to capturing mode.
I. Proceed to section
7.4: Initiating X-Ray Exposure.
7.2.5 CARPUS Mode
Attaching the CARPUS plate
A. Match the notch on the CARPUS plate
to the end of the nasal positioner.
Nasal positioner
Nasal positioner
Locking bolt
Fixed bolt
Ruler
Notch
CARPUS Plate
Pi_u272_en_20180514.indd 96 2018-05-14 오전 11:03:29