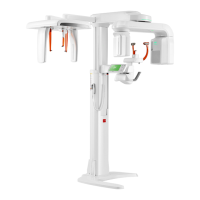
PaX-i (PCH-2500) User Manual
97
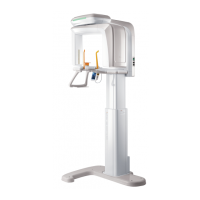
7. Acquiring CEPH Images
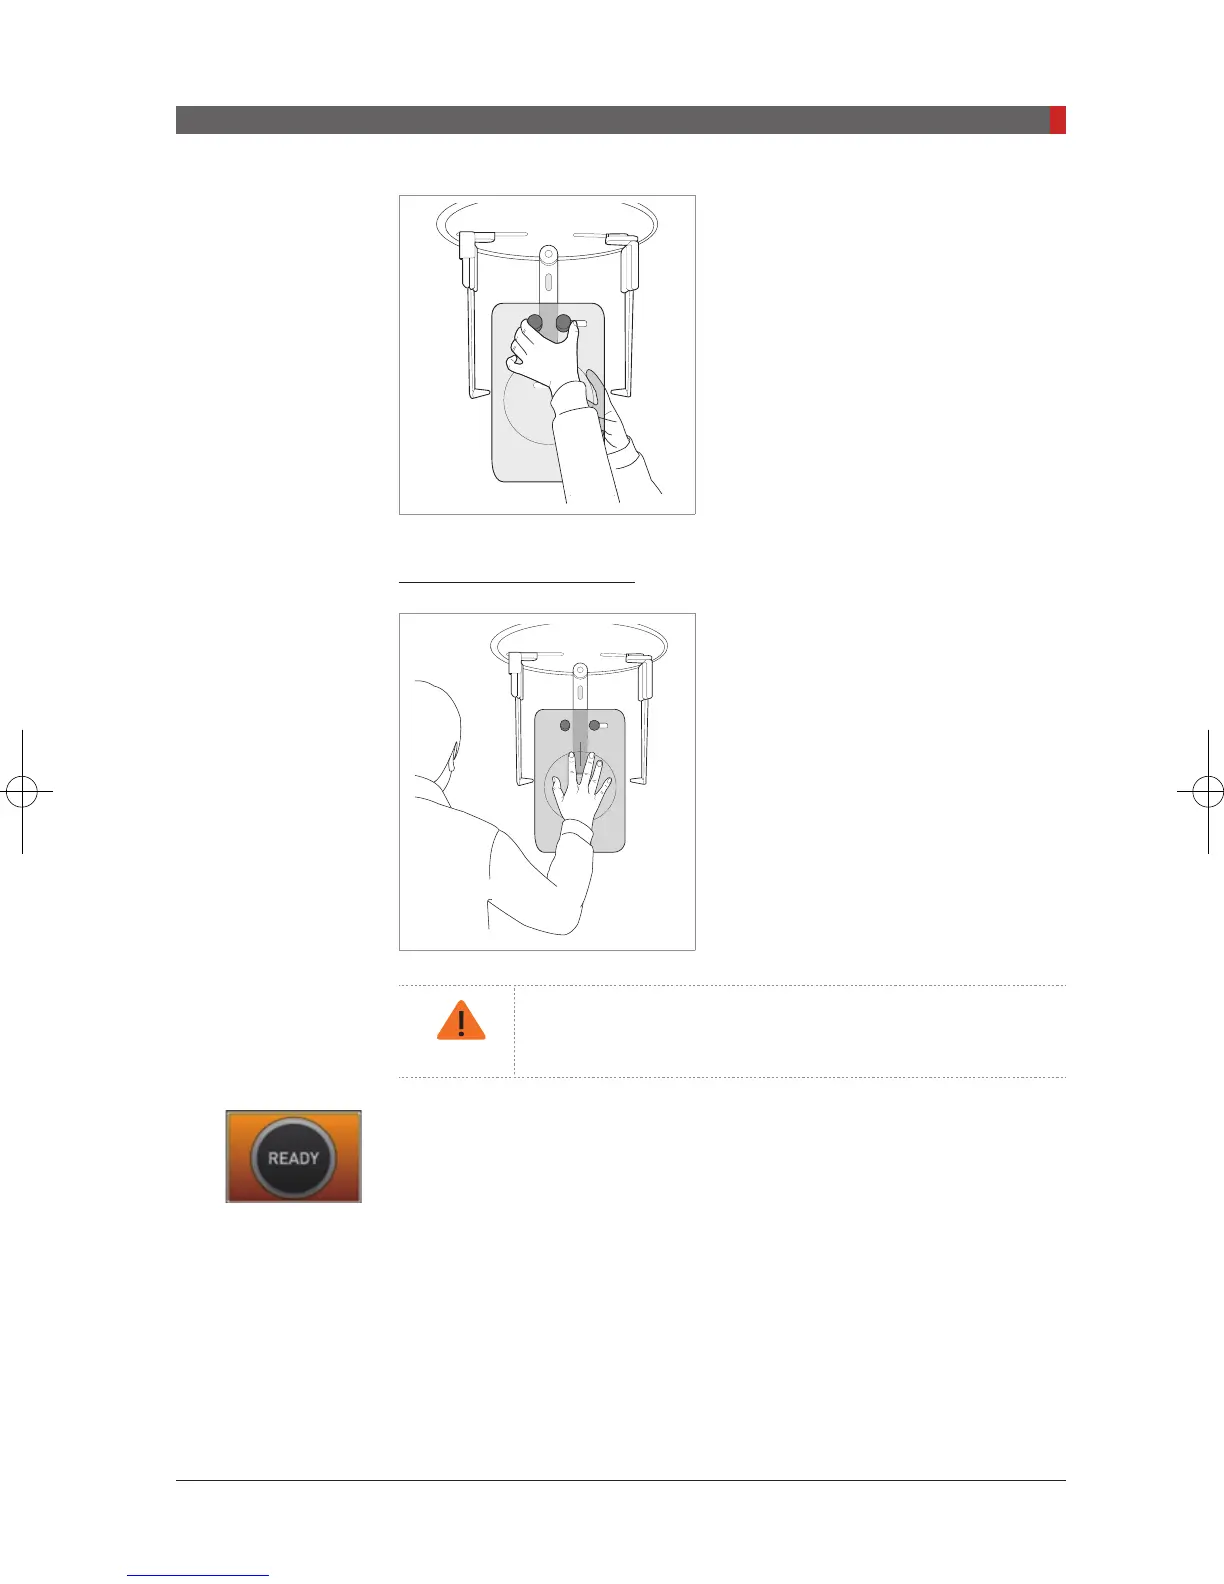
B. Slide the CARPUS plate onto the nasal
positioner.
C. Slide the locking bolt on the CARPUS
plate towards the nasal positioner and turn
it to secure the CARPUS plate in place.
D. Ensure that the CARPUS plate is rmly
in place.
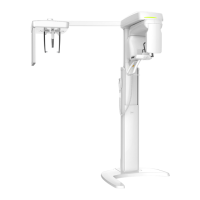
Positioning the Patient
A. Ask the patient to put his/her right-hand
at on the CARPUS plate. It is important to
ensure that the patient does not bend his/
her ngers.
B. Have the patient close their eyes and
remain still until scanning is complete.
Ask the patient not to block the ruler on the nasal
positioner by his / her fingers. It could deteriorate image
quality.
C. Click the
Ready
button after the patient has been properly positioned. No
X-Ray will be emitted at this point.
D. Proceed to section
7.4: Initiating X-Ray exposure.
Pi_u272_en_20180514.indd 97 2018-05-14 오전 11:03:29