VideoIQ User Guide71
3. Use the slider to adjust the volume level of the audio input.
4. Click Apply.
The speaker icon displays on the camera live video window and alarm review
panel.
Configuring Output
1. Check the Enable audio output box.
2. Click the Start button to start a pre-recorded audio file.
3. Use the slider to adjust the volume level.
4. Click the Stop button.
5. Click Apply.
Note: The iCVR supplies a line-level audio output.
The Talk button displays on the camera live video window, alarm review panel and
the web access Alarm I/O toolbar.
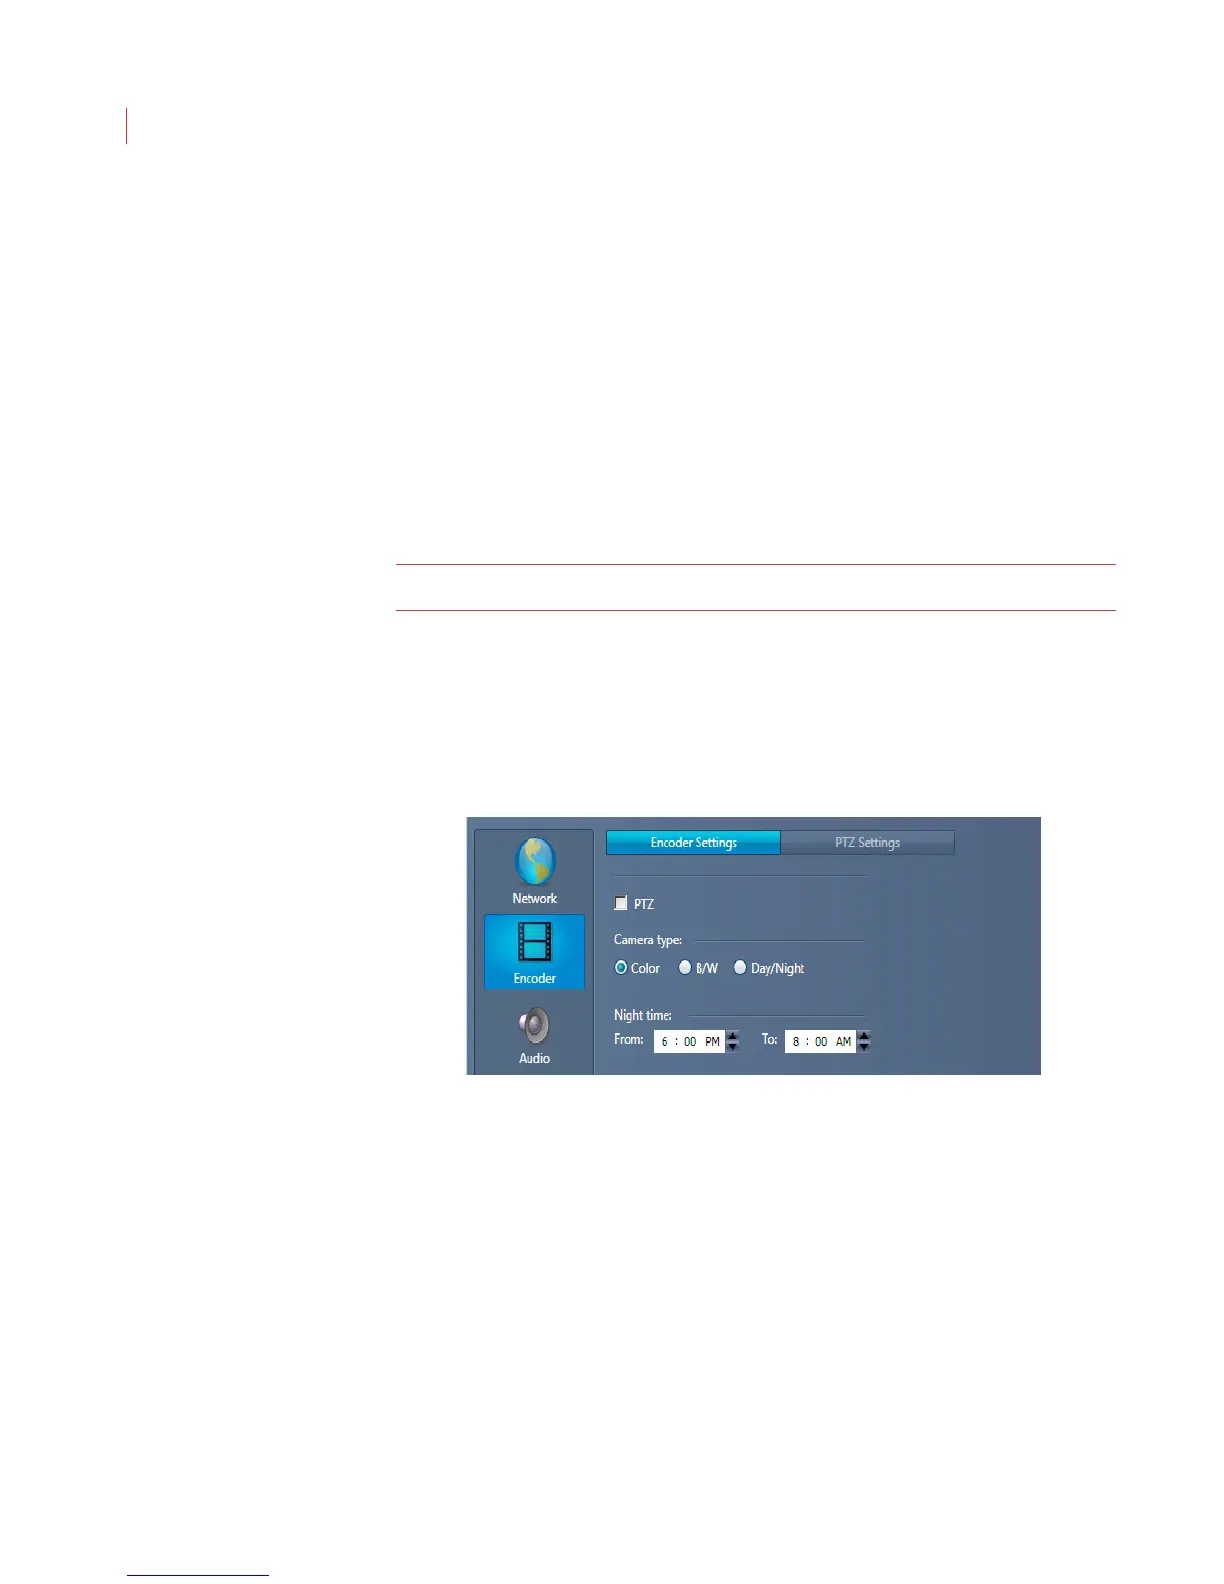
Configuring Encoder Settings
If you’ve attached an analog or PTZ camera to an Encoder you will need to
configure additional settings for the camera.
1. When the Configure Camera window displays, click the Encoder button.
2. If you connected a PTZ camera to the Encoder check the PTZ box. Complete
steps 3 and 4, then proceed to the PTZ Settings tab.
3. Select Color, B/W or Day/Night to correspond to the type of camera that is
connected to the Encoder. If you’ve attached a thermal or infrared camera
select B/W.
4. The Night time setting increases the sensitivity of the video analytics at night.
This setting allows you to set the times for increased sensitivity. Times can be
approximate.
 Loading...