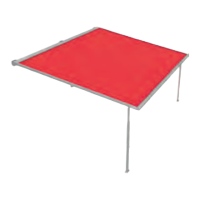
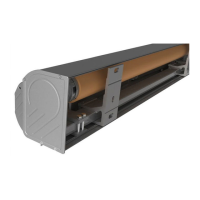
PergoTex II/ PergoTex II LED
Instructions for assembly
We reserve the right to make technical changes
9 Electrical connection
9.1 safety instructions
Electrical hazards
Electrical hazards occur when the electrical connections are performed improperly.
The weinor PergoTex II may only be connected to an electricity supply if the
specifications provided on the tag attached to the weinor PergoTex II and/or the
specifications provided in the supplied instructions for assembly tally with the power
source. At the very least, the tag and/or specifications must specify the voltage,
frequency and output values.
A permanent electrical connection may only be made to power grids fitted with an all-
pole cutting-off plate cylinder with a minimum 3 mm wide contact gap.
The installation instructions accompanying the supplied electrical components must
be observed.
Only a qualified employee may work on the system.
9.2 Regulating the end positions
Damage to the product
Incorrectly set end positions can result in the product being damaged.
The end position of the drive during running-in must be set to ensure that it switches
off incrementally 2 cm before the arrester.
An adjustment kit from Becker is required to set the end position.
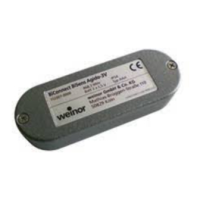
Use the enclosed breakout lead (BiConnect LED).
The circuit diagrams indicate the point for the connection of the adjustment kit (see * in
Chapter circuit diagrams).
• The installation and operationing instructions for the used Becker motor are enclosed
in the construction documents.
• Ascend the construction completely and then retract it.
• After running-in, ascend for approx. 2 cm to regulate the top end position of the drive
(point switch off).
• Then ascend the construction nonstop downwards until the drive stops independently.
• The drive end positions are now regulated.
Check that the drive is switched off
1. After the installation of the weinor PergoTex II, check the accurate switching off of the
drive. To do so, 3 times run in and ascend to the first transom.
2. Regulate if necessary.
If the end position has been wrongly programmed, it must be deleted using an adjustment
kit.

 Loading...