PROCEDURE
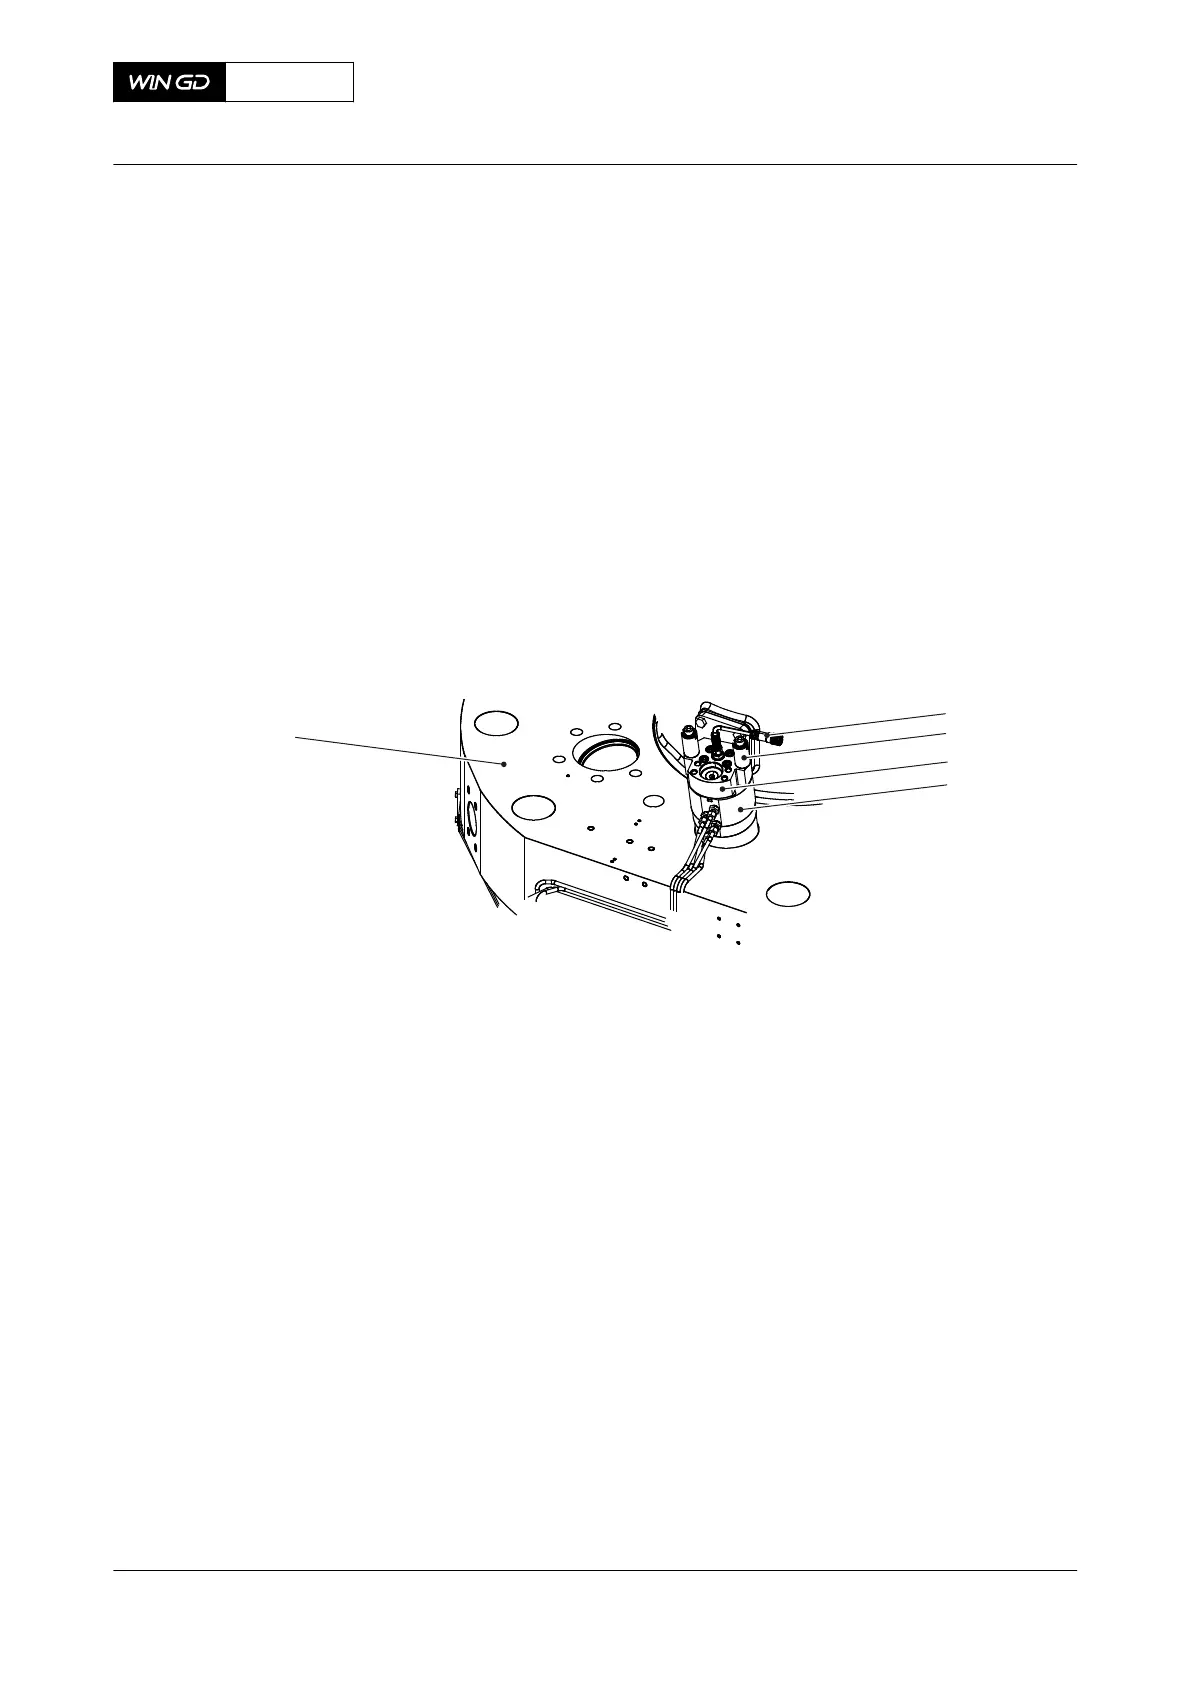
1 Disconnect the cable (001, Figure 7-41) from the terminal box to the injection valve.
2 Make sure that the oil supply to the injection valve is stopped.
3 Remove the screws and their spring cages (002).
4 Remove the injection valve (003) from the valve bush (004) in the cylinder cover (005).
5 Remove and discard the O-rings.
6 Use a brass wire brush to remove combustion particles from the external parts of the
nozzle.
7 If necessary attach protection to the nozzle tip.
8 If it is not necessary to disassemble the injection valve, carefully clean it and put it in its
correct package in a clean, dry area.
9 If it is necessary to disassemble the injection valve, refer to section 7.6.3 Direct
controlled injection valve - disassemble.
Fig 7-41 Direct controlled injection valve
CLOSE UP
• None
X72DF
AA00-2722-00AAA-520A-A
Maintenance Manual Direct controlled injection valve - remove
Winterthur Gas & Diesel Ltd.
- 259 - Issue 002 2020-10