Transmission Options
151
Fax
4
Note • Mailbox reception using the DTMF method is possible, but the only signals that can be
received are numerals, ∗, and #.
• It may be possible to automatically print a document received in the mailbox depending on
the mailbox settings. For information about setting the mailbox, refer to "Mailbox" (P.322).
• Depending on the report print settings, the [Mailbox Report] may not be printed even if e-
mail is received in the mailbox. For information on setting the report print settings, refer to
"Reports" (P.277).
For information on printing received documents, refer to "Printing/Deleting Documents in the Mailbox"
(P.210).
Sending to Mailbox (F Code Method)
1
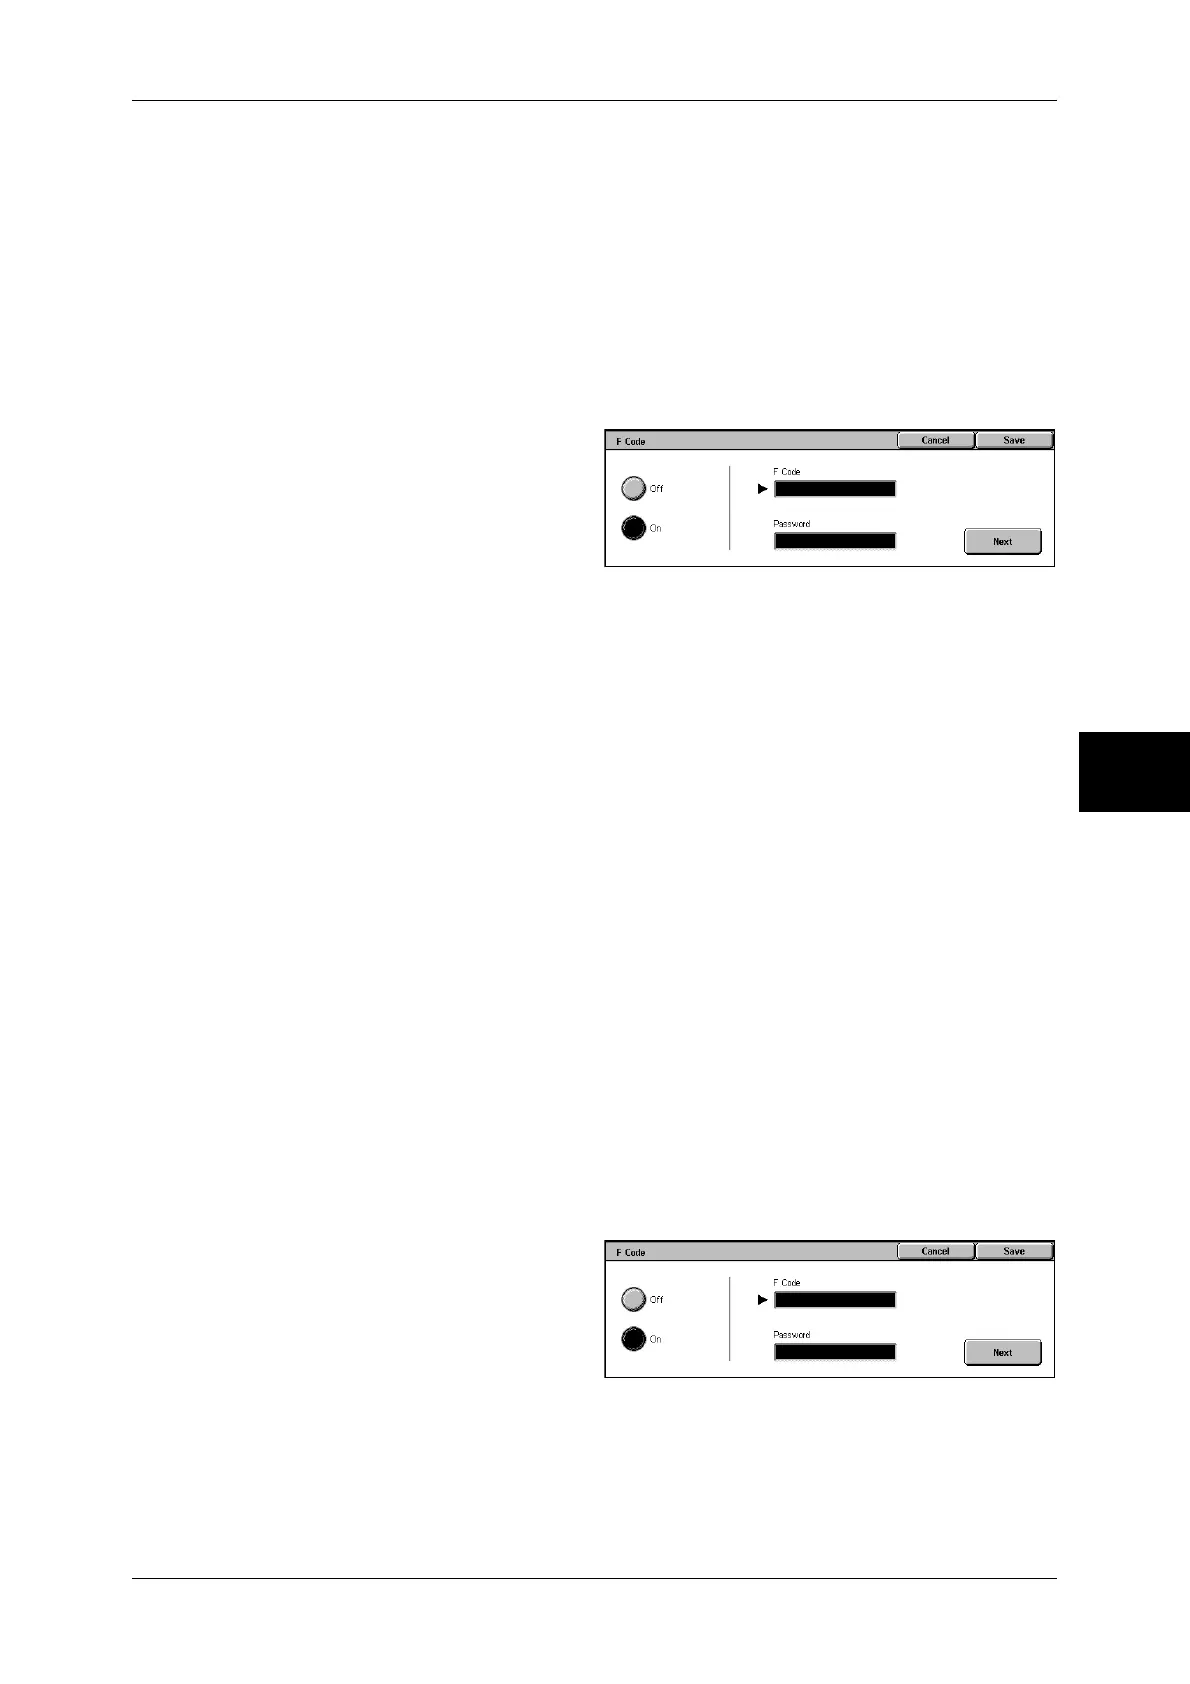
Select [F Code] on the
[Transmission Options] screen.
2
Select [On].
3
Use numeric keys to enter an F
code, and select [Next].
Note • An F code must be up to 20 digits.
4
If required, enter a password into [Password], and then select [Next].
Note • A password must be up to 20 digits.
Off
The F code transmission is not used.
On
The F code transmission is used. Enter the F Code.
F Code
Enter the F code using the numeric keypad.
Note • You can enter up to 20 digits for the F Code.
Password
Enter the password using the numeric keypad. If a password has not been set, you do
not need to enter one.
Note • You can enter up to 20 digits for the password.
Next
Select this button after entering [F Code] and [Password].
Private Polling (F Code Method)
1
Select [F Code] on the
[Transmission Options] screen.
2
Select [On].
3
Enter the F Code with the numeric
keypad and select [Next].
Note • You can enter up to 20 digits for the F Code.
4
If necessary, enter the password using the numeric keypad and select [Next].
Note • You can enter up to 20 digits for the password.
5
Select [Save].
 Loading...


