Control Panel
49
Product Overview
2
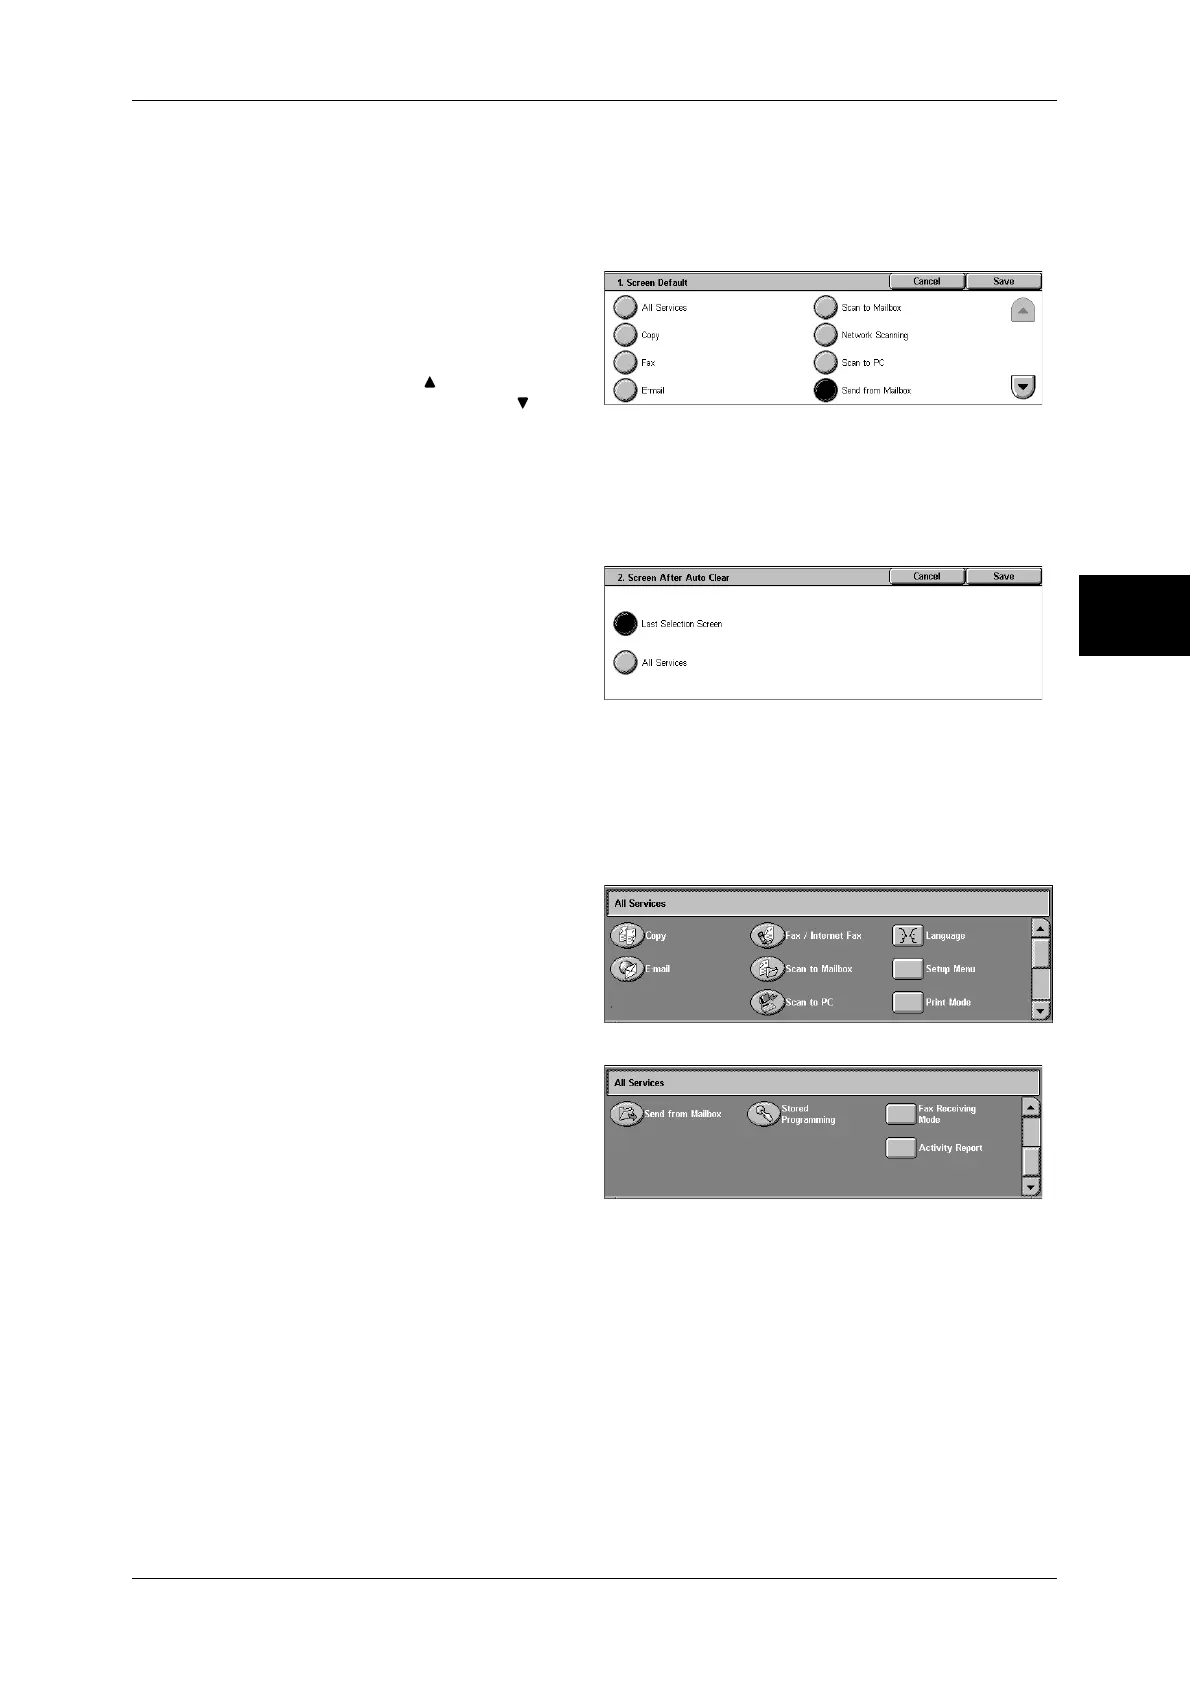
Setting the Initial Screen
Set the screen to be displayed after turning the machine on or exiting the Power Saver
mode. This section describes how to set the [Send from Mailbox] screen as the initial
screen, as an example.
1
Select [Screen Default], and select
[Change Settings].
2
Select [Send from Mailbox].
Note • Select [ ] to return to the
previous screen or [ ] to
move to the next screen.
Setting the Screen to be displayed after Auto Clear
Set the screen to be displayed after Auto Clear. You can select from [Last Selection
Screen] and [All Services].
1
Select [Screen After Auto Clear],
and select [Change Settings].
2
Select [Last Selection Screen] or
[All Services].
Customizing the [All Services] Screen
By selecting features and their positions, you can customize the [All Services] screen
that is displayed when you press the <All Services> button on the control panel.
The following are the factory default features displayed on the [All Services] screen.
Note • Unsupported features will not be displayed on the screen. Features not available due to
problems will be grayed out on the screen.
z
Copy
z
Fax/Internet Fax
z
E-mail
z
Scan to Mailbox
z
Scan to PC
z
Send from Mailbox
z
Stored Programming
z
Language
z
Setup Menu
z
Print Mode
z
Fax Receiving Mode
z
Activity Report
 Loading...


