16 Appendix
570
Appendix
16
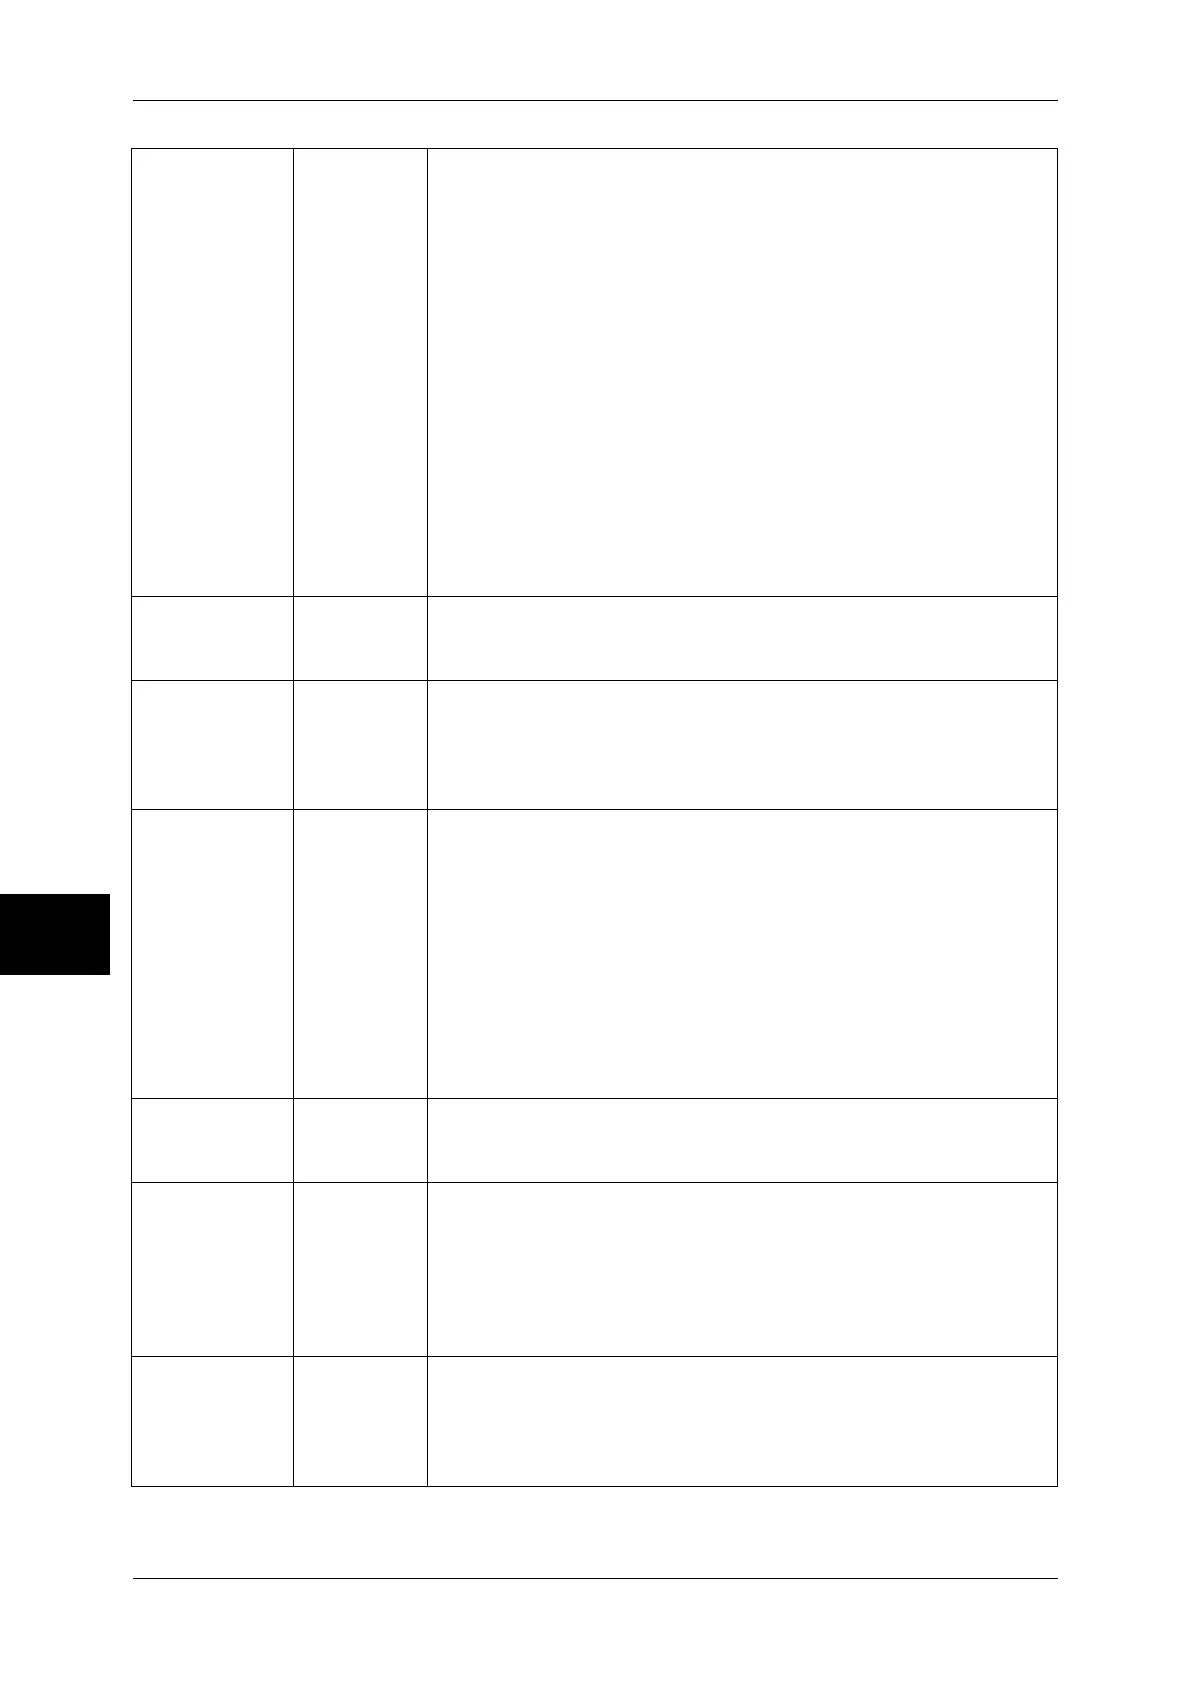
Active Area
Determining
Command
161 0 (Default): Auto
1: PS
2: IW
3: IP
4: Adapted
When auto-scaling is in use, this sets the method for obtaining the active
coordinate area.
[Auto]...Determines any of the methods listed below: PS, IW, IP, or
Adapted.
[PS]...Area specified by the first PS command is to be a rectangular area.
[IW]...Area specified by the very last IW command is to be a rectangular
area.
[IP]...Area which combines all the IP commands is to be a rectangular
area.
[Adapted]...The maximum/minimum coordinates within the areas and
coordinates plotted using the drawing command, and the maximum size
of characters and line width specified in the page, are used to calculate
the rectangular area.
Paper Margin 162 0 to 99 (Default): 0): 0 - 99 mm
Sets the paper margin when auto scaling is being used.
Image
Enhancement
163 0: OFF
1 (Default): ON
Sets whether to artificially increase the resolution of an image and smooth
its edges.
Stapling 164 0 (Default): None
1: Top Left
2: Top Double
3: Top Right
4: Left Double
5: Right Double
6: Bottom Left
7: Bottom Double
8: Bottom Right
9: Center
Sets the stapling position.
Manual Feed
Tray Check
Indicator
165 0: None
1 (Default): Yes
Punching 166 0: None
1 (Default): Top
2: Bottom
3: Left
4: Right
Sets the punch position.
Number of holes 167 0 (Default): 2 holes
1: 3 holes
2: 4 holes
Sets the number of punch holes.

 Loading...


