Output Format
89
Copy
3
Off
No stamp is added.
On
A stamp is added.
Text
Displays the [Stamp-Text] screen.
On the screen, you can select stamp text from eight options, or from the user-defined
text strings that can be specified in the System Administration mode.
For information on how to define stamp text, refer to "Annotation - Create Stamps" (P.293).
Position
Displays the [Stamp-Position] screen.
You can select a stamp position from nine options.
Print On...
Displays the [Stamp-Print On] screen.
You can select whether to add a stamp onto the first copy page only, or onto each copy
page.
Size
Displays the [Stamp - Size] screen.
You can select a stamp size from three options, or can directly specify a size in the
range of 6 to 64 points in 1 point increments.
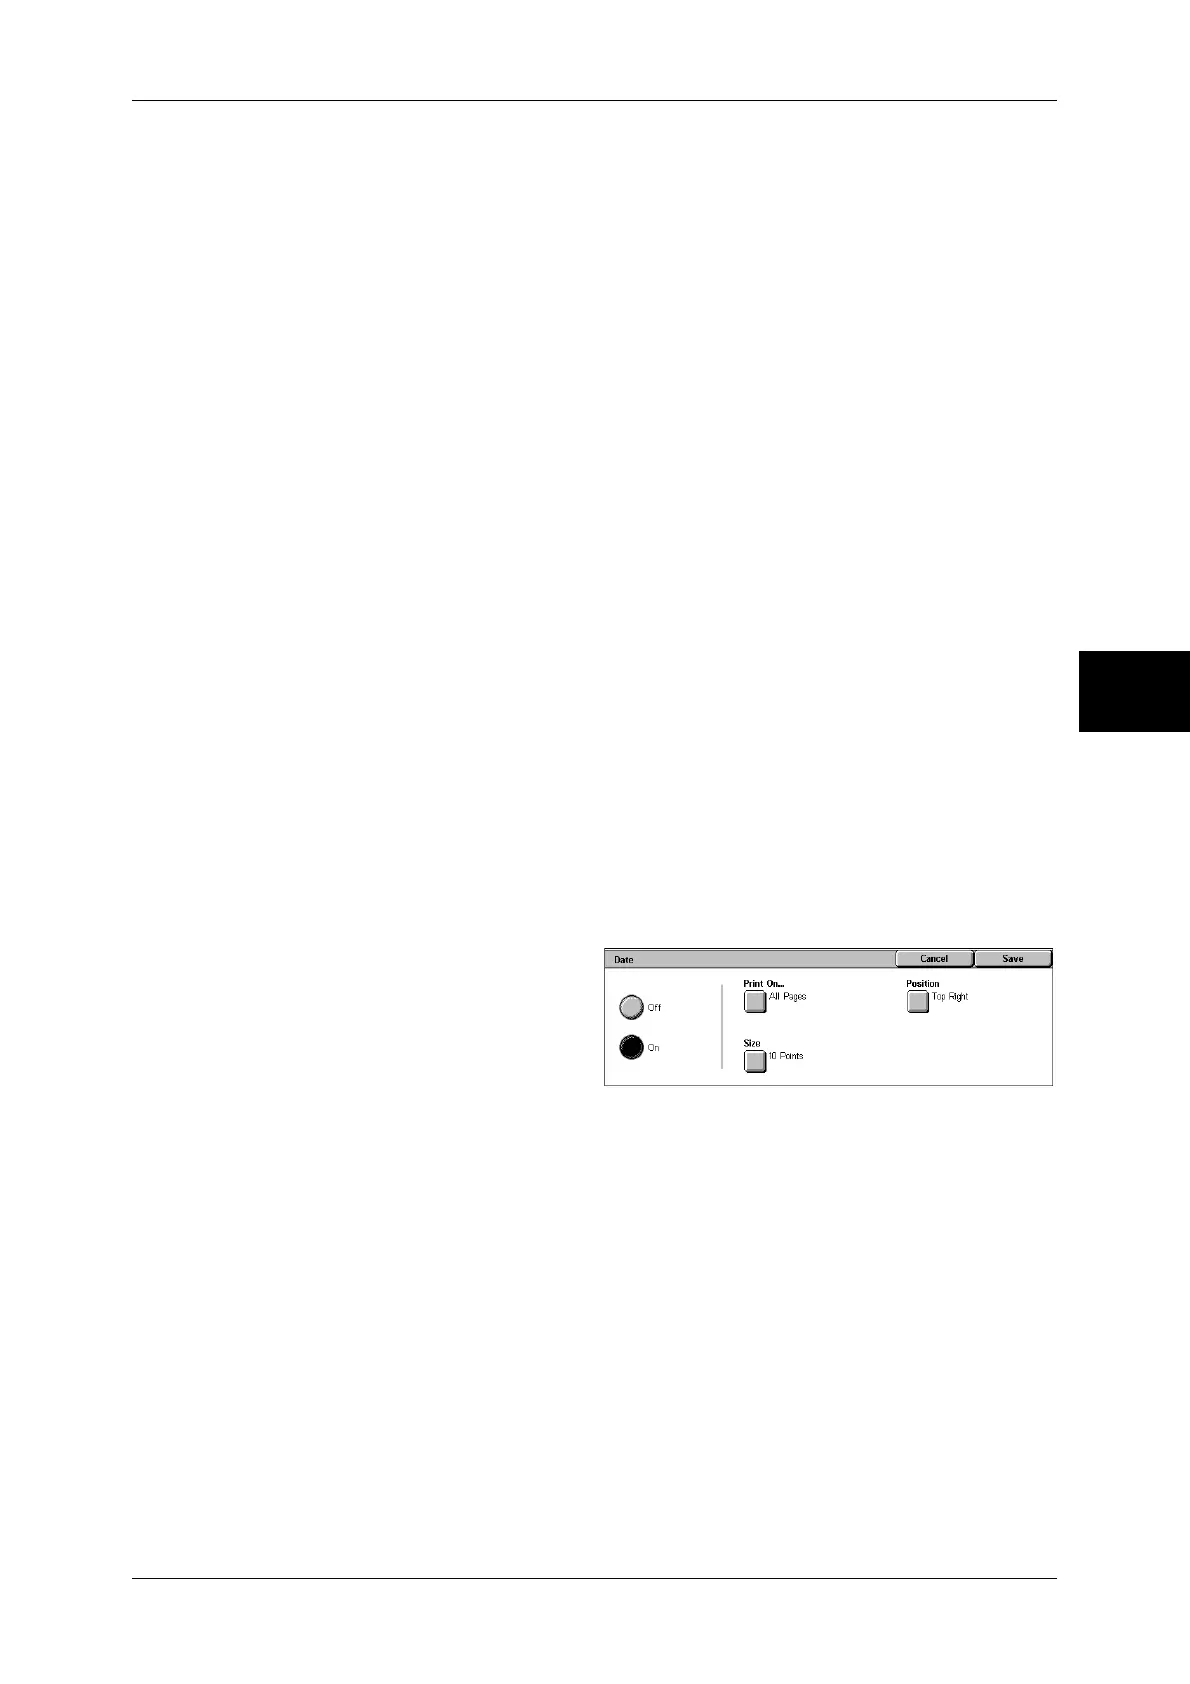
[Date] Screen
This screen allows you to add a date to copies. The date shows when you started
copying the document.
The date format can be changed. For details, refer to "Date Format" (P.274).
1
Select any item.
Off
No date is added.
On
A date is added.
Print On...
Displays the [Date-Print On] screen.
You can select whether to add a date onto the first copy page only, or onto each copy
page.
Size
Displays the [Date - Size] screen.
You can select a date size from three options, or can directly specify a size in the range
of 6 to 24 points in 1 point increments.
Position
Displays the [Date-Position] screen.
You can select a date position from six options.
 Loading...


