7/98
Repair Procedures 4-20 Xerox DocuPrint P8e Service Manual
REP 4.4.4 Fuser Thermistor
Removal
1 Switch the printer power off and disconnect the AC power cord.
2 Remove the Print Cartridge (REP 4.5.1).
3 Remove the Face Up Cover (REP 4.1.1).
4 Remove the Front Cover (REP 4.1.2).
5 Remove the Rear Cover (REP 4.1.3).
6 Remove the Top Cover (REP 4.1.4).
7 Remove the Right Side Cover (REP 4.1.5).
8 Remove the Fuser Assembly (REP 4.4.1).
9 Remove the Fuser Heat Roll (REP 4.4.3).
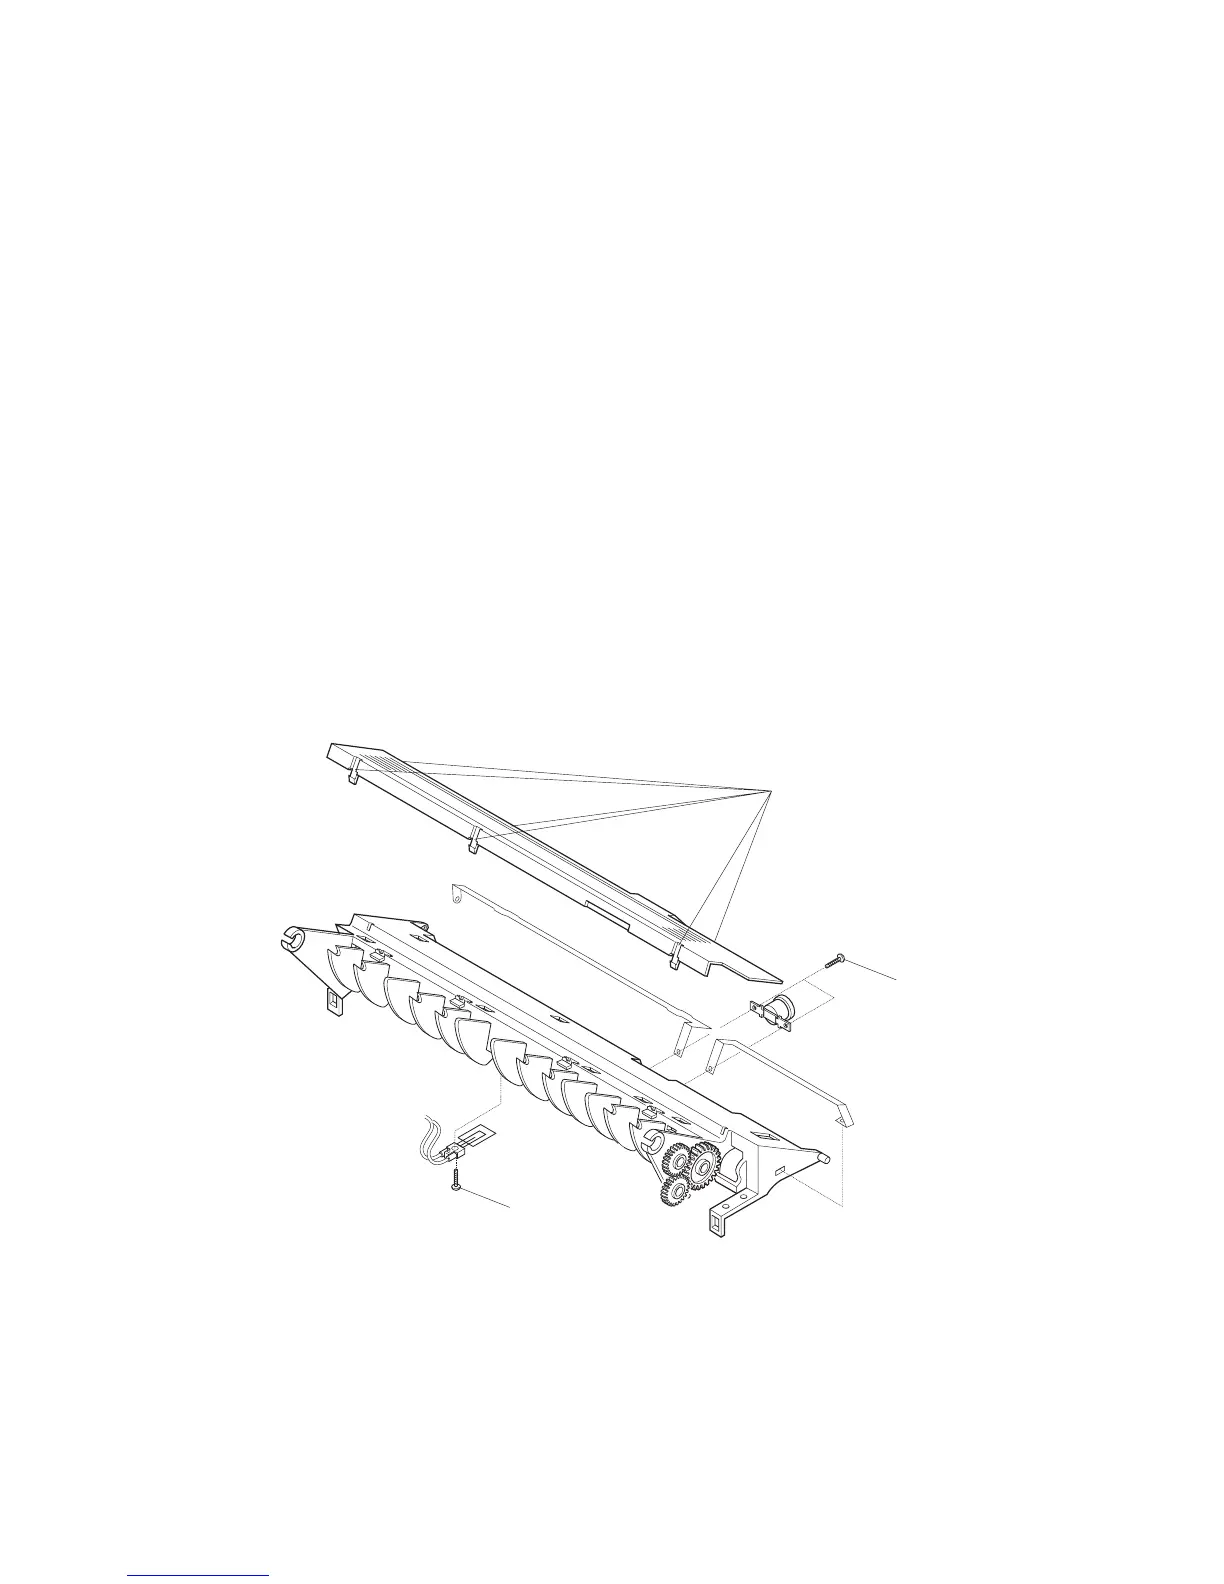
10 Remove the two screws that secure the Overheat Thermostat (Figure 4.4.4a). Remove the
Thermostat.
11 Release the six locking tabs (Figure 4.4.4a) and remove the Fuser Cover (the AC Electrodes are
attached to the bottom of the Fuser Cover).
12 Remove the screw that secures the Thermistor to the Fuser Assembly (Figure 4.4.4a). Remove
the Thermistor.
Figure 4.4.4a. Fuser Thermistor Removal.
Replacement
1 Assemble in reverse order.
2 Ensure the four Fuser Stripper Fingers are on top of the Fuser Roll.
3 Verify proper operation.
P8e_320
10
11
12

 Loading...


