Adjusting Copying Options
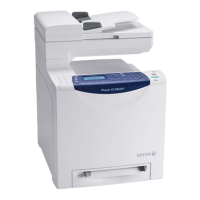
Phaser® 6180MFP Multifunction Printer
6-8
Setting Auto Exposure
Papers that are “less-white”, newsprint or ivory colored for example, can cause the printer to
put toner on the page so that the printed output has a background that matches the original. The
Auto Exposure setting removes the light or close to white color and only the image itself is
printed. Auto Exposure is turned on by default.
Turning Auto Exposure On/Off
To turn Auto Exposure on/off:
1. On the control panel, press the Copy button.
2. Select
Auto Exposure, and then press the OK button.
3. Press the Up Arrow or Down Arrow button to select
On or Off, and then press the
OK button.
Setting the Auto Exposure Level
To set the auto exposure level manually:
1. On the control panel, press the System button.
2. Select
Defaults Settings, and then press the OK button.
3. Select
Copy Defaults, and then press the OK button.
4. Select
Auto Exposure Level, and then press the OK button.
5. Press the Up Arrow or Down Arrow button to select the Auto Exposure level, and then
press the OK button.
Adjusting Color Balance
The Color Balance control allows you to adjust the print color of your printer. Three density
settings exist for each of the four colors: yellow, magenta, cyan, and black. The Low, Medium,
and High density settings adjust the output based on the level of color saturation. Examples of
low density areas include faces and sky.
1. On the control panel, press the System button.
2. Select
Defaults Settings, and then press the OK button.
3. Select
Copy Defaults, and then press the OK button.
4. Select
Color Balance, and then press the OK button.
5. Select the color that you would like to adjust, and then press the OK button.
6. Select the density level that you would like to adjust,
Low, Medium, or High, and then
press the OK button.
7. Adjust the density setting with the Up Arrow or Down Arrow.
Adjusting the setting negatively lowers (lightens) the density, and adjusting the setting
positively will increase (darken) the density.
 Loading...


