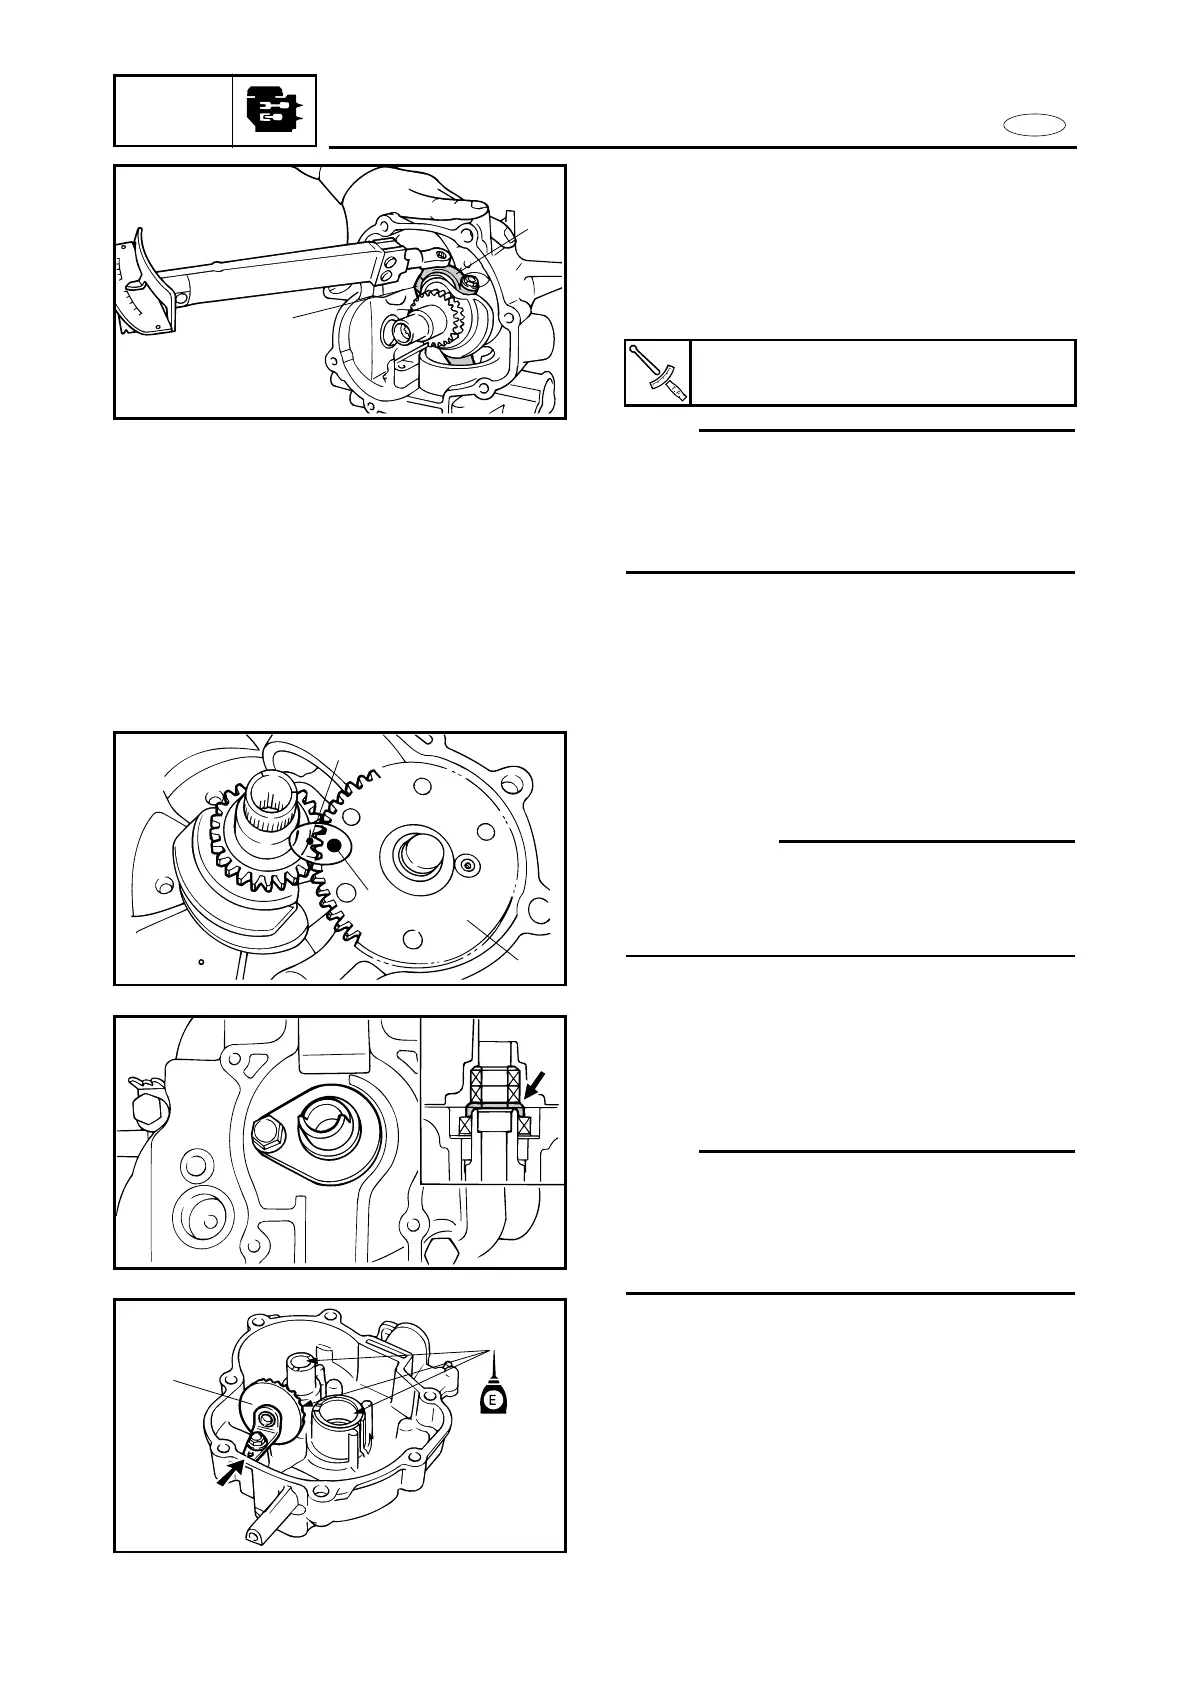
Connecting rod installation
1. Install:
9Crankshaft
9Connecting rod 1
9Connecting rod cap 2
Use the torque wrench to tighten
NOTE:
9Apply motor oil to the bolts and bolt seat.
9First install the crankshaft, then install the
connecting rod and tighten with torque
wrench as shown.
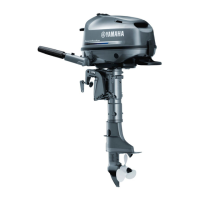
Camshaft installation
1. Install:
9Camshaft 1
cC
Make sure that the “8” crankshaft gear
mark
aa
is aligned with the “8” camshaft
gear mark
bb
.
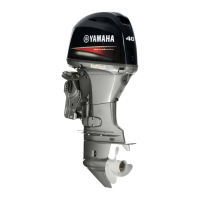
Crankcase assembly
1. Install:
9Oil seal housing ass’y
9Oil splash gear unit 1
NOTE:
9Apply grease as shown, before installa-
tion.
9Set the hole of the gear unit holder to the
notch on the crankcase.
5-38
Bolt (Connecting rod cap) :
12 Nm (1.2 m•kg, 8.7 ft•lb)