PUTTING THE INSTRUMENT INTO OPERATION
Carl Zeiss Connecting the Microscope to the Power Supply System, Switching … Axio Vert.A1
60 431030-7044-001 05/2012
3.2 Connecting the Microscope to the Power Supply System, Switching the
Microscope on and Setting It up
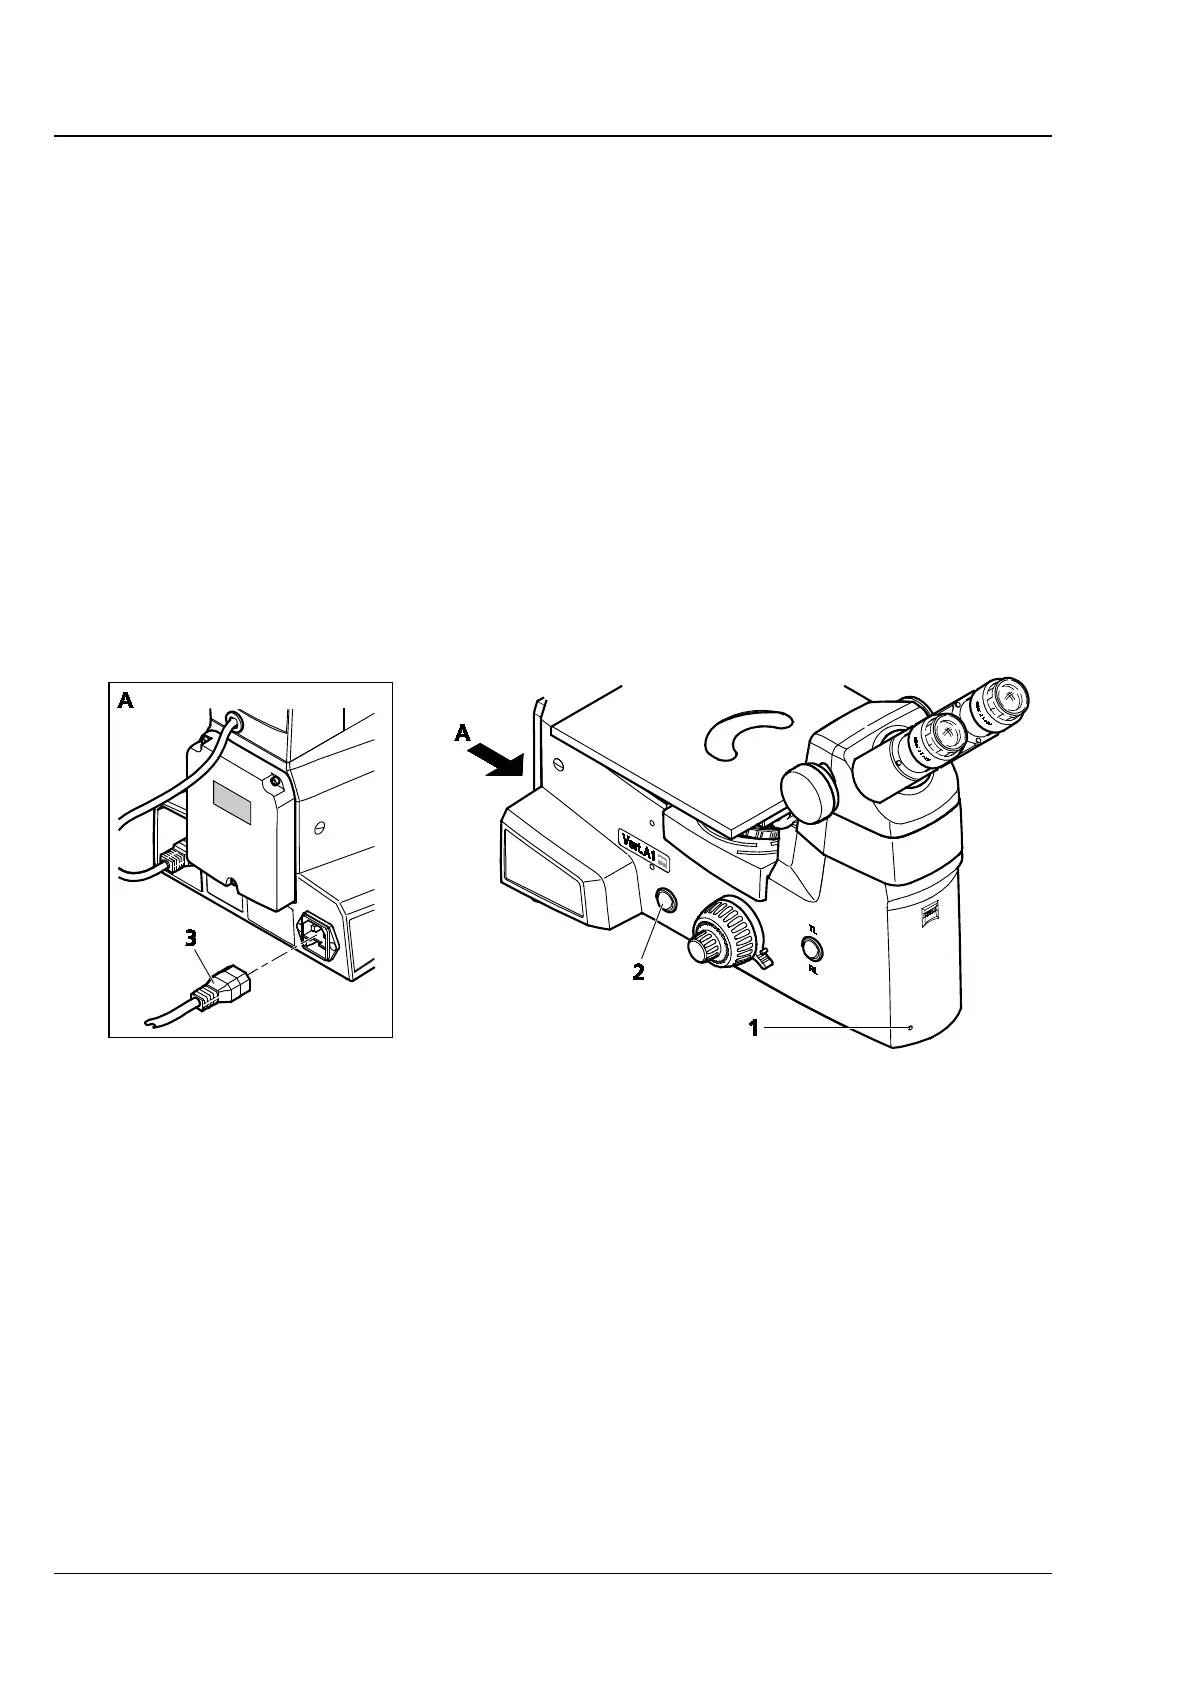
• Plug the power supply cable (Fig. 3-24/3) into the socket at the back of the microscope and connect
the microscope to the power supply system.
• Switch the microscope on, using the ON / OFF switch (Fig. 3-24/2) located on the left-hand side of the
instrument.
The blue light (Fig. 3-24/1) of the power indicator signals that the microscope is ready for operation.
• Check and, if necessary, replace the two G-fuse links in the event of a malfunction. (See
Section 5.2.2).
• If required, use the separate power supply unit to switch on the fluorescence illuminator (e.g., HBO 50
or HBO 100 or HXP 120C) on the Axio Vert.A1 FL stand or the halogen illuminator (HAL 100) on the
Axio Vert.A1 MAT. (See Section 3.1.11.1).
Fig. 3-24 Connecting and Switching on the Microscope
• If the microscope is equipped for transmitted light and reflected light, put the TL/RL switch into the
desired position.
• Set the desired brightness on the illumination control.
• Whenever the microscope is used for a short period at a time only, the ECO power-saving function
may be employed. See Section 4.6.
• Set the height stop for the focusing drive to prevent specimens from getting damaged by the focusing
drive. See Section 4.7.