Recorded take settings
Setting how recorded scenes are named and numbered (Scene)
44
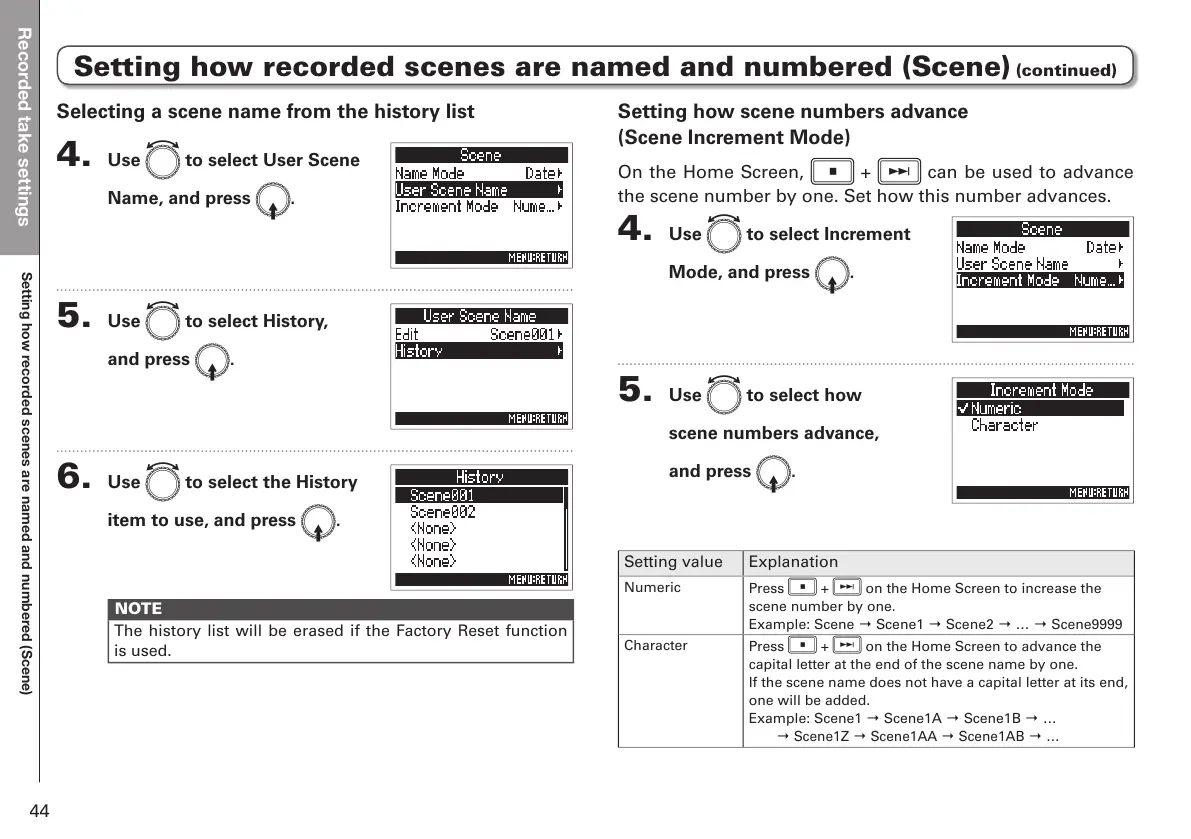
Setting how recorded scenes are named and numbered (Scene) (continued)
Setting how scene numbers advance
(Scene Increment Mode)
On the Home Screen, s + f can be used to advance
the scene number by one. Set how this number advances.
4. Use e to select Increment
Mode, and press E.
5. Use e to select how
scene numbers advance,
and press E.
Setting value Explanation
Numeric
Press
s
+
f
on the Home Screen to increase the
scene number by one.
Example: Scene → Scene1 → Scene2 → … → Scene9999
Character
Press
s
+
f
on the Home Screen to advance the
capital letter at the end of the scene name by one.
If the scene name does not have a capital letter at its end,
one will be added.
Example: Scene1 → Scene1A → Scene1B → …
→ Scene1Z → Scene1AA → Scene1AB → …
Selecting a scene name from the history list
4. Use e to select User Scene
Name, and press E.
5. Use e to select History,
and press E.
6. Use e to select the History
item to use, and press E.
NOTE
The history list will be erased if the Factory Reset function
is used.