Chapter 10 DMZ Screens
ZyWALL 5/35/70 Series User’s Guide
216
10.5 The DMZ Port Roles Screen
Use the Port Roles screen to set ports as part of the LAN, DMZ and/or WLAN interface.
See Section 7.5 on page 158 for more information on port roles.
To change your ZyWALL’s port role settings, click NETWORK > DMZ > Port Roles. The
screen appears as shown.
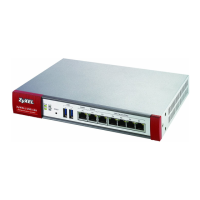
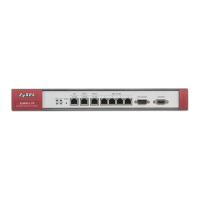
The radio buttons correspond to Ethernet ports on the front panel of the ZyWALL. On the
ZyWALL 70, ports 1 to 4 are all DMZ ports by default. On the ZyWALL 5 or ZyWALL 35,
ports 1 to 4 are all LAN ports by default.
" Your changes are also reflected in the LAN and/or WLAN Port Roles
screens.
Figure 120 NETWORK > DMZ > Port Roles
The following table describes the labels in this screen.
Apply Click Apply to save your changes back to the ZyWALL.
Reset Click Reset to begin configuring this screen afresh.
Table 52 NETWORK > DMZ > IP Alias (continued)
LABEL DESCRIPTION
Table 53 NETWORK > DMZ > Port Roles
LABEL DESCRIPTION
LAN Select a port’s LAN radio button to use the port as part of the LAN. The port will
use the ZyWALL’s LAN IP address and MAC address.
DMZ Select a port’s DMZ radio button to use the port as part of the DMZ. The port will
use the ZyWALL’s DMZ IP address and MAC address.
WLAN Select a port’s WLAN radio button to use the port as part of the WLAN.
The port will use the ZyWALL’s WLAN IP address and MAC address.
Apply Click Apply to save your changes back to the ZyWALL.
Reset Click Reset to begin configuring this screen afresh.
 Loading...


