963D Systems, Inc.
4. Using the up arrow, slowly raise the print pad one press at a time. While the print
pad is being raised, slide the gap gauge back and forth under the left print jet.
Once you feel a slight resistance on the gap gauge, remove the gap gauge from
the print pad.
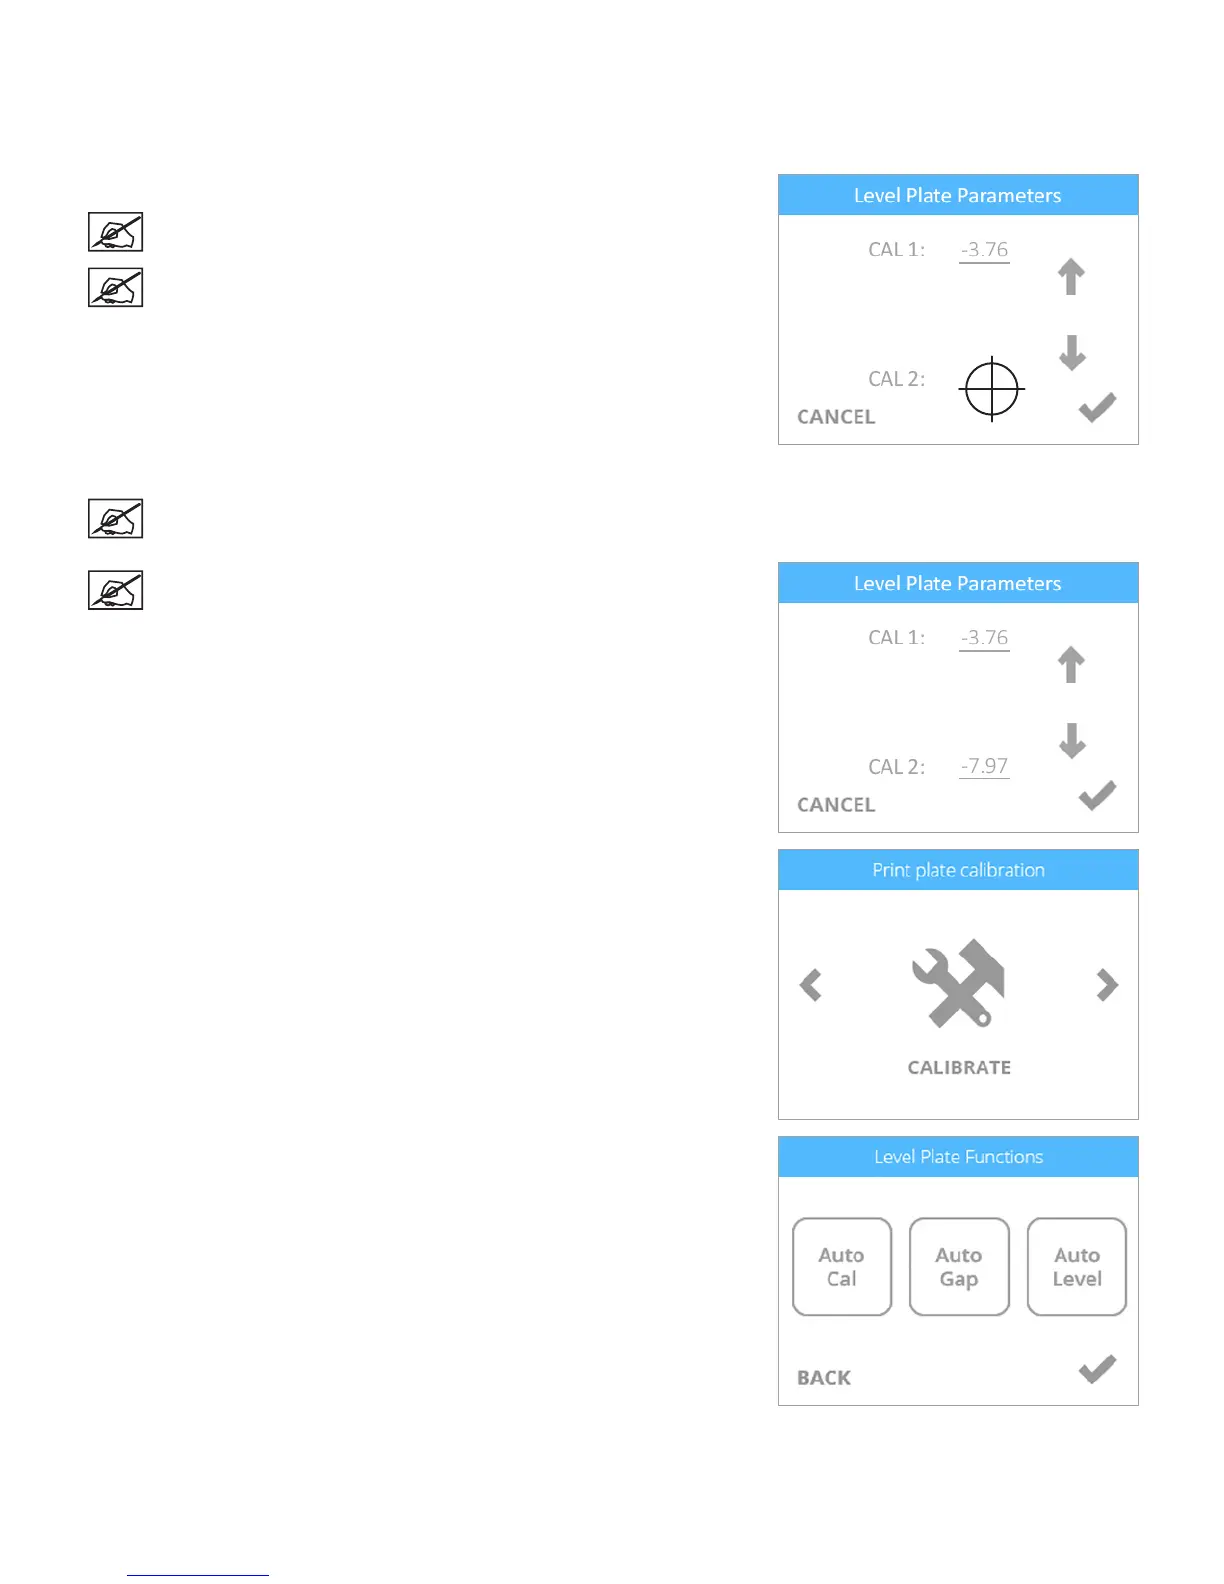
5. Press the white space to the right of CAL 2:.
NOTE: This illustration shows the target area where you need to
press.
NOTE: The printer will begin the calibration.
6. Record the value for CAL 1:.
NOTE: This value will need to be used again in this procedure.
NOTE: The printer will display a value for CAL 2:.
7. Select the checkmark to save the values.
8. Navigate to the Printer Calibration screen and select CALIBRATE.
9. Select Auto Gap.