EasyManuals Logo

3D Systems CUBE User Manual

3D Systems CUBE
121 pages
To Next Page IconTo Next Page
To Previous Page IconTo Previous Page
Page #101 background imageLoading...
Page #101 background image
973D Systems, Inc.
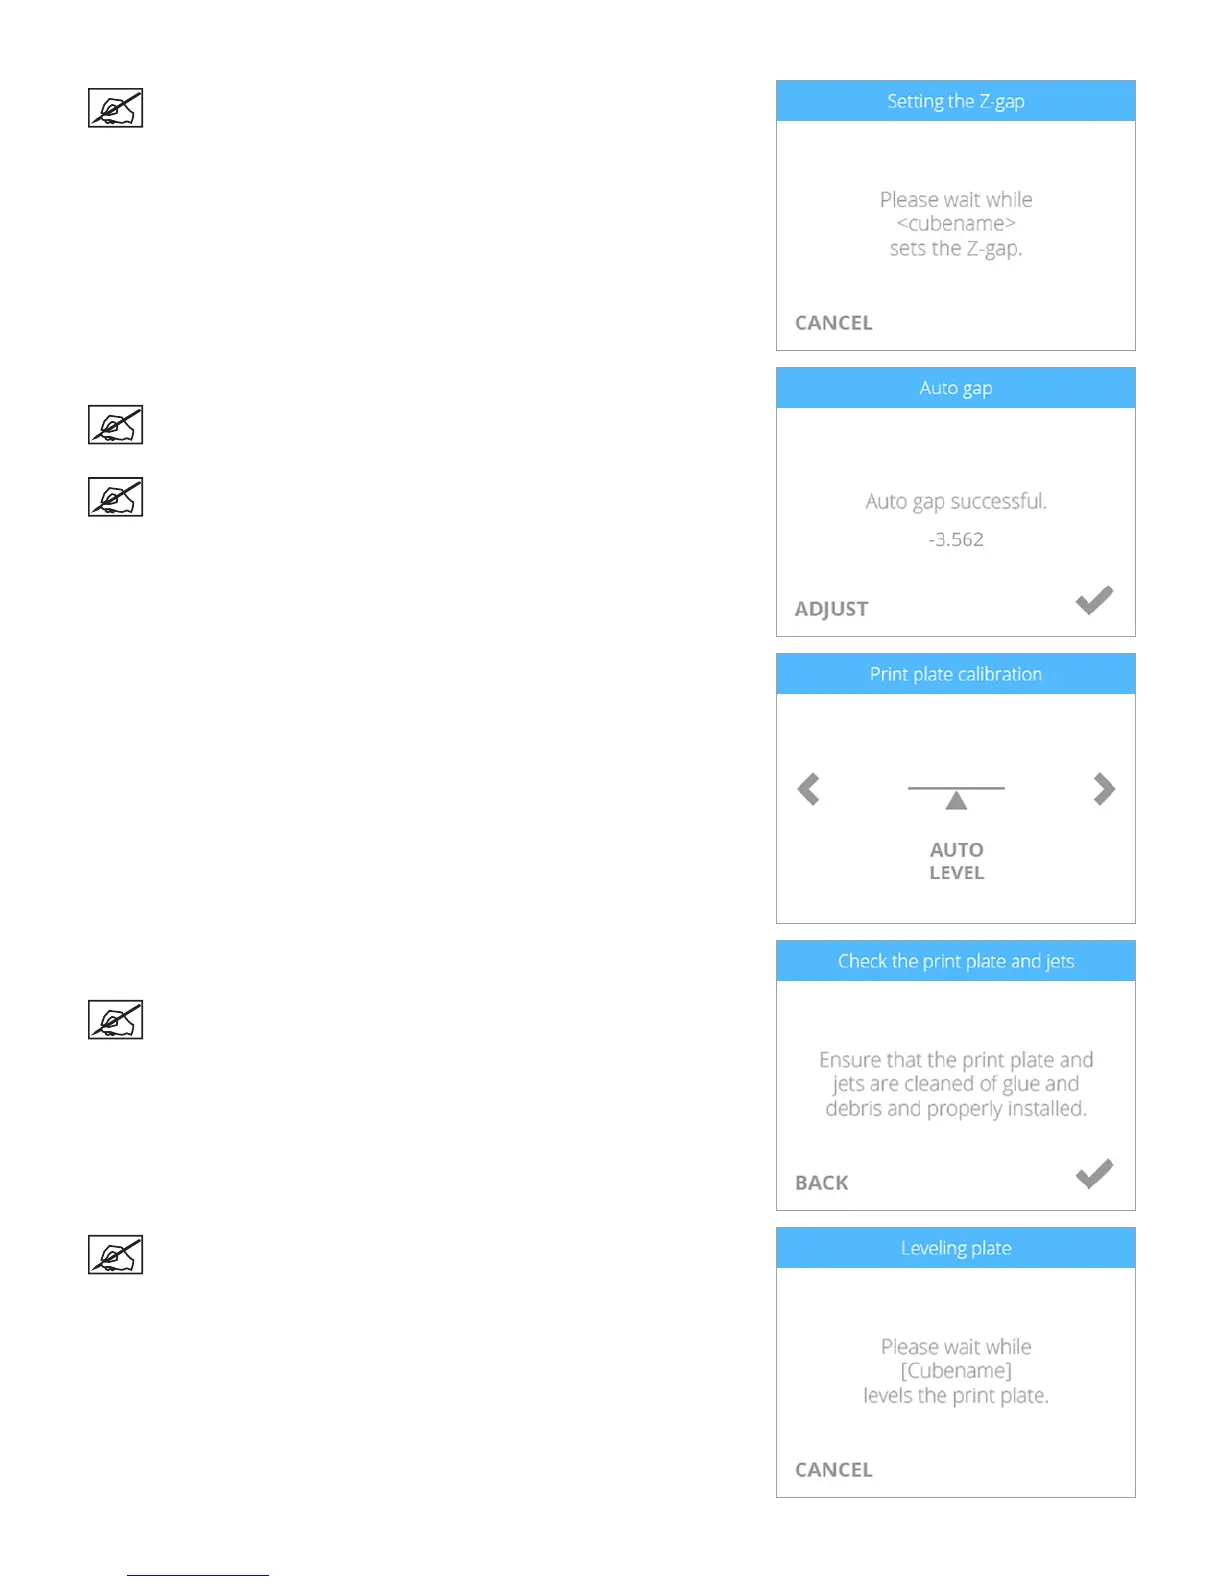
NOTE: The printer will set the Auto Gap.
4. Compare your recorded CAL 1: value with the Auto Gap value.
NOTE: If the recorded CAL 1: value is within +/- 0.05 of the value
displayed on the Auto Gap Successful screen, press the power
button next to the touchscreen display and do not save the value.
NOTE: If the recorded CAL 1: value is greater than +/- 0.05 of the
value displayed, select the checkmark to save this value.
5. Navigate to the Print Plate Calibration screen and select AUTO LEVEL.
6. Clean the print pad thoroughly removing all glue and debris. Select the
checkmark to continue.
NOTE: The surface of the print pad must be completely clean.
NOTE: The Auto Level procedure will begin.

Table of Contents

Other manuals for 3D Systems CUBE

Questions and Answers:

Question and Answer IconNeed help?

Do you have a question about the 3D Systems CUBE and is the answer not in the manual?

3D Systems CUBE Specifications

General IconGeneral
Print technologyPlastic Jet Printing (PJP)
Printing materialABS, Polylactic acid (PLA)
Number of printing colors16
Maximum build size (WxDxH)- mm
Plug and PlayYes
USB version2.0
Ethernet LANNo
Card reader integrated-
Product colorSilver

Related product manuals