© Agilent Technologies 2001–2003 Agilent 3070 System Installation Manual (MS Windows Version) 1-19
Chapter 1: MS Windows System Installation Procedure: Preparing the Testhead
Install the Probe and Probe Cradle
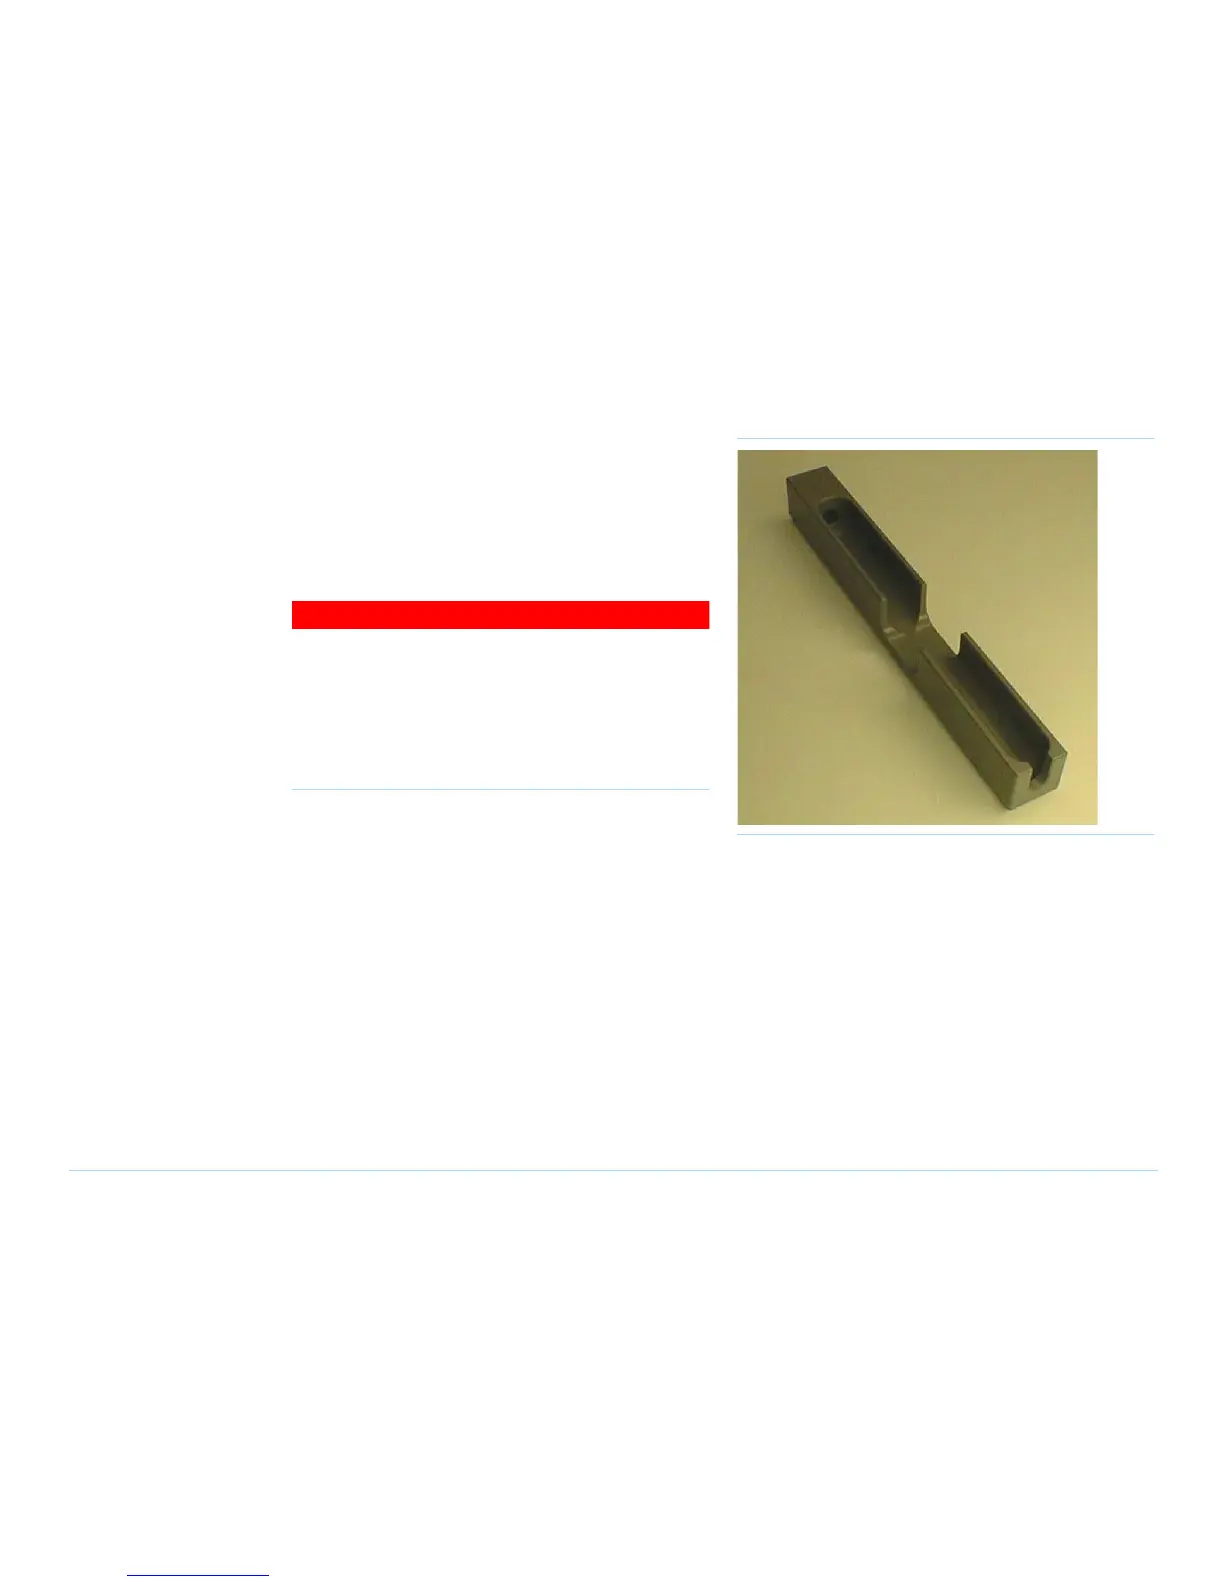
The probe cradle (Figure 1-7) is located on the pod
cover of the testhead as shipped from the factory. If the
customer wants the probe in a different location, an
extra strip of sticky-backed hook-and-loop fastener is
provided with the system so you can re-locate the probe
cradle.
WARNING
✸
Do not place the probe cradle where it could
interfere with an overhanging test fixture, thereby
presenting a pinch hazard between the fixture and
the probe cradle.
Do not place the probe cradle where it could
interfere with testhead rotation.
1 Peel the backing paper off the hook-and-loop
fastener and affix the fastener where the customer
wants it (see the Warning above).
2 Move the probe cradle to the new location:
a Rotate the cradle sideways to separate the
fastener.
b Press the probe cradle firmly onto the
hook-and-loop fastener you just installed.
3 Unpack the probe and insert it in the probe cradle.
Figure 1-7 Probe cradle (E9900-66400)
Install the Fixture Pull-Down Label -- Non-English
Only
If installing the system in an English-speaking country,
skip this step.
1 Locate the Fixture Pull-down Air Labels
(E9900-84316).
2 Choose the label that is of the correct language for
the location and apply it over the English text that is
silk-screened on the rear of the testhead near the
compressed air connectors.