Control Panel Operation
132
Instruction Manual – Enova DGX 8/16/32/64 Digital Media Switchers
Labeling Input and Output Keys
Each Enova DGX Switcher ships with a kit for custom labeling. To order additional kits, contact your AMX
representative. The Control Panel Label Kit (KA1056-01) includes:
Perforated card stock sheets – Print, separate labels, and slide into holders.
Label holders – Attach to the front panel above each row of Input and Output Keys.
LCD Function menu label – Shows entire LCD menu structure (see Note on previous page).
The label template (an .xlt template formatted in Microsoft Excel) for labeling the input and output keys is available at
www.amx.com
.
Tip: When the labels are ready to print, we recommend printing a sample on plain paper first.
To create and install labels for Input and Output Keys:
1.
At www.amx.com, search for Control Panel Label Form Template.
2. Under AutoPatch Tools in the right-hand column, click on Control Panel Label Form Template.
3. Type the labels in the pre-formatted cells on the template according to the instructions in the template (if desired,
use standard Excel editing tools to alter font size, spacing, color, etc.).
Do not modify the cell size.
4. Save the file for future use (recommended).
5. Print the labels on the perforated sheets provided, using any standard laser printer.
6. Trim off the excess label insert material where indicated.
7. Separate the label strips at their perforations (bend back and forth first).
8. Slide the first label strip into a plastic label holder (position with open edge of holder up).
9. Peel the adhesive backing off the label holder and press the holder firmly onto the Control Panel above the
appropriate Input or Output Keys. The silk screened labels on the front panel will aid in label holder alignment.
10. Repeat Steps 8 and 9 for the remaining labels.
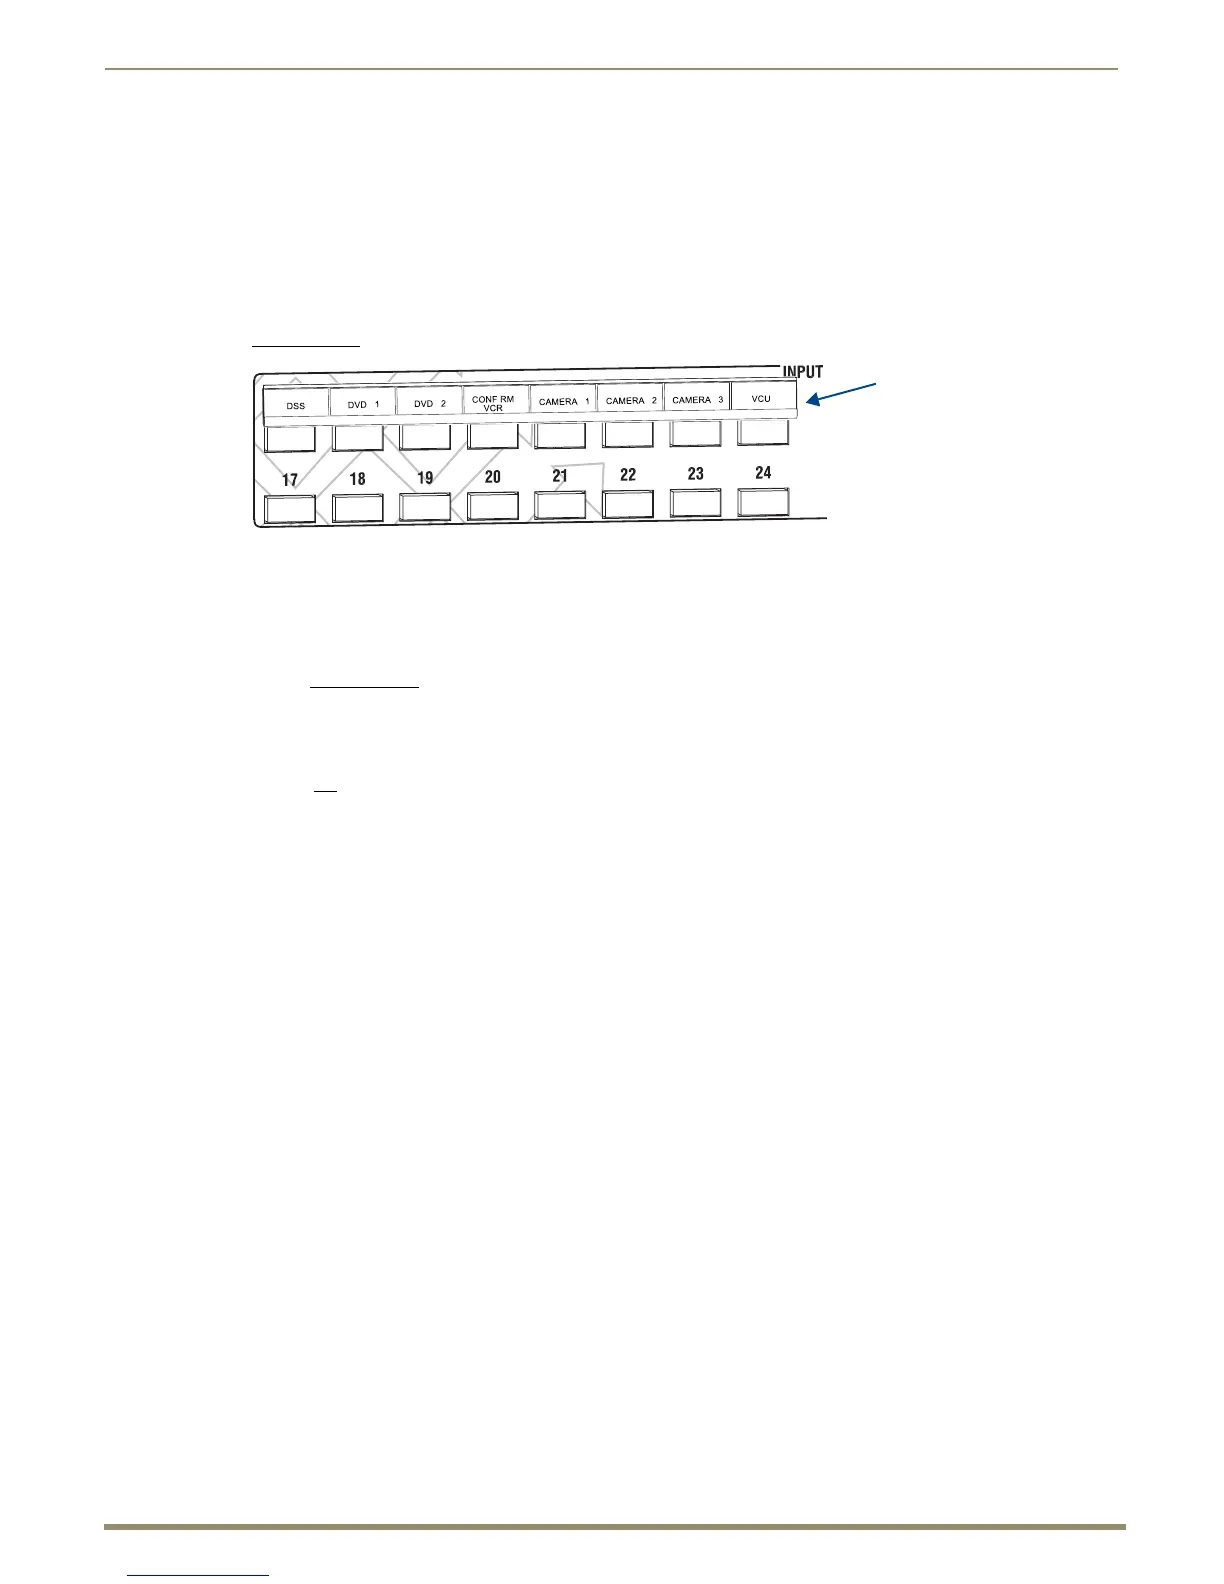
FIG. 82 Customize labels to designate sources and destinations (Control Panel on an Enova DGX 32)
Slide label into holder before
attaching to Control Panel

 Loading...


