Appendix G – Replacing Battery on CPU
229
Instruction Manual – Enova DGX 8/16/32/64 Digital Media Switchers
Appendix G – Replacing Battery on CPU
This appendix provides instructions for removing and installing the battery on the CPU for the Enova DGX and setting
the CPU’s clock. The procedure can be done while the enclosure is in a rack, but the system must be powered down.
Enova DGX 8/16/32
The Enova DGX Switcher uses a combination lithium battery and clock crystal package called a Timekeeper. Only one
Timekeeper unit is installed within a given enclosure. The battery can be expected to have up to 3 years of usable life
under very adverse conditions. Actual life is appreciably longer under normal operating conditions. This calculation is
based on storing the unit without power in 50° C (122° F) temperature until battery levels are no longer acceptable.
Enova DGX 64
The Enova DGX Switcher uses a coin-type (button cell) lithium battery in a timekeeper function. Only one CPU battery
is installed within a given enclosure. The battery can be expected to have up to 4.25 years of usable life under very
adverse conditions. Actual life is appreciably longer under normal operating conditions. This calculation is based on
storing the unit without power in 50° C (122° F) temperature until battery levels are no longer acceptable.
Removing and Installing
Items Required
Replacement battery for Enova DGX CPU
Phillips #1 screwdriver
ESD wristband and cord with alligator clip
Instructions are provided for removing and installing the battery on the CPU and setting the CPU’s clock for the
following:
Enova DGX 8/16/32 – below
Enova DGX 64 – page 232
To remove and install an Enova DGX 8/16/32 Timekeeper battery and set the CPU’s clock:
1.
Disconnect both AC power cords. Make sure that none of the power supply LEDs are illuminated.
2. Disconnect all cables connected to the CPU.
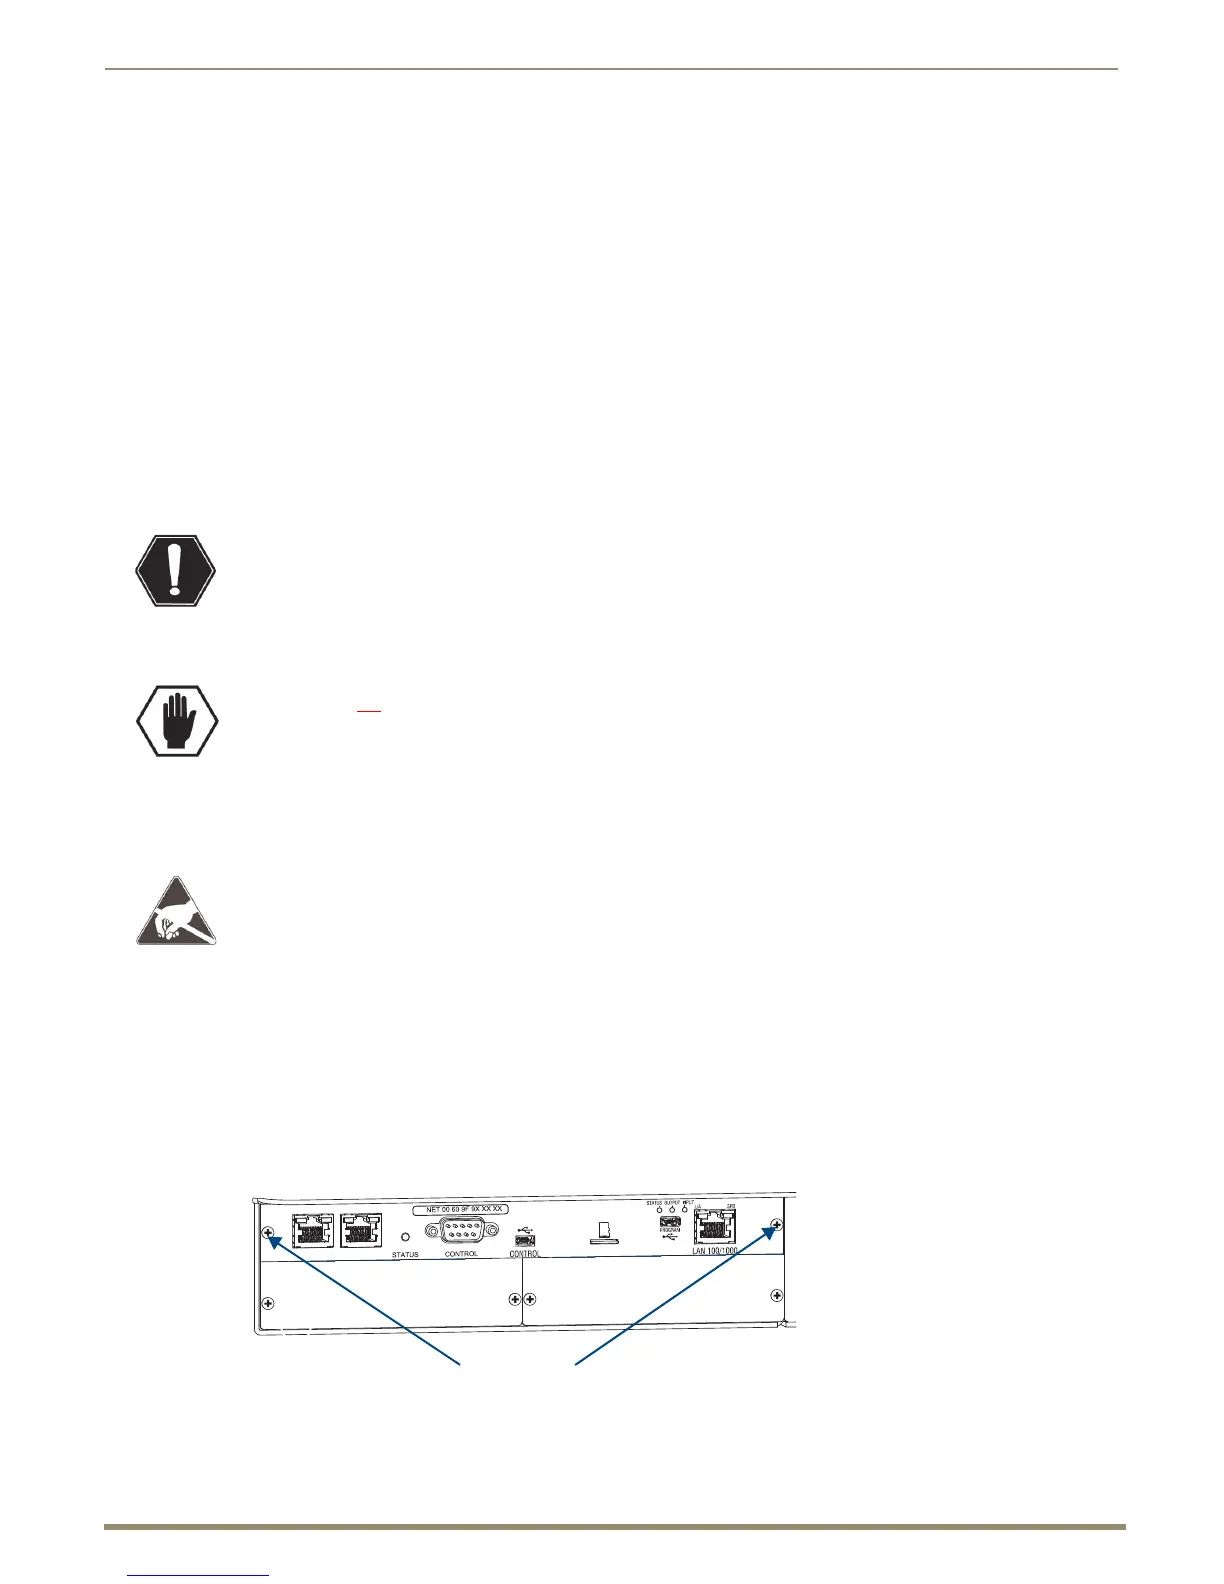
3. Remove the two screws from the CPU faceplate: one each on the far left and far right.
4. Remove the CPU faceplate and set aside.
Warning: Risk of explosion if battery is replaced by an incorrect type. Dispose of used batteries according to
the instructions.
Caution: Do not remove the CPU board until you are ready to install the CPU battery, unless directed to do
so by technical support.
ESD Warning: To avoid ESD (Electrostatic Discharge) damage to sensitive components, make sure you are
properly grounded before touching any internal Enova DGX materials. Use an ESD wristband and cord with
an alligator clip attached to a good ground source.
FIG. 137 Remove screws indicated

 Loading...


