which adds a carriage return character (ASCII code 13) followed by a newline
(ASCII code 10) to the text.
If we receive the character 2, we switch off the LED. If we receive an unsup-
ported command, we send back a corresponding message and the command
we didn’t understand.
Serial.print
works exactly like
Serial.println
, but it doesn’t
add carriage return and newline characters to the message.
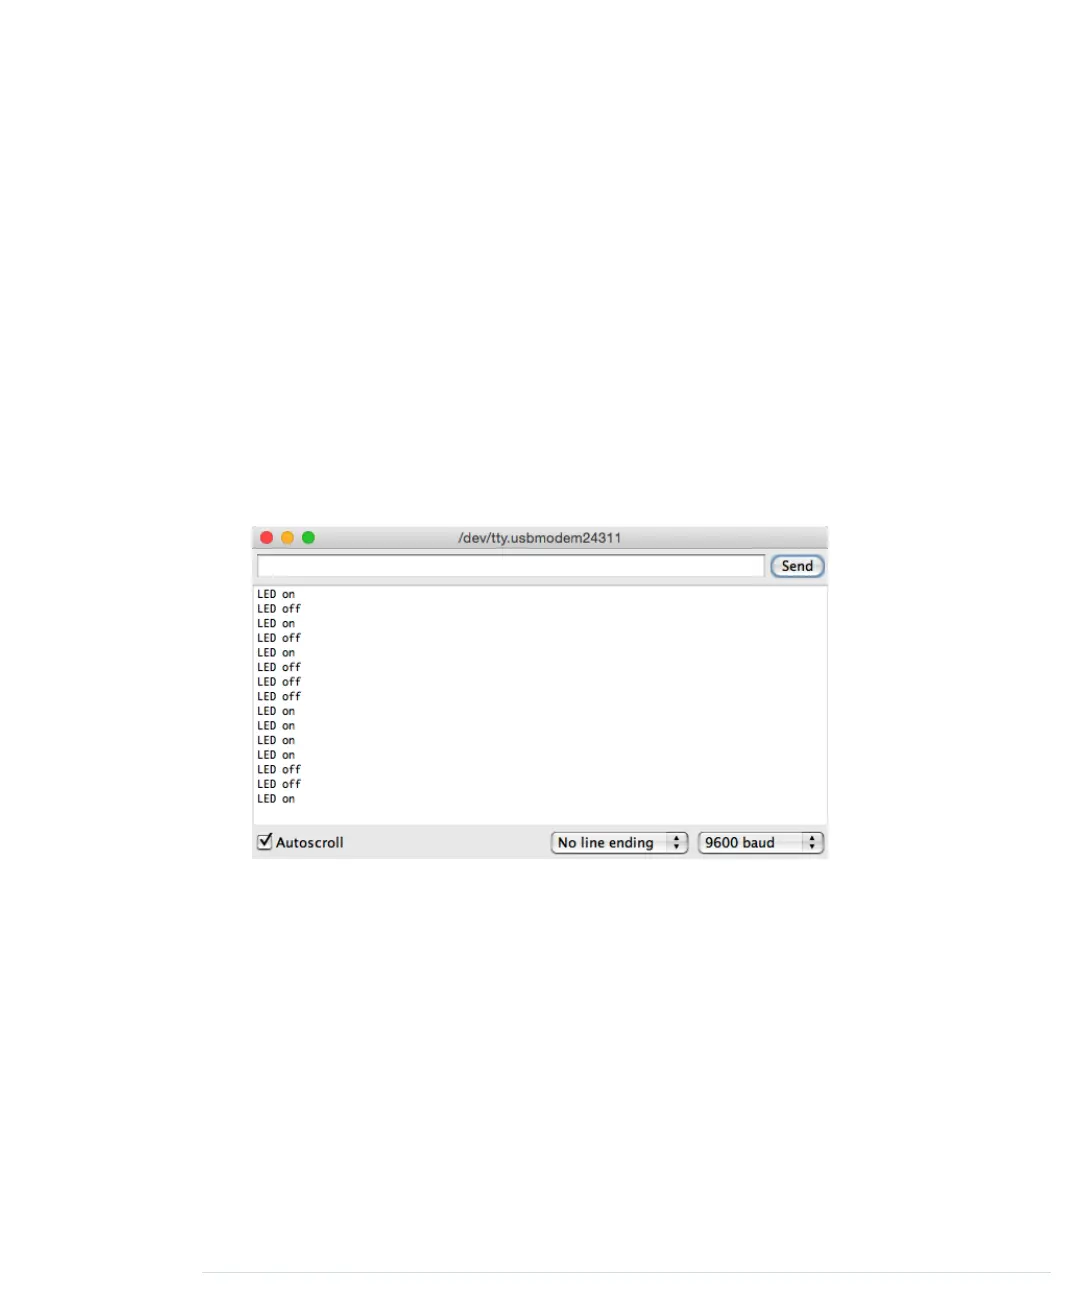
Let’s see how the program works in practice. Compile it, upload it to your
Arduino, and then switch to the serial monitor. At first glance, nothing hap-
pens. That’s because we haven’t sent a command to the Arduino yet. Make
sure the drop-down menu at the bottom of the serial monitor is set to No line
ending. Enter a 1 in the text box, and then click the Send button. Two things
should happen now: the LED is switched on, and the message “LED on”
appears in the serial monitor window (as shown in the following image). We
are controlling an LED using our computer’s keyboard!
Play around with the commands 1 and 2, and also observe what happens
when you send an unknown command. If you type in an uppercase A, the
Arduino will send back the message “Unknown command: 65.” The number
65 is the ASCII code of the letter A, and the Arduino outputs the data it got
in its most basic form. That’s the default behavior of
Serial
’s
print
method, and
you can change it by passing a format specifier to your function calls. To see
the effect, replace line 20 with the following statements:
Serial.println(command, DEC);
Serial.println(command, HEX);
Serial.println(command, OCT);
Serial.println(command, BIN);
Serial.write(command);
Serial.println();
Chapter 2. Creating Bigger Projects with the Arduino • 30
report erratum • discuss
www.it-ebooks.info

 Loading...


