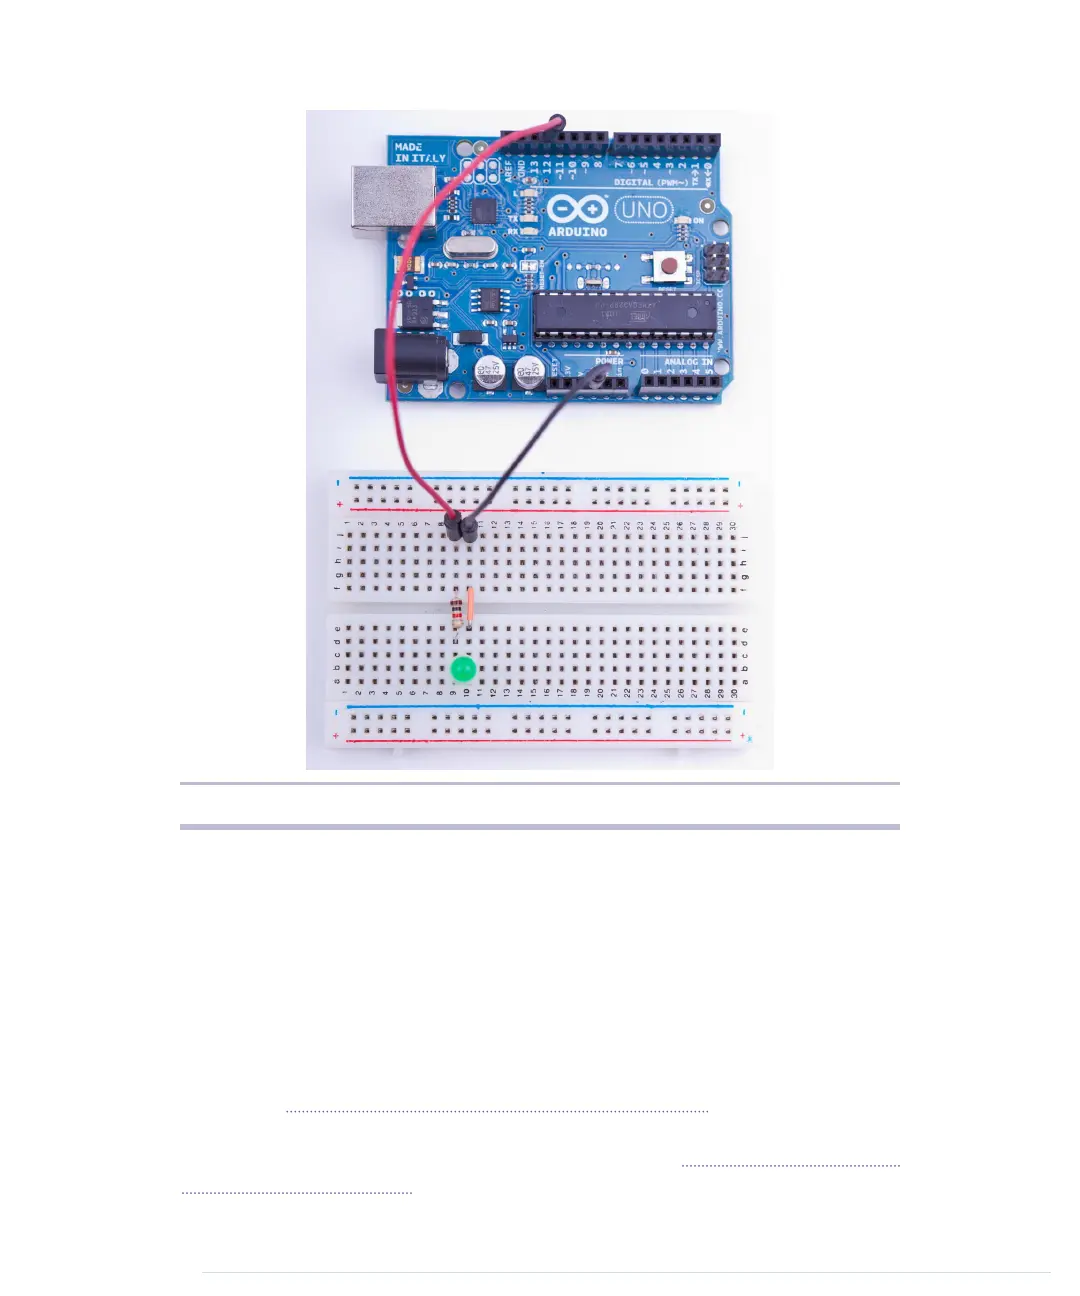
Figure 10—Connecting an LED on a breadboard to the Arduino
the negative one a bit more. Also wear safety glasses to protect your eyes
when you’re cutting the connectors!
The things we’ve done up until now have been straightforward. That is, in
principle we have only extended the Arduino’s ground pin and its IO pin
number 12. Why do we have to add a resistor, and what is a resistor? A
resistor limits the amount of current that flows through an electric connection.
In our case, it protects the LED from consuming too much power, because
this would destroy the LED. You always have to use a resistor when powering
an LED! In Current, Voltage, and Resistance, on page 239, you can learn more
about resistors and their color bands. The following image shows a resistor
in various stages: unprocessed, bent, and cut. (See Learning How to Use a
Wire Cutter, on page 243, to learn how to use a wire cutter.)
report erratum • discuss
Using an LED on a Breadboard • 43
www.it-ebooks.info

 Loading...


