4. Verify that the switch boots correctly
NOTE: If a 2930M switch is powered on for the first time without a stacking module installed,
stacking will be disabled and that will be saved in the switch running configuration. Subsequently,
after a stacking module has been installed, stacking must be enabled through the console (CLI)
command stacking enable.
Before installing the switch in its network location, plug it into a power source and verify that it boots correctly.
Procedure
1. Connect the power cord supplied with the switch to the power connector on the back of the switch. Then plug
the power cord into a properly grounded electrical outlet.
Figure 9: Connecting the power cord
NOTE: The 2930M switches do not have a power switch. They are powered on when the power
cord is connected to the switch and to a power source. For safety, locate the power outlet near
the switch installation.
The switch automatically adjusts to any voltage between 100-240 (110–240 for JL087A power
supply) and either 50 Hz or 60 Hz. No voltage range settings are required.
If your installation requires a different power cord than the one supplied with the switch, be sure to
use a power cord displaying the mark of the safety agency that defines the regulations for power
cords in your country/region. The mark is your assurance that the power cord can be used safely
with the switch.
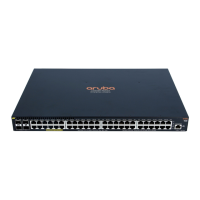
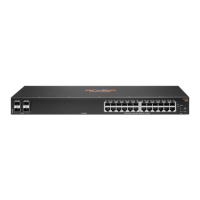
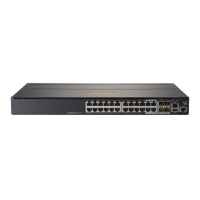
2. Check the LEDs on the switch as shown in the following figure.
Figure 10: Example of an 2930M-48-port PoE switch
Label Description
1 Switch Port LEDs
2 Mode LEDs
3 Back LED
4 Global Status and UID LEDs
Chapter 3 Installing the switch 39