User's Manual 2. Setting up the Phone
Version 2.2.12 15 405 and 405HD IP Phone
2.3 Cabling
The table below shows how to cable your phone.
Table 2-3: Cabling
Step Description
1 Connect the handset cord's shorter straight end to the handset. Connect the longer, straight
end to the jack on the phone.
2 Connect the RJ-45 Internet port to your LAN network (LAN port or LAN switch/router), using a
CAT 5 / 5e Ethernet cable.
3 Connect the RJ-45 PC port to a computer, using a CAT 5 / 5e straight-through Ethernet cable.
4 Connect the connector tip of the power adapter to the phone’s power socket (labelled DC
12V). Connect the two-prong adapter directly to the electrical wall outlet.
5
Connect the RJ-9 headset jack to a headset (optional)
Note: If the LAN to which the phone is connected supports Power over Ethernet (PoE), no
adapter is required; the phone receives power from the Ethernet network.
Prior to connecting power, refer to the Compliancy and Regulatory Information at
www.audiocodes.com/library.
2.4 Mounting
The phone can be mounted on a desk (or flat surface), or on a wall.
2.4.1 Mounting on a Desk
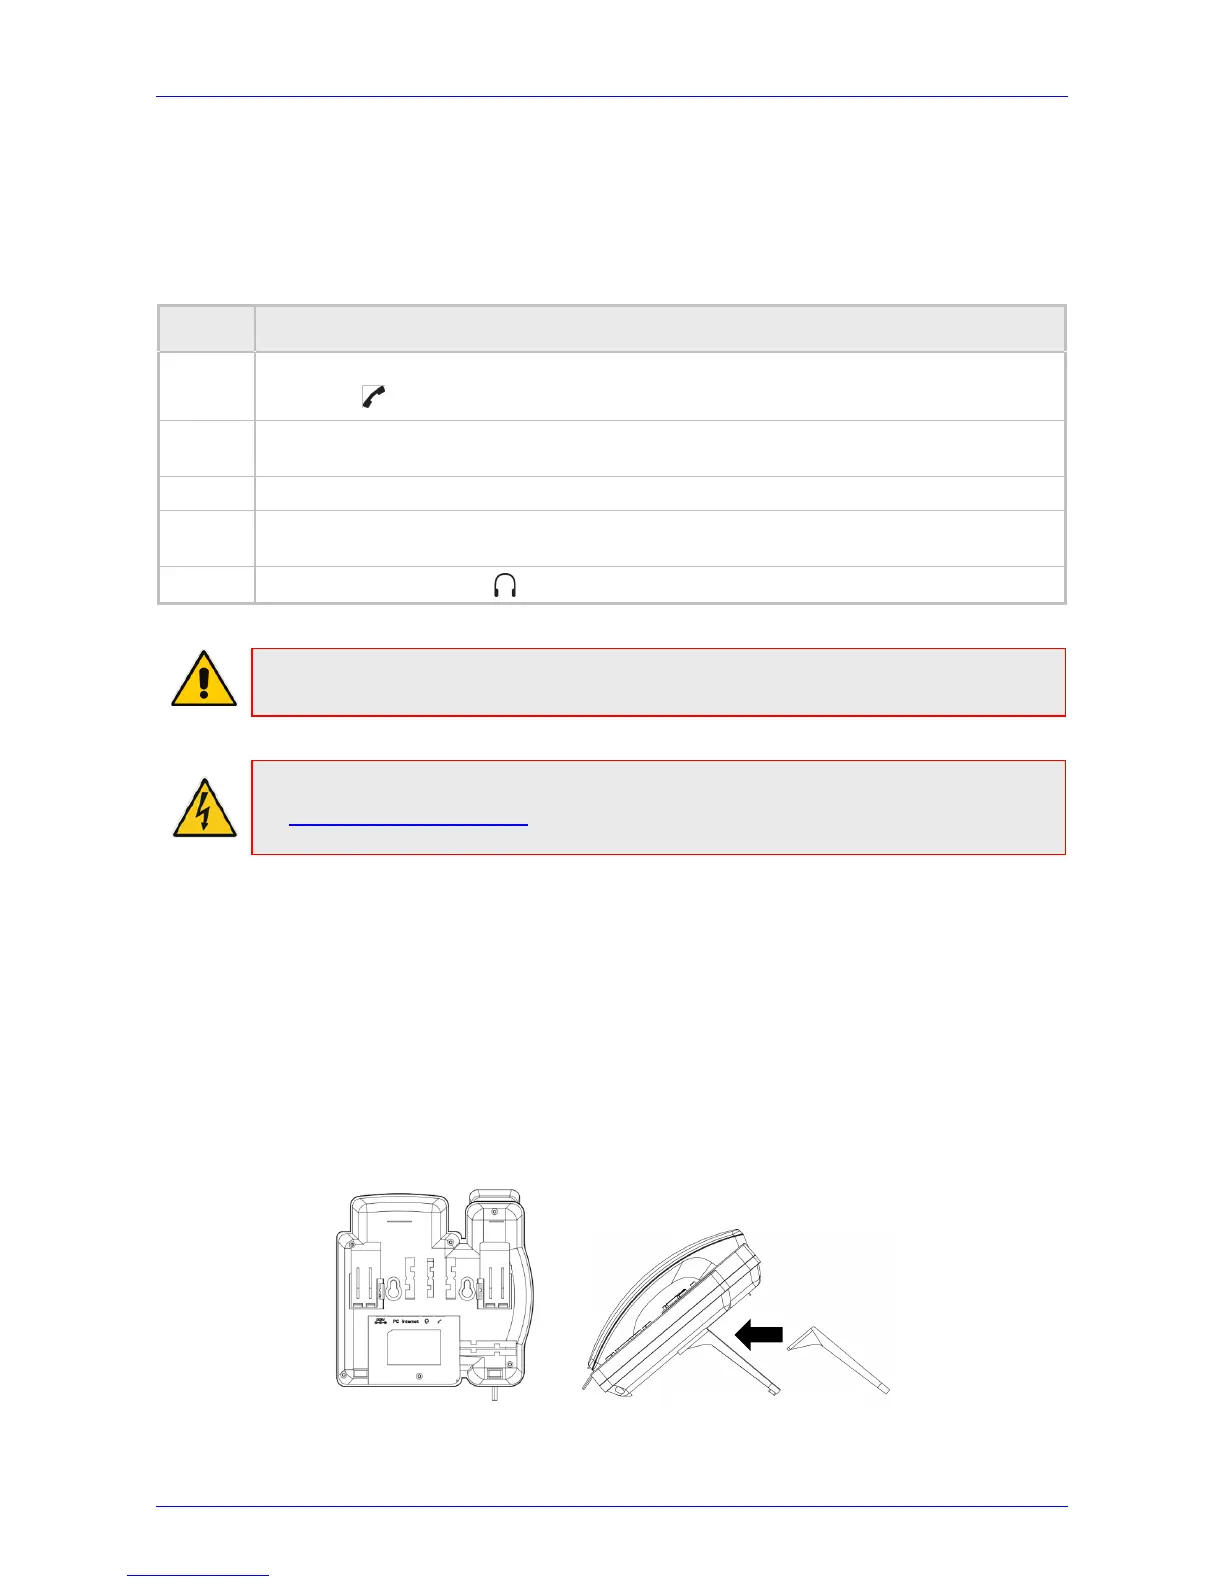
To mount the phone on a desk (or flat surface):
Slide the short edges of the L-shaped stand (the prongs) into the phone's two rear slots (see
A below). Slide the prongs in until they lock.
Figure 2-3: Desktop Mounting