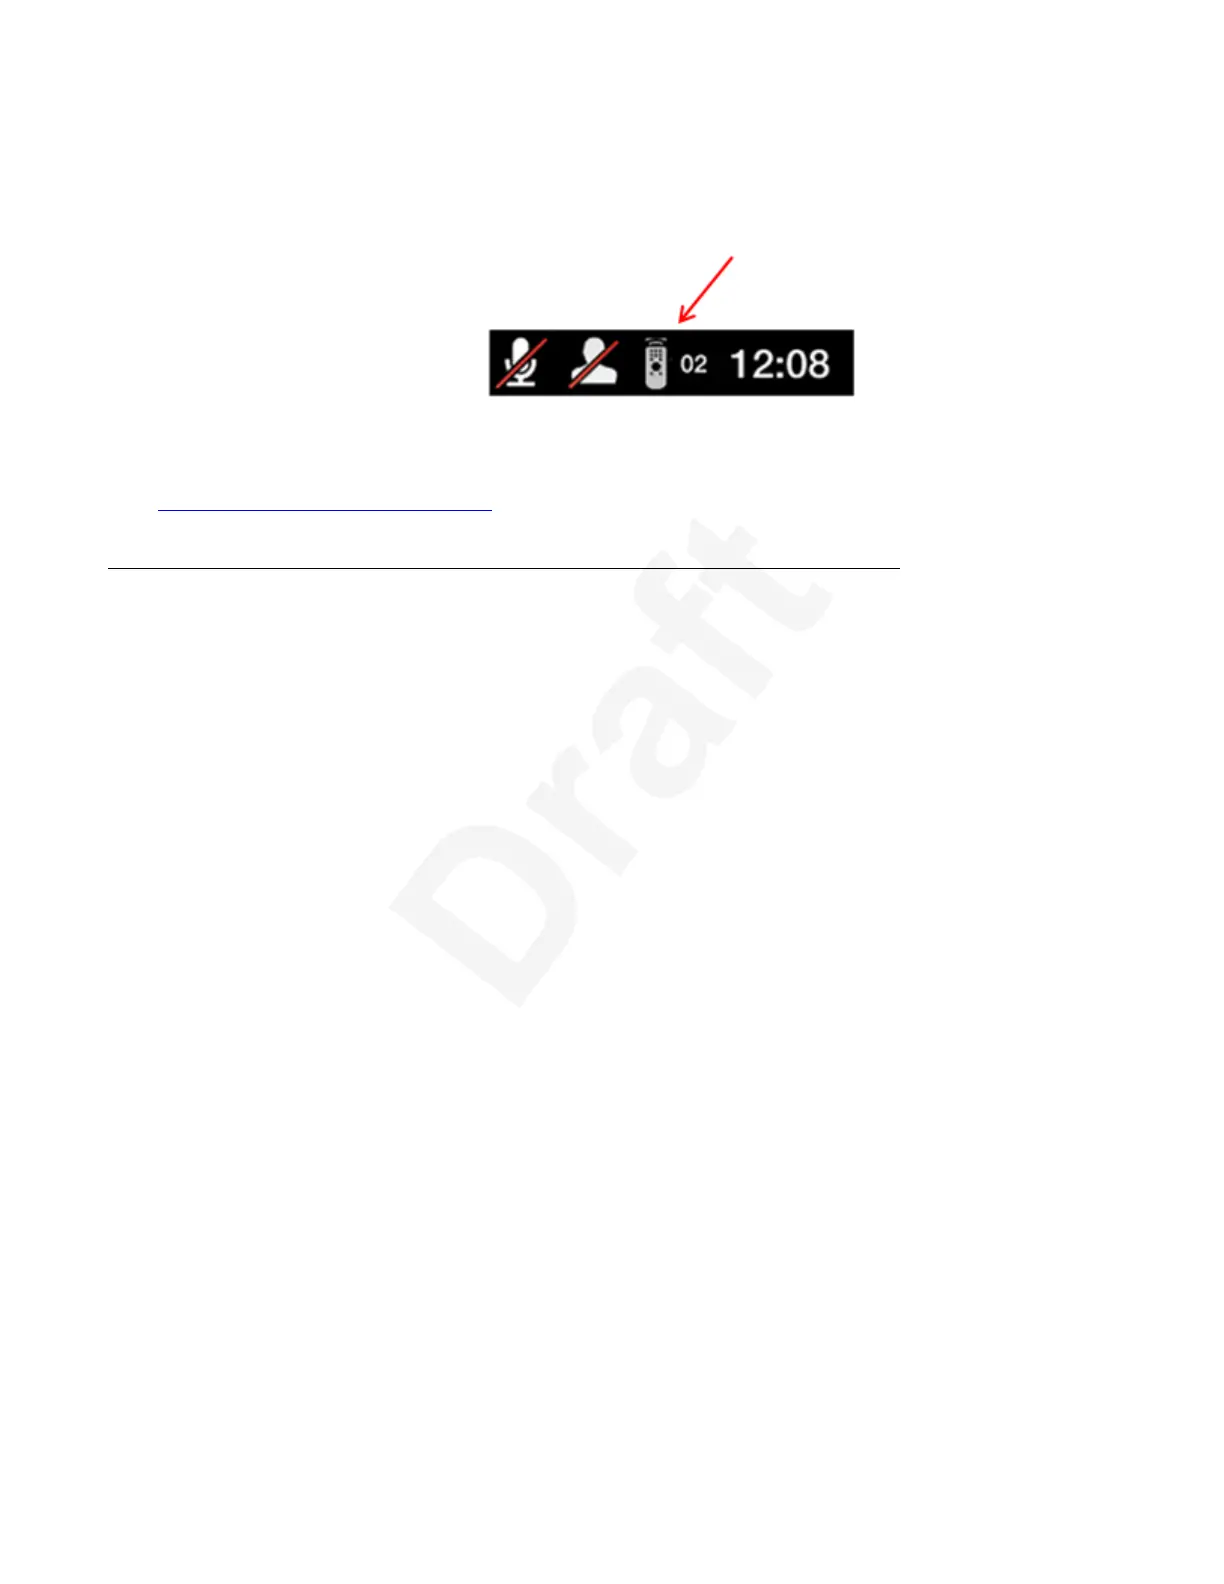
5. Using the keypad, type the same number used in the Remote control code field.1
When the code is not the default 01, the system displays the paired remote icon with its2
new code at the top-right corner of the screen.3
4
6. Select Finish in the web interface, or select OK on the endpoint.5
Related links6
About the XT Remote Control Unit on page 227
8
Accessing XT Series Web Interface9
About this task10
This procedure describes how to access the Avaya Scopia
®
XT Series web interface, which11
supports the following internet browsers:12
• Internet Explorer version 8 or later13
• Google Chrome version 11 or later14
• Mozilla Firefox version 3.6 or later15
• Apple Safari version 5 or later16
• Opera version 11 or later17
• Microsoft Edge 38 or later (EdgeHTML v14)18
If you have a monitor, you can find the IP address at the top bar of the endpoint's monitor.19
Before you begin20
Web access is enabled by default. If it was disabled, you can enable it and configure the security21
details as described in Deployment Guide for Avaya Scopia
®
XT Series.22
Procedure23
1. Open any of the supported internet browsers and access the XT Series login page by24
entering the system's IP address, like http://1.2.3.4/.25
Getting Started
December 2017 Avaya Scopia
®
XT Series User Guide 28
Avaya - Proprietary. Use pursuant to the terms of your signed agreement or Avaya policy.
DRAFT—December 15, 2017—1:33 PM (UTC)