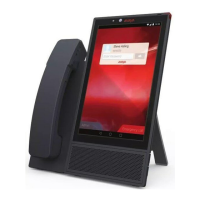
Chapter 3: Initial setup and connectivity
Initial setup checklist
The following checklist describes tasks that you must perform to set up your Avaya Vantage
™
device.
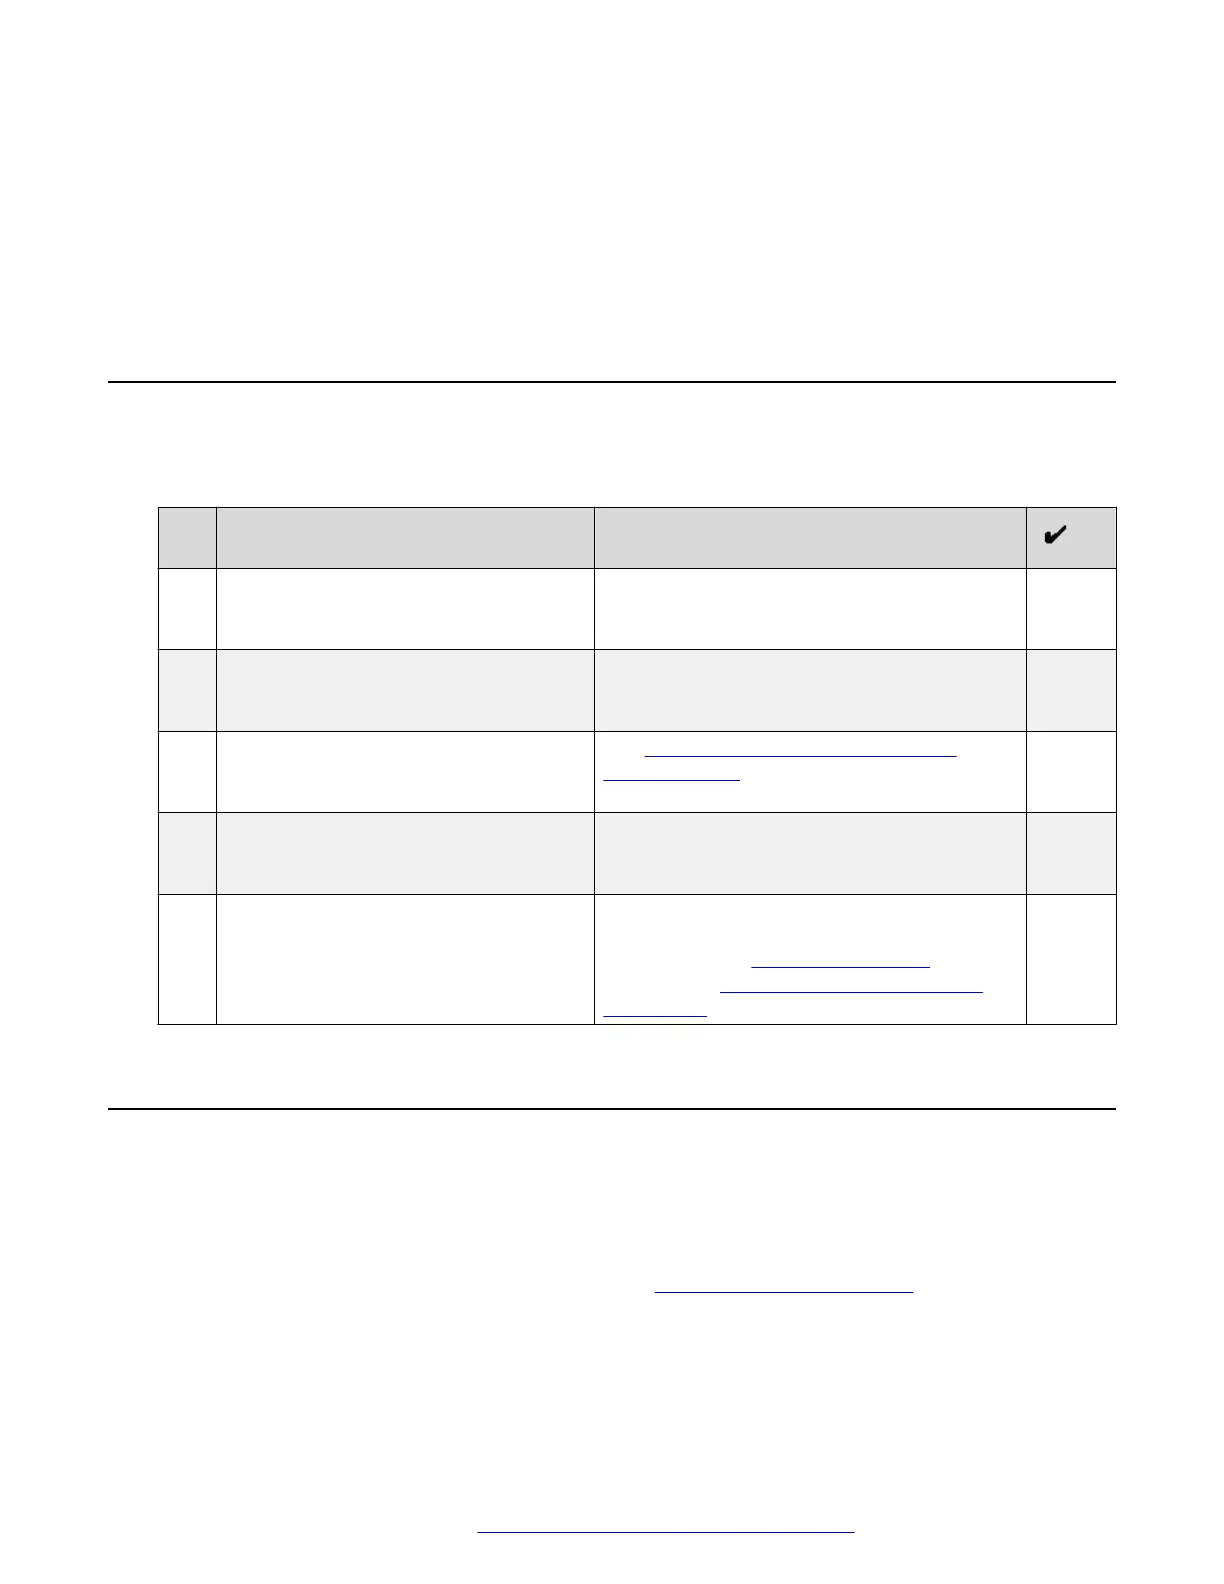
No. Task Notes
1 Review prerequisite information. If you do not have all required software and
hardware, Avaya Vantage
™
might not function
as expected.
2 Gather preinstallation data. Preinstallation data is required to perform
initial parameter setup and to create user
accounts for Avaya Vantage
™
.
3 Ensure that the Avaya Vantage
™
package contains all required
components
See Optional components for the Avaya
Vantage device on page 16.
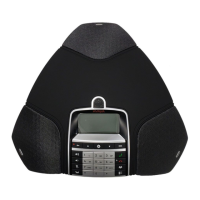
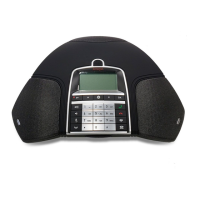
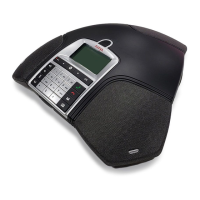
4 Connect a handset. This is an optional task. Perform this task if
you want to use a handset with Avaya
Vantage
™
.
5 Connect Avaya Vantage
™
to your
network and, if required, to a power
supply.
Connection to a power adapter is only
required in certain conditions. For more
information, see Power management on
page 28 and Connecting Avaya Vantage to
the network on page 29.
Software and hardware prerequisites
Check the following prerequisites before you install Avaya Vantage
™
.
Components and other software prerequisites
The following components must be installed and configured in your network. For general
information about supported product releases, see
Avaya Compatibility Matrix.
• Avaya Aura
®
or IP Office server components. You can deploy Avaya Vantage
™
in an Avaya
Aura
®
or IP Office
1
environment.
May 2018 Installing and Administering Avaya Vantage
™
22
Comments on this document? infodev@avaya.com