Page 55 of 78
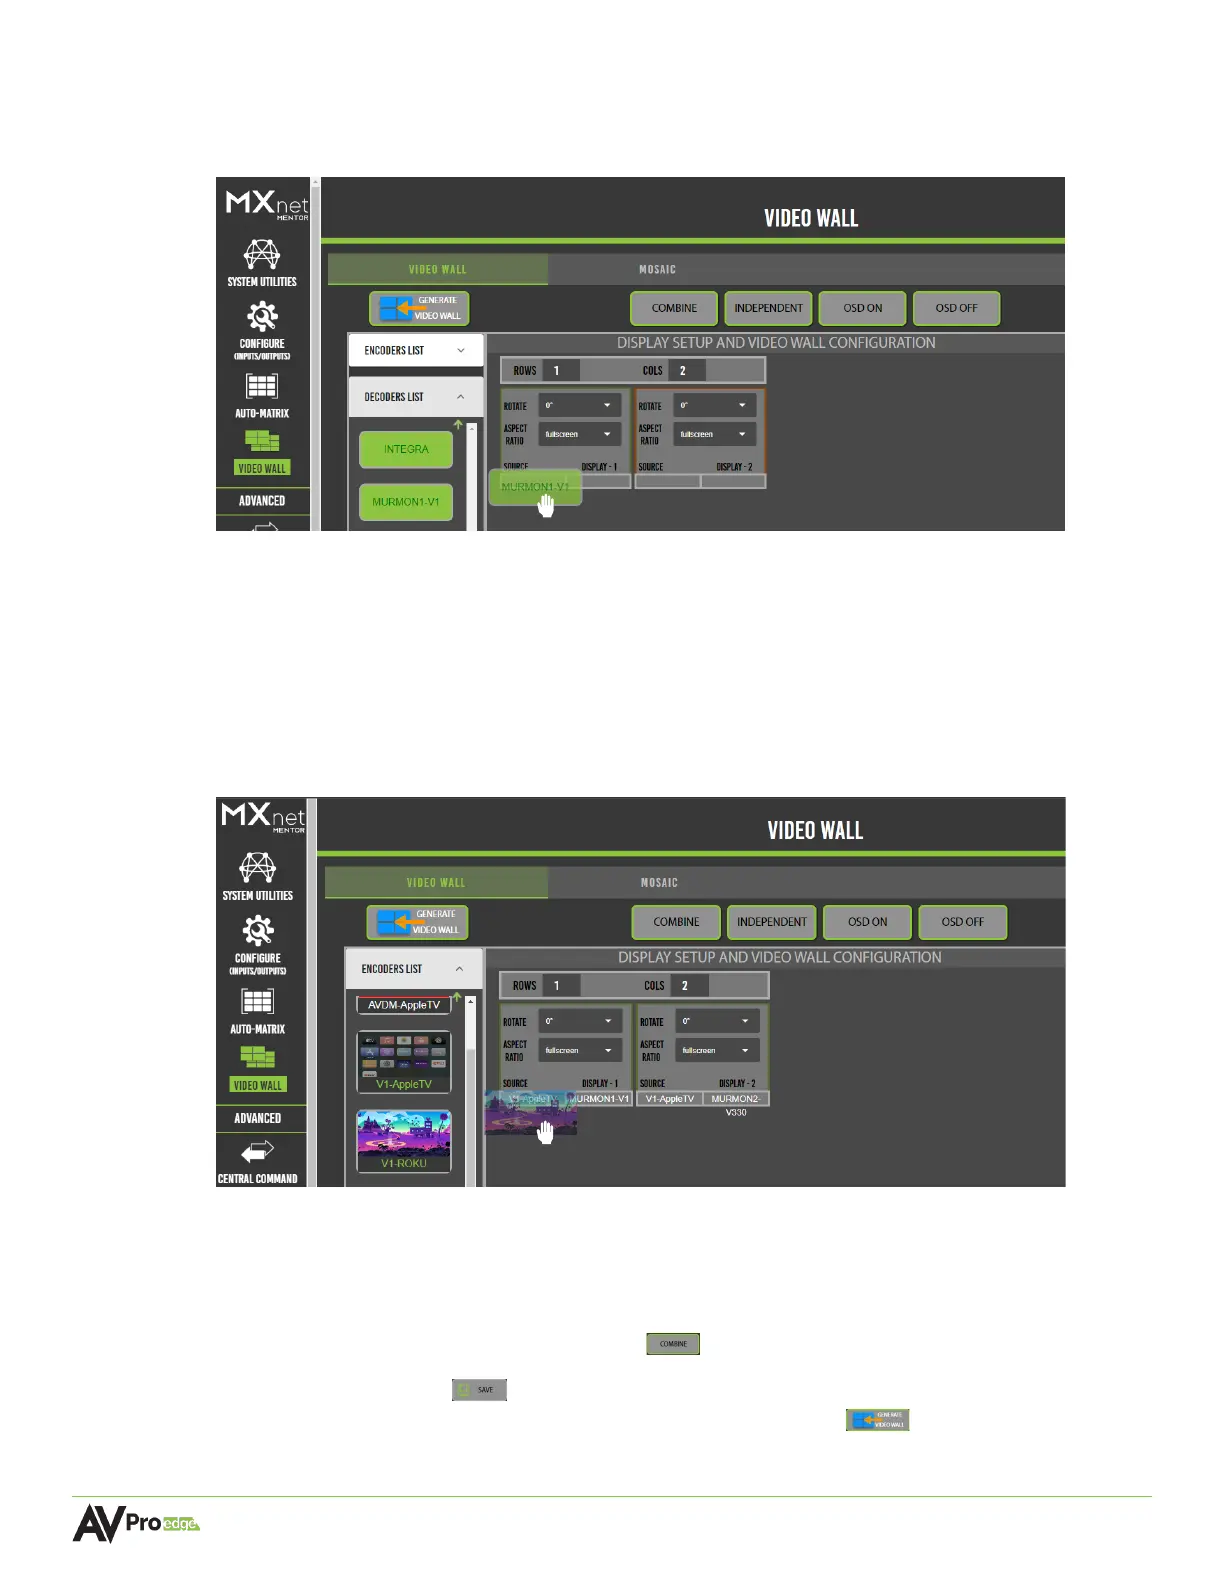
4 Select the decoders list dropdown menu, this will show a list of all of the decoders as
selectable buttons. Select a decoder by clicking and dragging the decoder, moving it over
to the right, and dropping it onto a panel.
The selected display’s custom name will now appear in the bottom right corner of the
panel, indicating the selected display is now assigned to this panel. Repeat this step for
other panels.
5 Select the encoders list dropdown menu. This will show a list of all of the encoders with
their connected source’s preview image as a selectable thumbnail.
6 Select the encoder by clicking and dragging the source’s thumbnail, moving it over to the
right, and dropping it onto a panel.
The selected source’s custom name will now appear in the bottom left corner of the panel,
indicating the selected source is now assigned to this display. Repeat this step for other
panels.
7 Select both tiles by left clicking on them. An orange border will highlight the selected
displays. Then select the combine button at the top of the page.
8 Select the save button , this will save the selected inputs and outputs to the current
video wall array. Then select the generate video wall button . The video wall will
now show the selected source content.