R5906790 /04 Athena 33
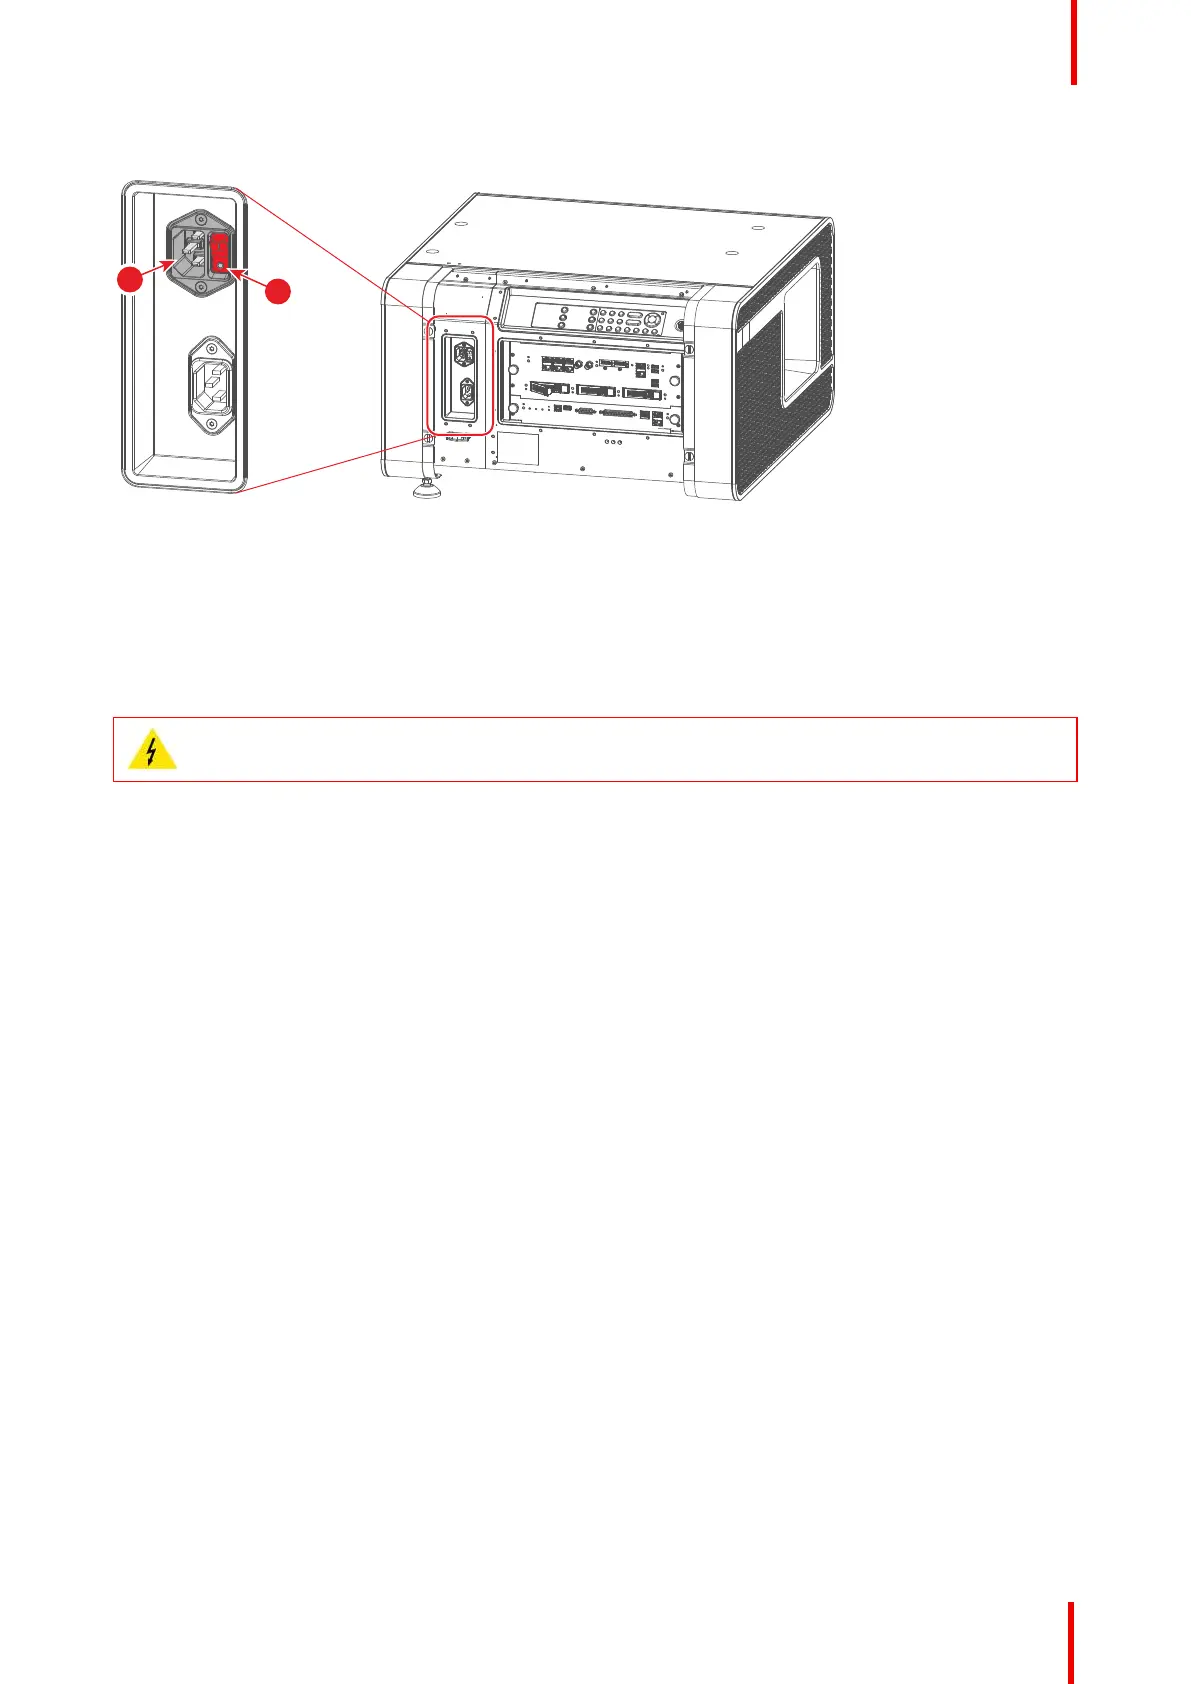
3. Connect the female side of the power cord with the power input socket of the projector (2).
Image 5-5
4. Connect the male side of the power cord to the local power net.
5. Install the right side cover of the projector. See procedure “Installation of the right side cover”, page 146.
5.3 Connecting a UPS to the projector electronics
WARNING: Only use UPS units which are suitable for the Athena series projector. See chapter
“Installation requirements” for more information about the requirements of the UPS.
Required tools
3mm Allen wrench
How to connect the UPS
1. Remove the right side cover of the projector. See procedure “Removal of the right side cover”, page 142.
2. Remove the rear cover. See “Removal of the rear cover”, page 138.
3. Remove the 2 screws (1) of the SMPS cover (2) and remove the cover. Use a 3mm Allen wrench.
Physical installation