Removing the old filter
To remove the old filter:
1. Place the cytometer in standby mode.
2. Remove the sheath filter assembly by pressing the quick-disconnect on both sides of the filter assembly.
3. Over a sink or beaker:
l
Remove the vent line from the filter and set it aside.
l
Remove the filter base and set it aside.
4. Discard the used filter assembly in an appropriate receptacle.
Attaching the new filter
To attach the new filter:
1. Connect the vent line to the new filter assembly.
Twist to attach.
2. Wrap Teflon tape around the filter threads, then connect the filter to the filter base.
3. Connect the sheath line to the filter assembly by squeezing the quick-disconnect.
4. Attach the cytometer fluid line to the filter assembly via the quick-disconnect.
5. Direct the vent line into a beaker and press the small button at the end of the vent fitting against the side of
the beaker until a steady stream of fluid empties from the filter.
6. Tilt the filter and verify that no trapped air remains in the filter.
7. Repeat steps 5 and 6 as necessary to remove all trapped air.
Changing the Bal seal
Introduction
This topic describes how to replace the Bal seal.
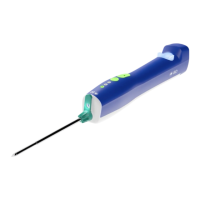
The sample injection tube Bal seal is a ring that forms a seal with the sample tube and ensures proper tube
pressurization.
When to change the Bal seal
Over time, the Bal seal becomes worn or cracked and requires replacement. Replacement is necessary if a
proper seal is not formed when a sample tube is installed on the SIP. Indications that a proper seal has not
formed include:
l
The tube will not stay on the SIP without the tube support arm.
l
When the tube is installed and RUN is pressed on the cytometer, the RUN button is orange (not green).
42 BD FACSymphony™ A5 SE User's Guide