1 695 600 968 2019-01-28| Beissbarth GmbH
104 | MT ZERO 6 LCD | Operation
8.11.2 Positioning the wheel
i Easyfix® will support the attachment of adhesive
balance weights in Alu2, Alu3 and Pax2 by locking the
electronic rim-distance gauge once it reaches the
balancing plane. Easyfix® does not support all of
the standard programs.
With automatic positioning
i For certain markets, some versions of the wheel
balancing machine are equipped with an automatic
wheel positioning and securing system for attaching
the balance weights. With those versions, the
machine will position the wheel automatically and
the operator need only attach the balance weights.
! After the start of the imbalance measurement, the
flange will slow to count the spokes (this function is
active by default) and to position itself on the first
balancing plane.
! Always make sure the rotation of the wheel is not
impaired by tools or other objects.
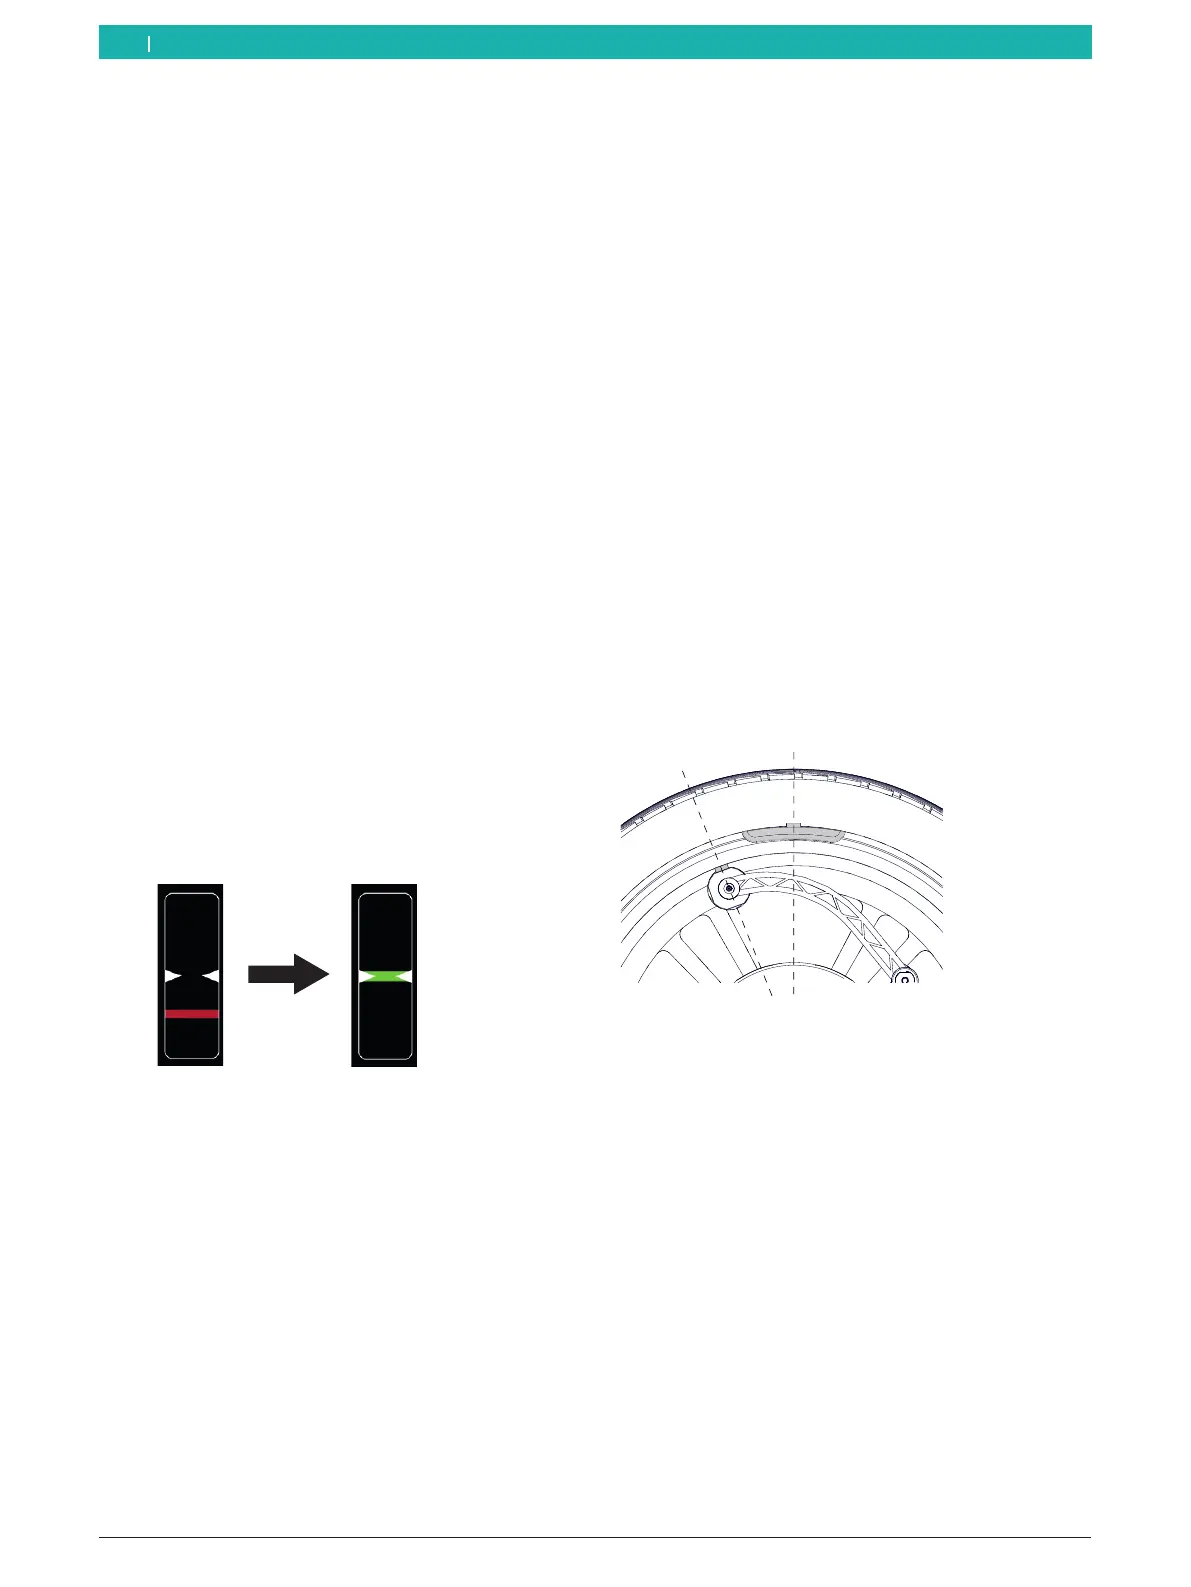
1. The wheel will automatically position itself on the
first balancing plane at low speed.
As soon as the correct position for attaching the
balance weight is reached, the reference line for
positioning is centered in the window at the left
and displayed in green.
The balance weight to be attached is displayed at
the upper left on the screen.
2. Lift the protective hood fully.
3. Select a balance weight (clip-on or adhesive) of the
required value.
Rim flange (ALU3 1st balancing plane and standard
programs):
¶ Attach the clip-on balance weight and adhesive
balance weights at the highest vertical position on
the wheel (12 o'clock).
i Machine versions with an integrated laser indicator
will direct a laser beam at the 12-o'clock position of
the wheel. Position the balance weight at the center
facing the indicator (see the "Attaching adhesive
balance weights by laser indicator" section).
i For attaching clip-on balance weights, see the
"Attaching the clip-on balance weights" section.
Attaching an adhesive balance weight in the rim well
(ALU3 2nd balancing plane and ALU2, PAX2):
¶ Use the electronic rim-distance gauge to attach
the adhesive balance weight using the weight
positioning gauge or manually by following the
integrated laser indicator.
i The way an adhesive balance weight is attached
depends on the geometry of the electronic rim-
distance gauge.
A
B
651076-38_Im
Fig. 81: Attaching an adhesive balance weight using the electronic
rim-distance gauge
i For attaching adhesive balance weights using the
electronic rim-distance gauge, see the "Attaching
adhesive balance weights" sec.
i For attaching adhesive balance weights using
the integrated laser indicator, see the "Attaching
adhesive balance weights by laser indicator"
section. The laser indicator will only be active if the
attachment of the balance weight by electronic rim-
distance gauge is deactivated.
en