1 695 600 968 2019-01-28| Beissbarth GmbH
Maintenance | MT ZERO 6 LCD | 121
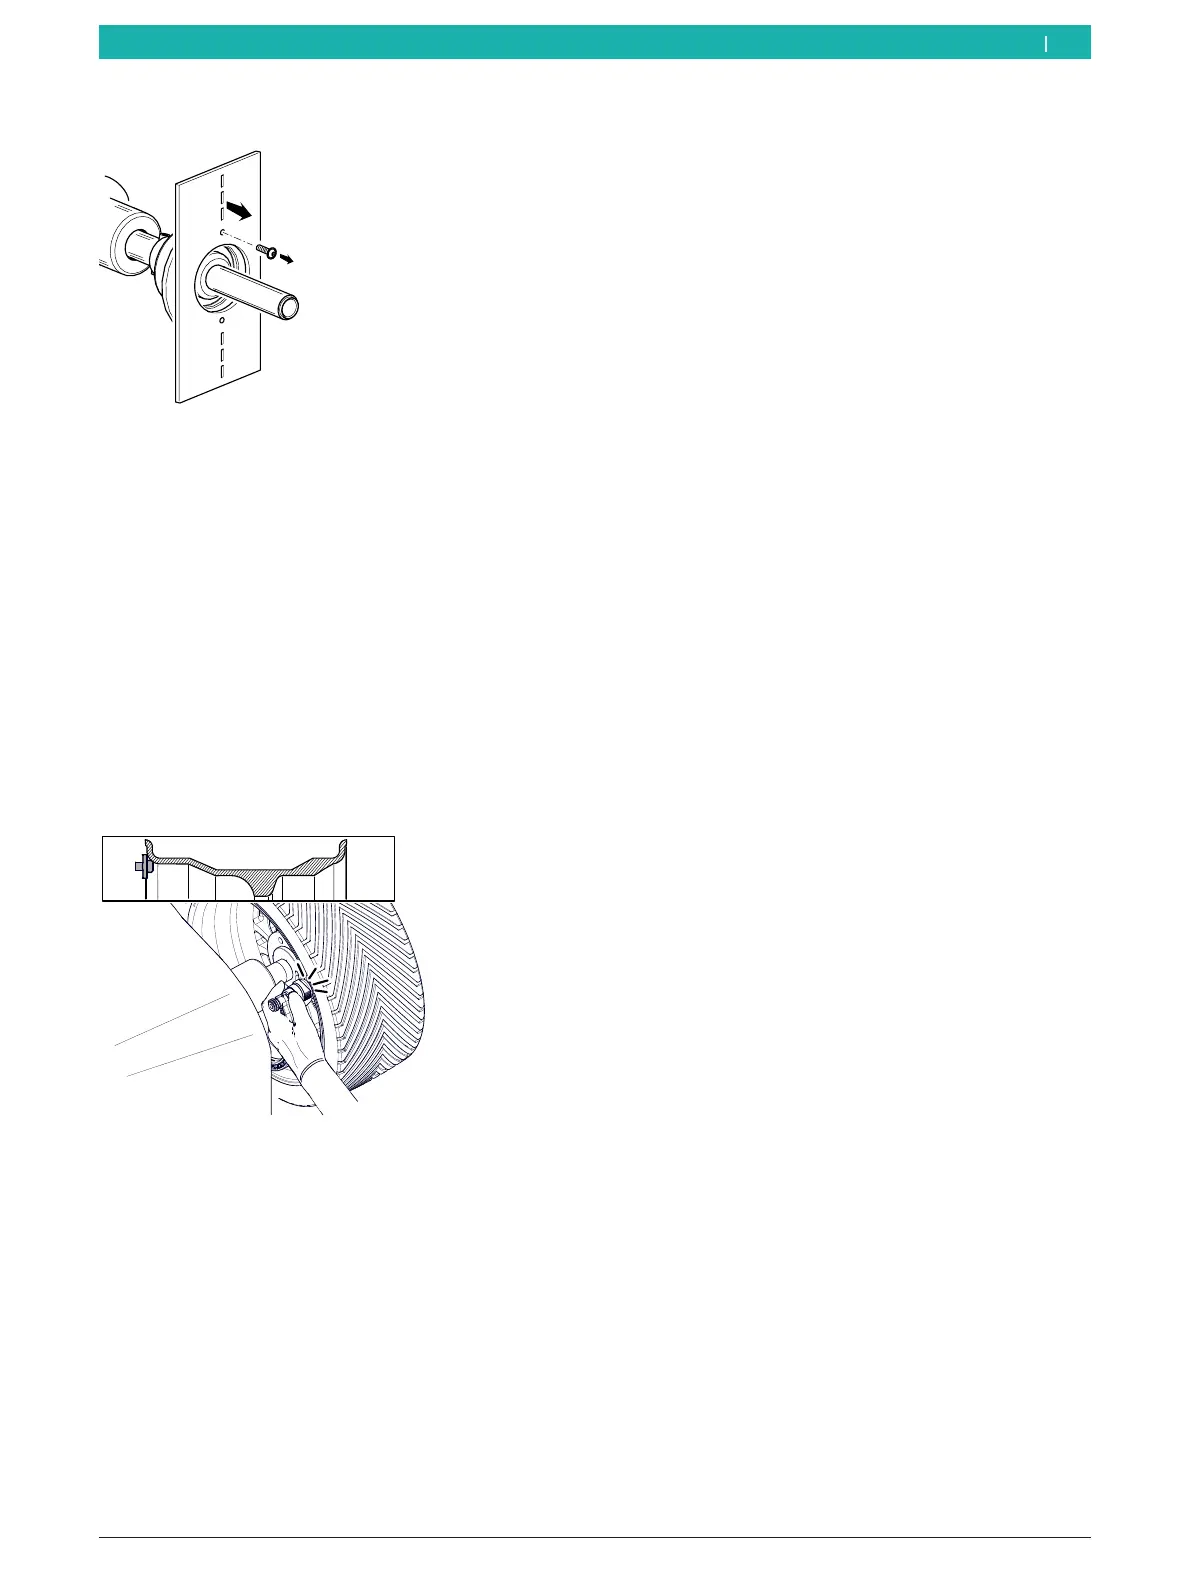
15. Remove the calibration plate.
651127-84_BM
Fig. 104: Removing the calibration plate
16. Attach a motor vehicle's wheel that is in very good
condition, of intermediate size and on a steel rim
(e.g. width of 5.5", diameter of 14") to the flange.
17. Enter the information for rim distance, width and
diameter by hand.
i To change the values for the various menu items,
press the <RIM DISTANCE>, <RIM DIAMETER> or
<RIM WIDTH> key and scroll through the numerical
values to the desired value with the aid of the <+> or
<-> key.
18. Place the electronic rim-distance gauge against the
rim flange.
651127-65_BM
Fig. 105: Placing the electronic rim-distance gauge on the rim
19. Hold the electronic rim-distance gauge against the
rim and confirm by pressing <MENU>.
" Calibration completed.
20. Press the <MENU> key.
The calibration options are presented again.
12.6.4 Calibrating by wheel and balance weight
i Follow the instructions on the monitor.
1. Attach a motor vehicle's wheel that is in very good
condition, of intermediate size and on a steel rim
(e.g. width of 5.5", diameter of 14") to the flange.
2. Call up the calibration menu.
The calibration options are presented.
3. Select the "Calibration with wheel and balance
weight" menu item by navigating through the options
with the aid of the <–> or <+> key.
4. Press the <MENU> key to confirm.
The calibration process will start.
i Calibration can be exited, at any time without saving
the settings by pressing the <STOP> key.
5. Enter the information for rim distance, width and
diameter by hand.
i To change the values for the various menu items,
press the <RIM DISTANCE>, <RIM DIAMETER> or
<RIM WIDTH> key and scroll through the numerical
values to the desired value with the aid of the <+> or
<-> key.
6. Press the <MENU> key to confirm.
The next screen is displayed.
7. Press the <MENU> key and close the wheel-guard
hood.
The measurement will start. Wait until the pro-
cess is completed.
8. Lift the wheel guard fully.
9. Use the <-> or <+> key to set a balance weight of
60g.
10. Press the <MENU> key to confirm.
The next screen is displayed.
11. Attach the balance weight with the entered value to
the 12-o'clock position on the inside of the wheel.
12. Press the <MENU> key and close the wheel-guard
hood.
The measurement will start. Wait until the pro-
cess is completed.
13. Lift the wheel guard fully.
14. Remove the balance weight from the inside of the
wheel.
en