1 695 600 968 2019-01-28| Beissbarth GmbH
106 | MT ZERO 6 LCD | Operation
Attaching an adhesive balance weight in the rim well
(ALU3 2nd balancing plane and ALU2, PAX2):
¶ Attach the adhesive balance weight using the
electronic rim-distance gauge or the weight
positioning gauge.
i The way an adhesive balance weight is attached
depends on the geometry of the electronic rim-
distance gauge.
A
B
651076-38_Im
Fig. 82: Attaching an adhesive balance weight using the electronic
rim-distance gauge
i For attaching adhesive balance weights using the
electronic rim-distance gauge, see the "Attaching
adhesive balance weights" sec.
i For attaching adhesive balance weights using
the integrated laser indicator, see the "Attaching
adhesive balance weights by laser indicator"
section. The laser indicator will only be active if the
attachment of the balance weight by electronic rim-
distance gauge is deactivated.
4. Use the same procedure for the remaining balancing
plane.
i After the balance weights have been attached, the
imbalance must be measured again to check the
balance.
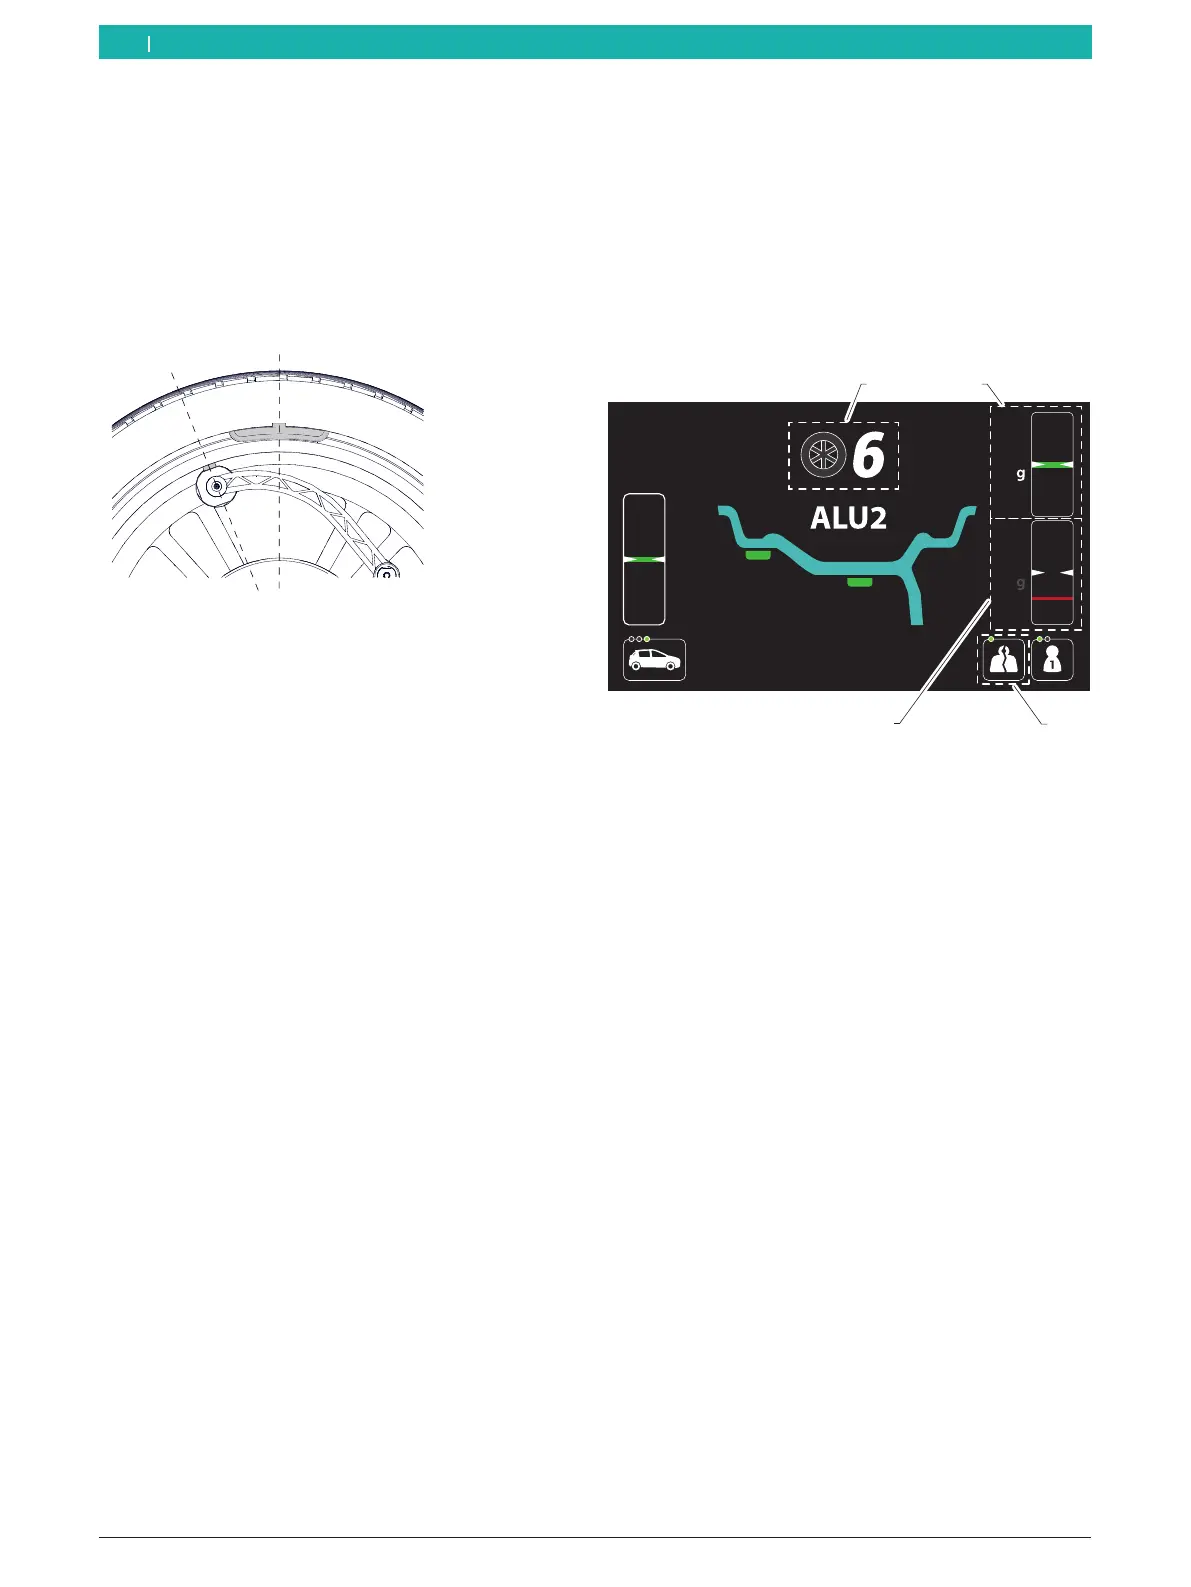
8.11.3 Splitting balance weights (split program)
With the non-standard programs (ALU2, ALU3, Pax2),
the balance weight for the second balancing plane can
be hidden behind the spokes.
i Start the "SPLIT" program while the second
balancing plane is active.
The screen for splitting the weights is shown in the
following.
1 2
3
4
Fig. 83: Description of the "Split" screen
1 Number of spokes detected or set
2 Value of the balance weight and reference mark of the position
for attaching behind the first spoke
3 Value of the balance weight and reference mark of the position
for attaching behind the second spoke
4 SPLIT program symbol activated
The wheel balancing machine is equipped with an ASD
function for automatic spoke detection, which is active
by default. Detection will be carried out automatically
after the first start for the imbalance measurement.
i Automatic detection will require more time during
the start than standard detection. If the function
is not needed, it can be deactivated in the user
settings menu.
1. Press the <SPLIT> key to activate the function.
The screen for the function is displayed.
The number of spokes is displayed at the top of
the screen.
i If the function "ASD - Automatic spoke detection" is
deactivated or if the value displayed on the screen
needs be changed, enter the correct number of
spokes with the aid of the <+> or <-> keys.
en