Using the System
T3300 Diagnostic Ultrasound System | 42 | B00601-010 4/10/17
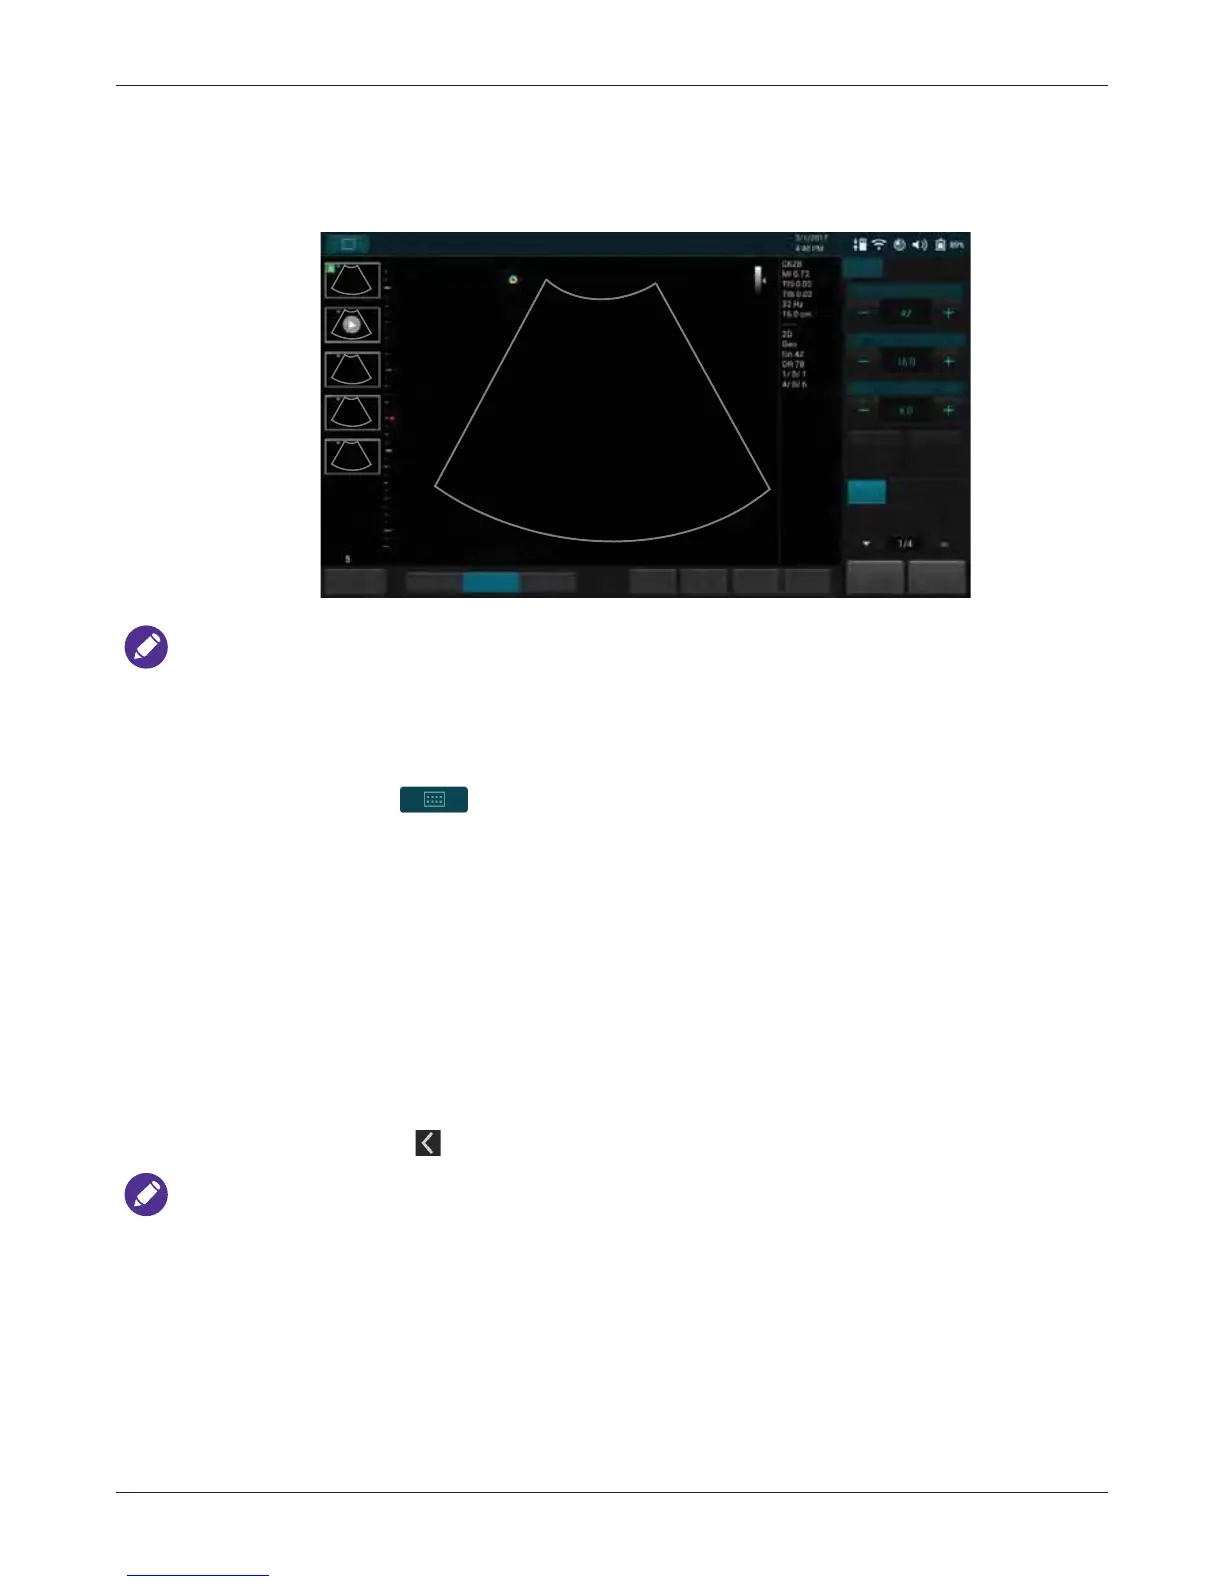
• If a transducer is connected, the system enters the real-time B-mode imaging screen (default).
NOTES
• If a transducer is connected and the system displays the message “No probe is connected”,
remove then re-connect the transducer. If the system still cannot detect the transducer, turn off
the system. Wait for a few seconds and restart the system.
• You can choose the screen to enter after starting and logging in the system (with the transducer
connected). Go to > Settings > Workflow > Screen after Enter Ultrasound.
5.3 Setting the System Time and Date
Managing pertinent patient data and scanning results require accurate system time and date. After
entering the system for the first time, set current time and date based on your location. The system
then maintains time and date settings even when the system is turned off and disconnected from
power.
1. Touch anywhere on the system toolbar to open the Quick Setup menu (See page 50).
2. Touch the Time section > Set date/Set time.
– To set the date, scroll to select the date, month and year.
– To set the time, scroll to select the hours, minutes, and AM or PM.
3. Touch Done. Touch to leave the setting.