Service manual
102
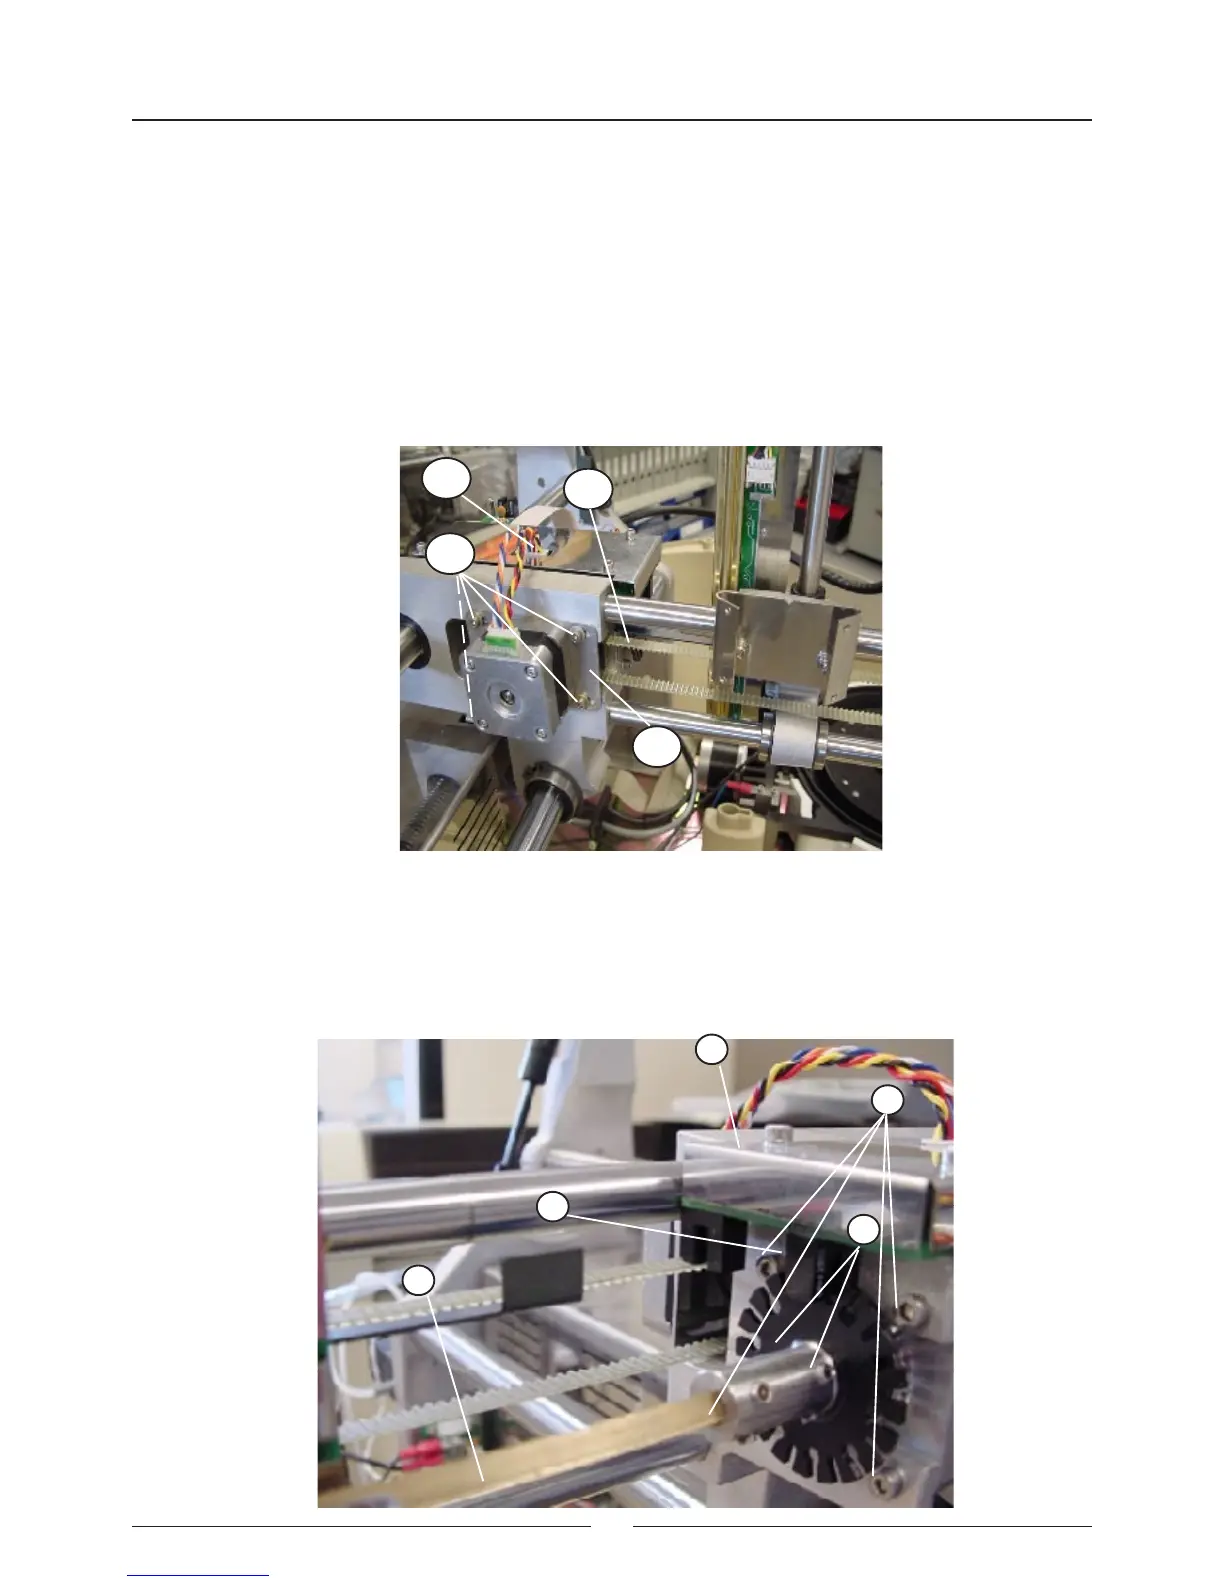
5.1.2.4. Changing the Y motor
a) Remove all the casings from the analyser except for that of the needle unit.
b) Connect the motor cable (1).
c) Remove the motor by removing the screws (2).
d) Change the motor (with pulley).
e) Remove the fastening plate (3).
f) Fit the fastening plate on the new motor.
g) Fit the motor without tightening the screws.
h) Connect the notched belt (4) , tighten it manually displacing the motor and tighten the 4 screws that hold it in po-
sition.
i) Connect the motor cable.
5.1.2.5. Changing the Z motor
a) Remove the X motor as explained in the section titled Changing the X motor.
b) Unscrew the two studs (1).
c) Remove the four screws that hold the motor in position (2).
c) Remove the connector and remove the motor by pulling it towards the rear.
1
2
4
3
1
2
3
4
5