103
d) Remove the motor axle by unscrewing the stud.
e) Fit the axle to the new motor.
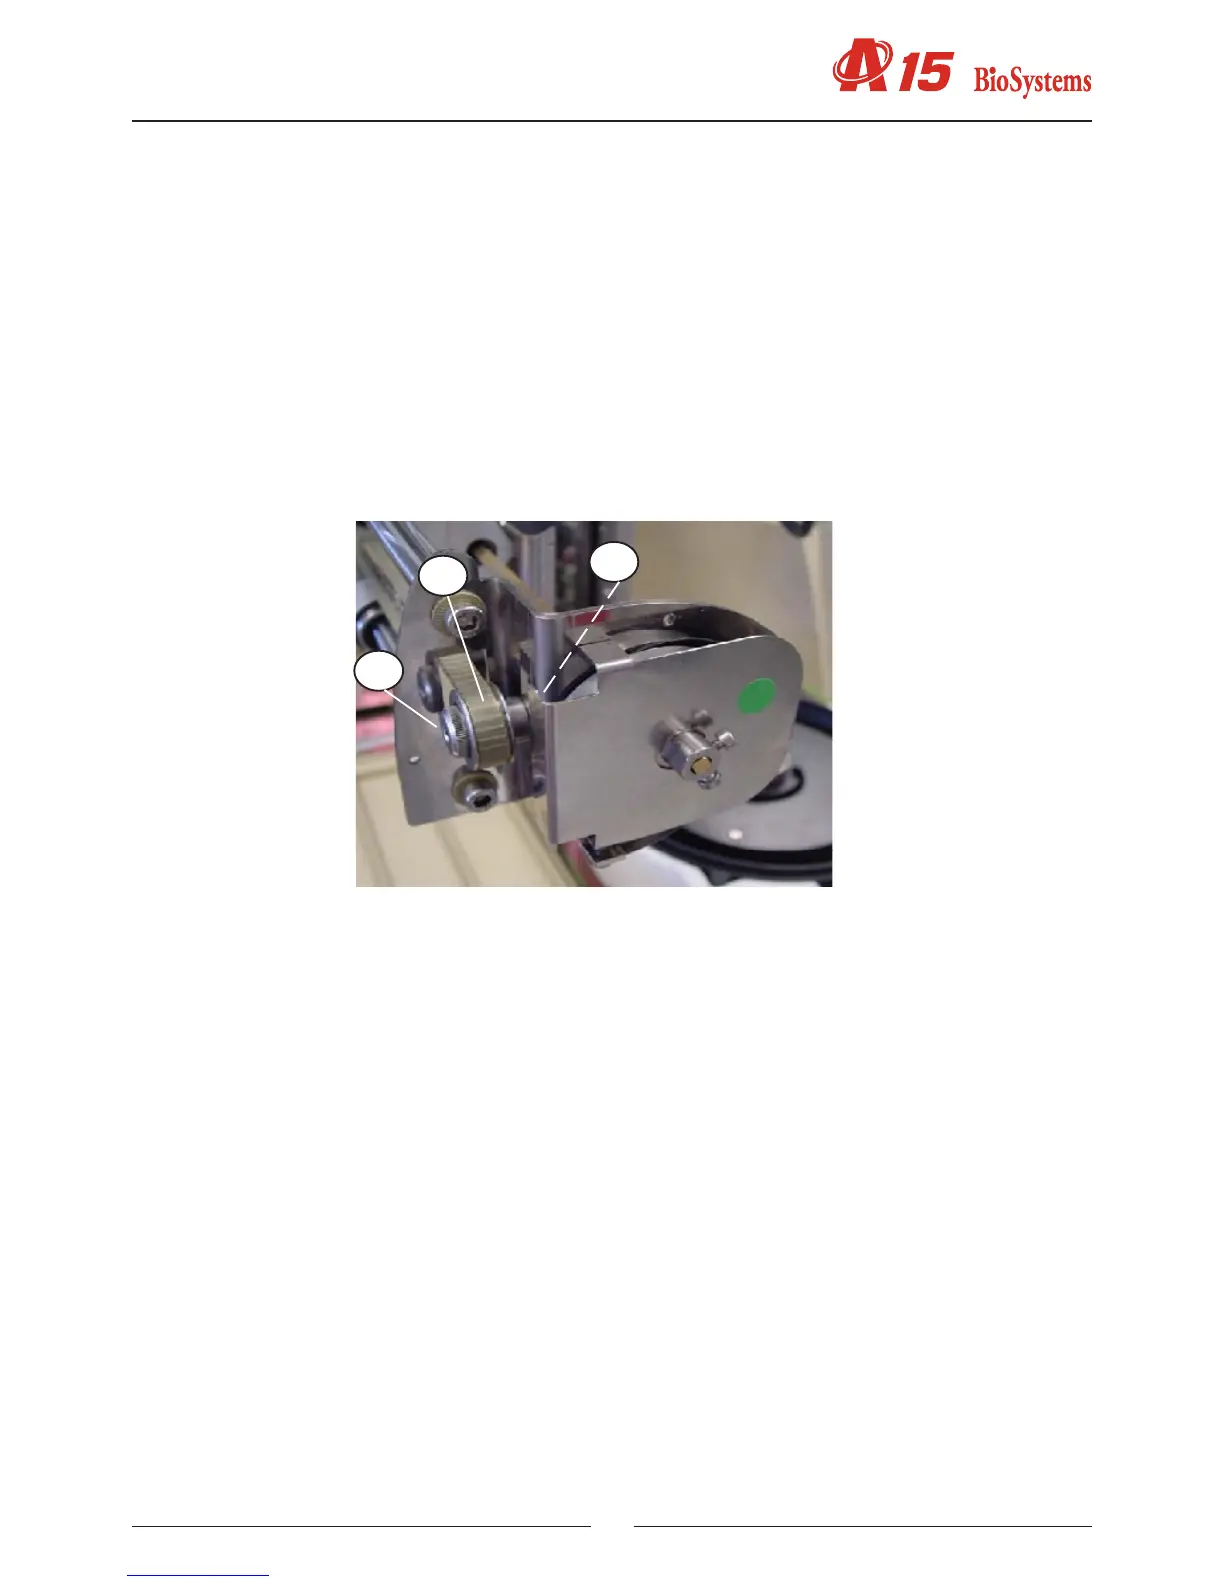
f) Ret the motor but without tightening the studs (1).
g) Fit the X motor and the interconnection board (3).
h) Adjust the axis (4) so that the encoder is centred on the photosensor (5) and tighten the studs (1).
5.1.2.6. Changing the Y motor belt
a) Loosen the Y motor (see section).
b) Remove the pulley (1) by extracting the bolt (2) and the nut (3).
c) Loosen the clamp that fastens the belt to the needle unit.
d) Change the belt for a new one.
e) Ret the pulley (1).
f) Put the belt on the pulleys, tighten it manually, displacing the motor and fasten it by tightening the 4 screws.
5.1.2.7. Changing the spring
a) Remove the pulley (1) as indicated in the section titled Changing the Y motor belt.
b) Unscrew the bolts (2).
c) Remove the bolts (3).
c) Remove the spring unit (4).
d) Ret the new unit but without tightening the studs (2). Make sure that the Y carriage axes are perfectly aligned.
e) Ret the pulley (1) as indicated in the section titled Changing the Y motor belt.
Tightening the spring:
f) During the following operations, keep the needle unit in its top position.
g) Use a spanner to turn the pulley (5) anticlockwise. Complete 3 to 4 turns.
h) Tighten the bolts (2) making them coincide with the at part of the axle (6).
1
2
3