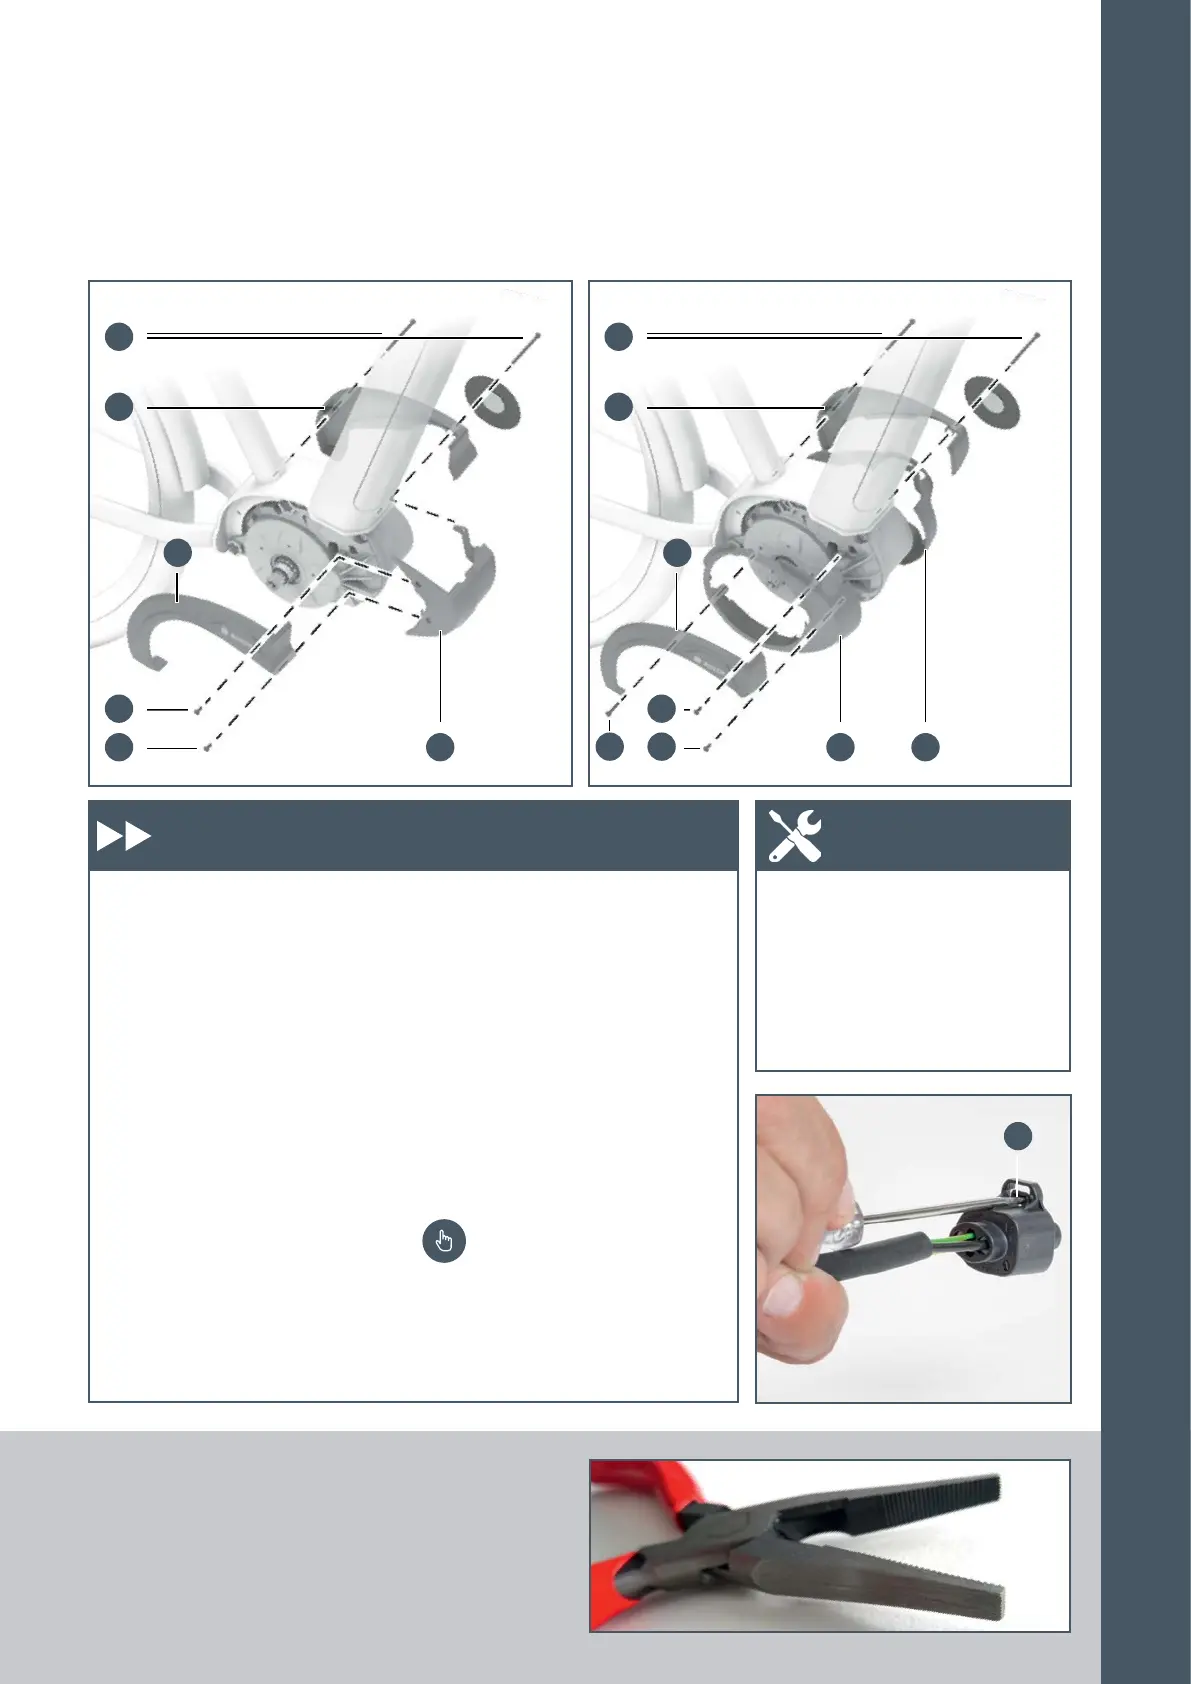
A F
B I
D H
D
H
C
L
J
E KK
G
189
6.7 Removing Drive Unit (BDU310/350) 6.7 Removing Drive Unit (BDU310/350)
Removing the design cover
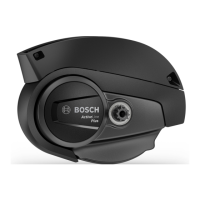
Active Line (BDU310):
1. Remove the two screws (A).
2. Remove both the left (B) and
right (C) design covers.
3. Remove the two screws (D) and
remove the front piece (E).
Active Line Plus (BDU350):
1. Remove the two screws (F).
2. Remove screw (G) and the two
screws (H).
3. Remove the upper design
covers (I, J) on both sides.
4. Remove the lower design cov-
ers (K) on both sides.
Disconnect the cables
X Remove the cable ties.
Disconnecting the cable
connections on the drive
unit
X Unplug all cables. The connector
plug on the battery has a locking
hook (L). Use a screwdriver to
pry this 1–2 mm up. Damage is
possible if the locking hook is
not disengaged.
Do not damage the plug and
ca
ble! Only use an electron-
ics-suitable flat nose pliers
to loosen plugs. Never pull
the cable directly!
X Torx T20
X Side cutters
X Small screwdriver
X Electronics-suitable flat nose
pliers
Work steps Tool
6.7 Removing Drive Unit
(BDU310/350)
Electronics-suitable flat nose pliers
Active Line (BDU310) Active Line Plus (BDU350)
6
INSTALLATION/
REMOVAL




 To Next Page