1 689 975 233 2018-05-08| Robert Bosch GmbH
22 | EPS 708 | Repairen
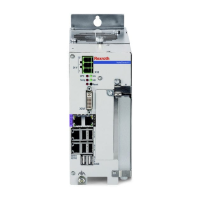
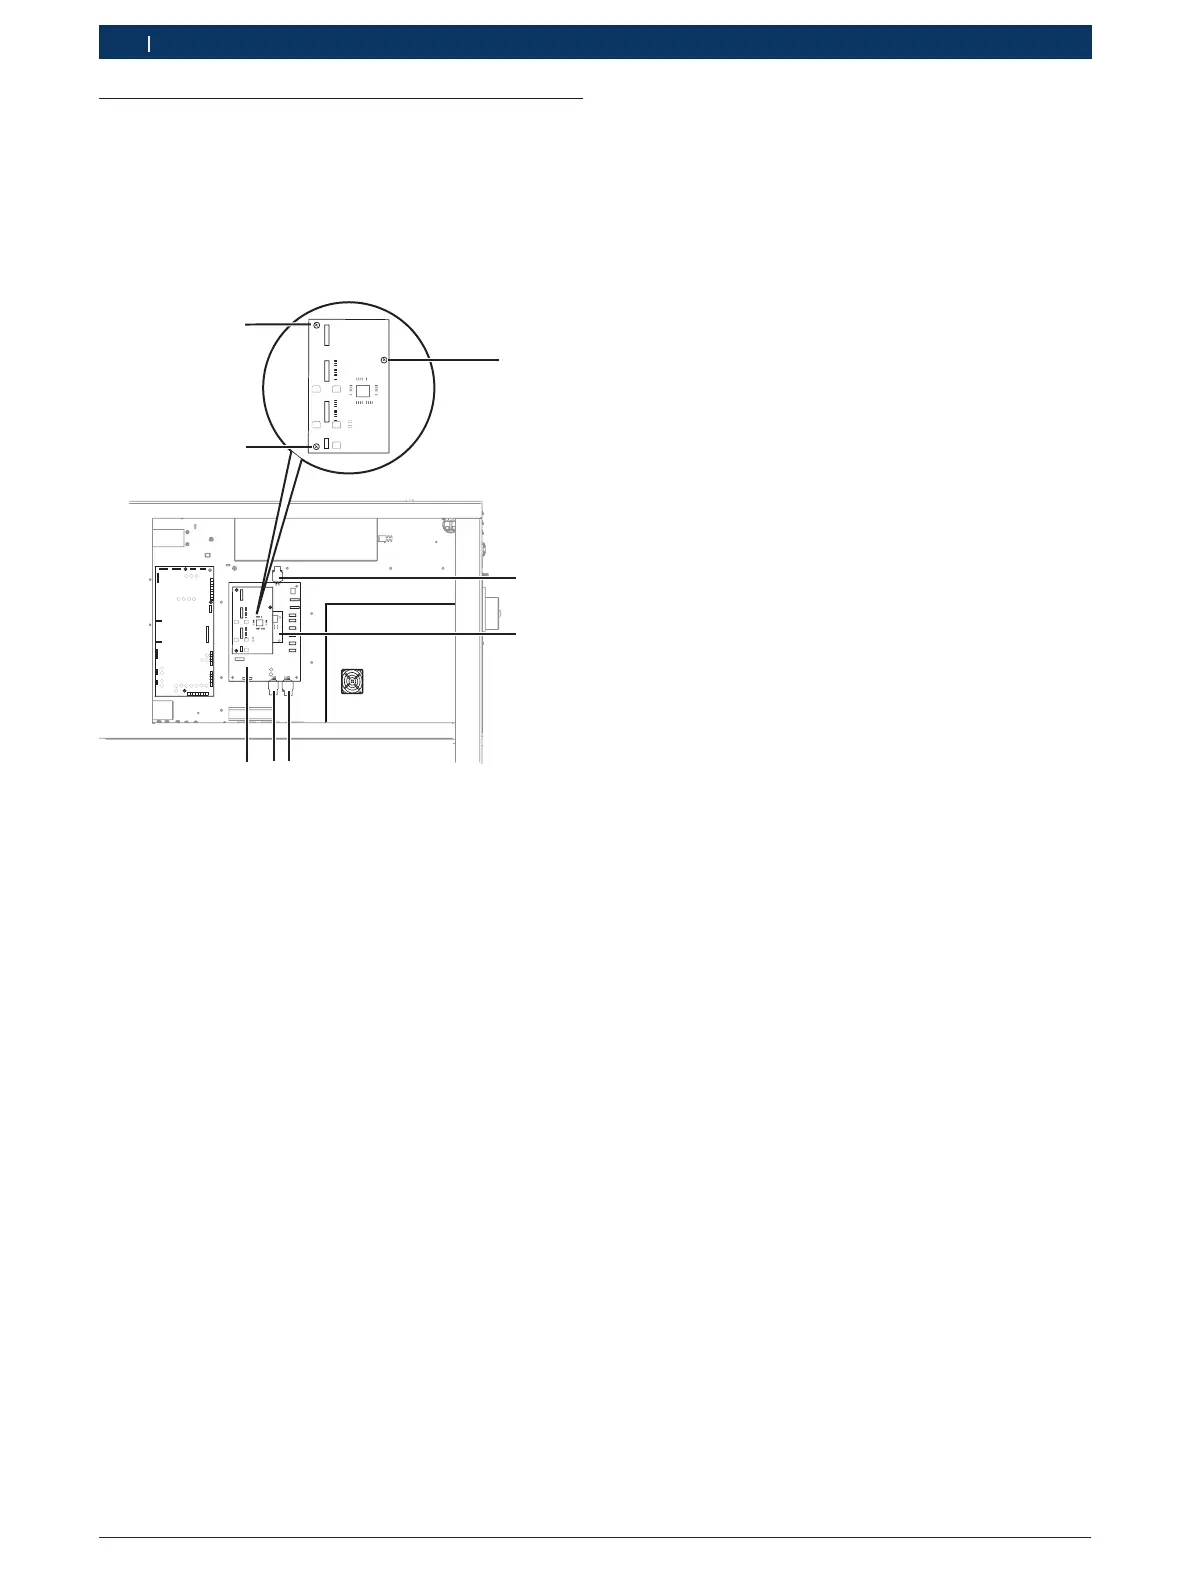
6.4 Replacing PCB (A4)
i PCB (A5) is included in the scope of delivery of
PCB(A4).
! PCBs (A4) and (A5) must always be replaced together.
It is not possible to combine old and new PCBs.
458863-06_Ri
1
3
2
Fig. 33: Replacing PCB 1 688 400 453 (A4)
6.4.1 Removing the PCB
1. Turn off the EPS 708 at the master switch.
2. Secure the master switch so that it cannot be
switched back on.
3. Unplug the mains plug or disconnect from mains
electricity.
4. Check that there is no power.
5. Remove the cover of the electronics compartment.
! Pay attention to the plug locks when disconnecting
and connecting cables. Lack of care may result in
damage to connecting cables and plugs.
6. Disconnect all connecting cables from PCB (A6).
7. Slacken the Torx screws (see Fig. 33, items 1, 2 and 3).
8. Remove circuit board (A6) (see section 6.2) or cir-
cuit board (A14) (see section 6.3).
9. Remove all spacers.
10. Slacken the screws (items 6 and 7) on the plugs of
PCB (A4) (item 8) and disconnect the plug.
11. Disconnect all connecting cables from PCB (A4).
12. Detach PCB (A4) from the spacers and remove.
6.4.2 Installing the PCB
! Note the correct pin assignment when fitting the
new PCB (see circuit diagram 1689911487 on
page 9).
¶ Install the new PCB in the reverse order.
6.4.3 Calibrating the high-pressure rail
¶ See section 10.1