1 689 975 233 2018-05-08| Robert Bosch GmbH
Repair | EPS 708 | 71 en
6.34 Replacing the pressure limiter of the
high-pressure rail
1. Remove the high-pressure rail from the installation
panel and take out of the test bench
(see section 6.33).
2. Clamp the high-pressure rail in a vise with soft jaws,
taking care not to damage the high-pressure rail.
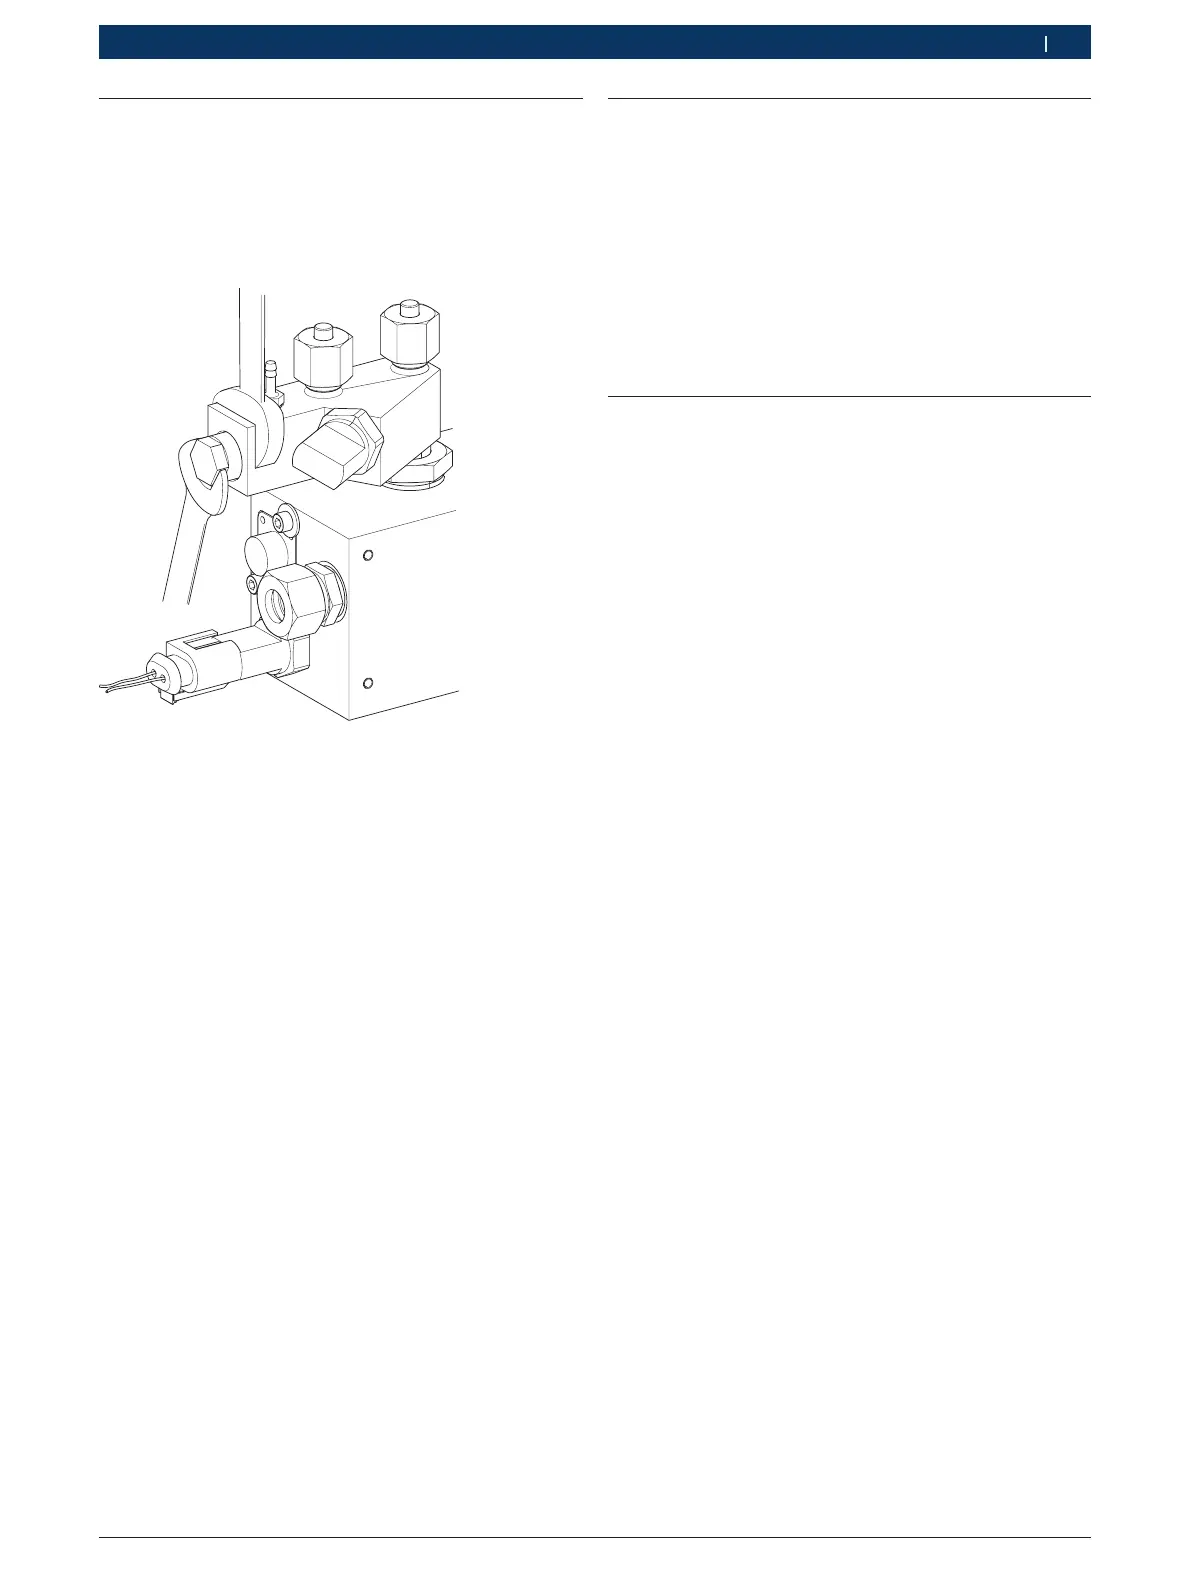
Fig. 135: Removal of pressure limiter
3. Remove the pressure limiter. Support the front rail
with a wrench while doing so (see Fig. 135).
4. Take out the sealing cone.
5. Insert a new sealing cone
(spare part: 1 683 387 112).
6. Before installation, apply a little calibrating oil to the
thread and O-ring of the new pressure limiter.
7. Tighten the pressure limiter to 70Nm.
8. Slacken the pressure limiter again by 90°.
9. Tighten the pressure limiter to 85 +5 Nm.
10. Re-attach the high-pressure rail to the installation
panel and connect (see section 6.33).
6.35 Replacing the pressure sensor B9/
B10 of the high-pressure rail
i Proceed as described in section 6.33. For
installation, always use a new sealing cone and
tighten the component to the specified torque
(see section 4.6.2).
1. Replace the pressure sensor.
2. Start up and re-calibrate the high-pressure rail
(see section 10.1).
6.36 Replacing the high-pressure connec-
tion CRI 846 of the high-pressure rail
i Proceed as described in section 6.34. For
installation, always use a new sealing cone and
tighten the component to the specified torque
(see section 4.6.2).
¶ Replace the high-pressure connection.