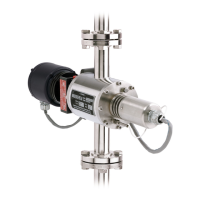
TT100 In-Line Viscometer Installation, Operation, Maintenance and Service Instructions
P/N M/97-520 6-9
5. Remove the wire connectors from the Microsyn field coil.
6. Remove the mounting screws, cable clamp, washers, and purple
ground wire from the Microsyn field coil, as shown in Figure 6-2,
and remove the Microsyn field coil from the sensing endcap.
7. Install the new Microsyn field coil.
8. Install the mounting screws, cable clamp, and washers. Do not
tighten the screws.
9. Refer to Figure 3-3 in Section 3 - Calibration.
Torque Sensor Printed Circuit Board Replacement
WARNING
Make sure power has been turned OFF at the motor and torque sensor
electronics enclosures before servicing the viscometer.
1. Shut power OFF to the motor and torque sensor electronics
enclosures.
2. Open the cover on the torque sensor electronics enclosure.
3. Disconnect the power cable and ground connections from J3 as
shown in Figure 6-5.
4. Disconnect the sensing cable connections from J1 as shown in
Figure 6-5.
5. Disconnect the display device from J1-T1 and T2.
6. Remove the printed circuit board mounting screws, as shown in
Figure 6-5, and remove the circuit board from the enclosure.
7. Install the new printed circuit board using the mounting screws.