197
FUEL SYSTEM
INTAKE MANIFOLD
7
Use caution to prevent damaging reed valve
assemblies.
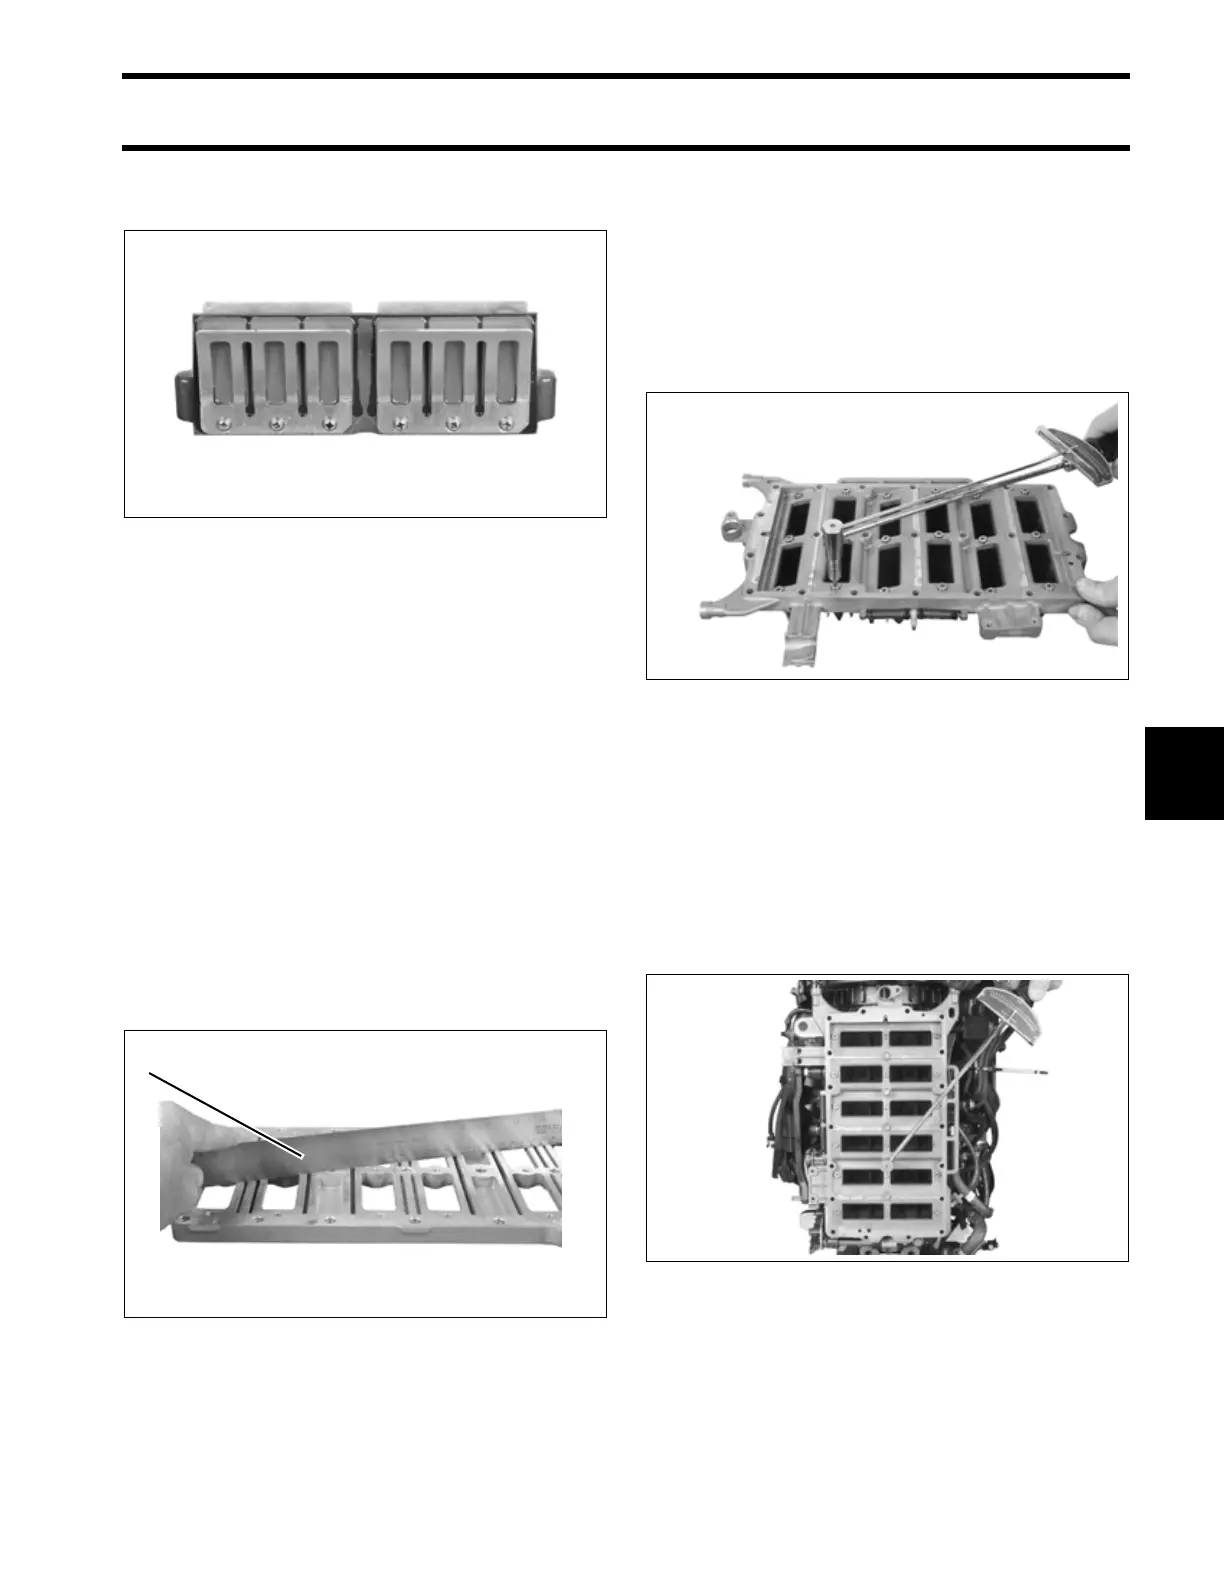
Inspection
Inspect the leaf plate assemblies for damage or
contamination:
• Leaf plates must not be distorted.
• Leaf valve must not be cracked or chipped.
• Leaf plate stops must not be distorted or loose.
• Leaf plate assemblies must be clean.
IMPORTANT: DO NOT disassemble reed valve
assemblies. Damaged reed plates are not ser-
viceable and are replaced as an assembly.
Inspect the intake manifold. All gasket surfaces
must be cleaned, smooth, and free of nicks. Use a
machinist’s straight-edge to check flatness in all
directions. Surface must be flat, ±0.004 in. (0.10
mm).
Assembly
Remove old adhesive from reed valve retaining
screws.
Prime the threads with Locquic Primer and let dry.
Apply Nut Lock to threads. Position reed valve on
reed plate and install screws. Final torque is 30 to
42 in. lbs. (3 to 5 N·m).
Installation
Position reed plate assembly on cylinder/crank-
case.
Apply Nut Lock to screws. Install all screws.
Tighten the center screws first and expand out-
ward. Tighten in stages. Final torque is 96 to 120
in. lbs. (11 to 13.5 N·m).
Install electrical harness base screws.
005364
1. Straight-edge 004193
1
005365
005363